
Session 2 - Reading from sensors and posting data to the cloud
This page is no longer maintained and is provided for historical reference only
| Project Goal | Start programming your Photon, and leverage the device cloud to take and post sensor readings. |
|---|---|
| What you’ll learn | How to read sensor data; Using Particle variables and cloud functions. |
| Tools you’ll need | build.particle.io, console.particle.io, a Particle Photon and Maker Kit |
| Time needed to complete | 15 minutes |
In this session, we're going to explore the Particle ecosystem via a Photon and Maker Kit. If you get stuck at any point, click here for the completed source.
Wire up the temperature sensor to your Photon
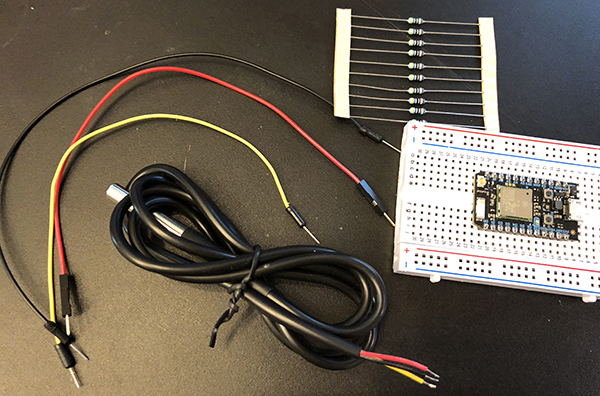
To build this circuit, you'll need the following items:
- Photon in breadboard (this is how it comes in the Maker Kit)
- Dallas DS18B20 temperature sensor. There are two versions in the Maker Kit. We'll be using the waterproof version terminated in a metal cap.
- Black, red, and yellow jumper wires.
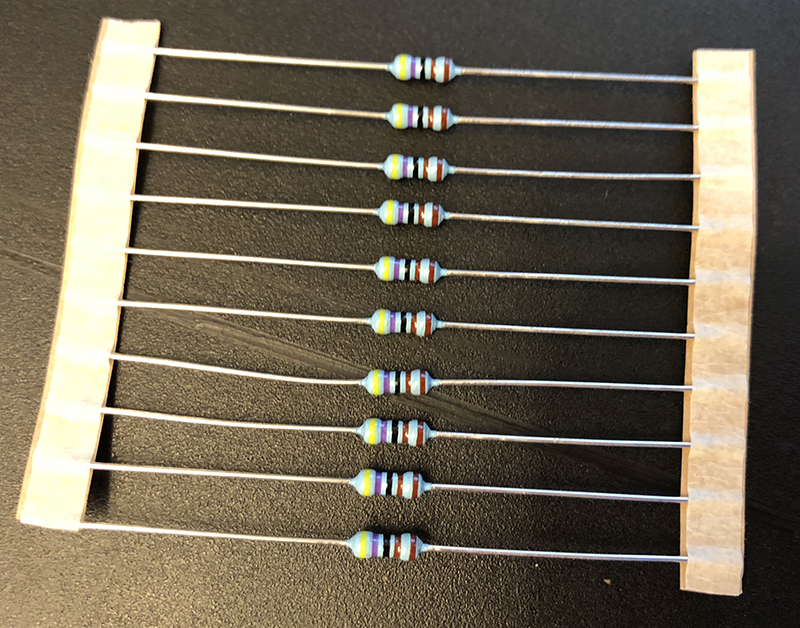
- A 4.7 Ohm Resistor. The maker kit includes four different types of resistors (200, 1k, 4.7k and 10k ohm). The one you need is blue, with yellow, violet, brown and brown bands, as depicted below.
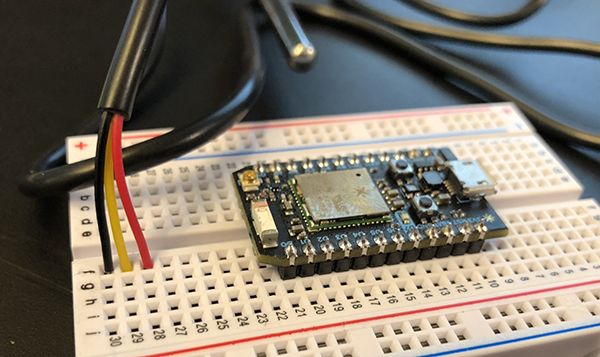
Connect the temperature sensor to three side-by-side rows in the breadboard. You can use column F, rows 28-30, as depicted below, or another three of your choosing.
If you pick your own location, be sure to connect the three wires in separate rows and NOT separate columns on the same row as rows on a breadboard are electrically connected!
Connect the resistor between the yellow and red wires of the temperature sensor. In the image below, the resistor is plugged into column H, rows 28 and 29.
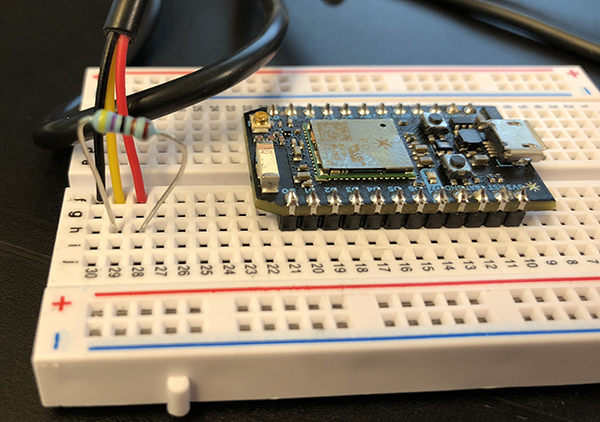
Connect one end of the black jumper wire to the same row as the black sensor wire (for example, row 30) and the other end to the
GNDpin of the Photon.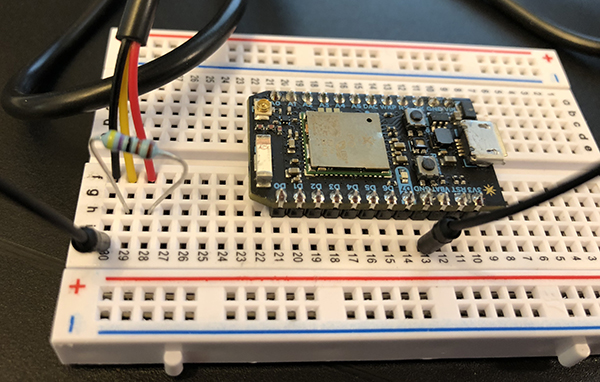
Connect one end of the yellow jumper wire to the same row as the yellow sensor wire (for example, row 29) and the other end to the
D4pin of the Photon.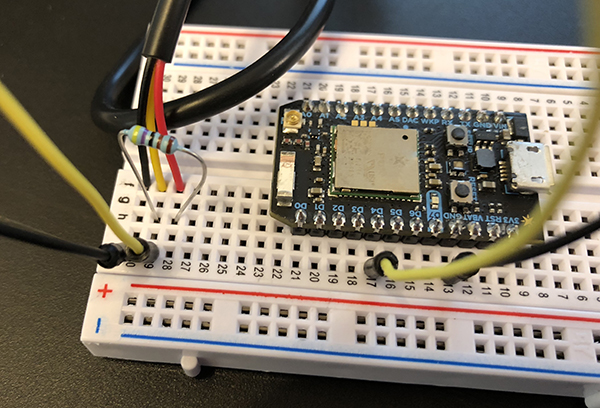
Connect one end of the red jumper wire to the same row as the red sensor wire (for example, row 28) and the other end to the
3V3pin of the Photon. Once done, your circuit should look like the image below.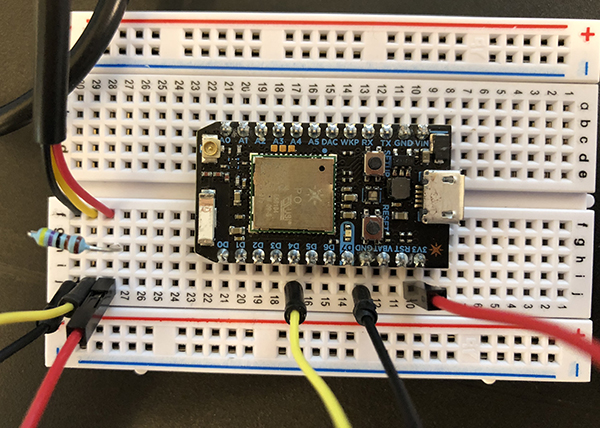
Plug the USB cable into your Photon. Now, we're ready to read some sensor data! Let's create a new project in the Web IDE
Create a new project in the Web IDE
Navigate to build.particle.io. You may need to log-in, if prompted.
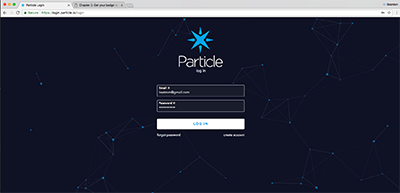
Once you log-in, you may be directed to the Particle home page. If so, click here to navigate back to the Particle Web IDE.
When navigating to the Web IDE, the first thing you'll see is an empty editor window for a new project and a prompt to give that project a name.
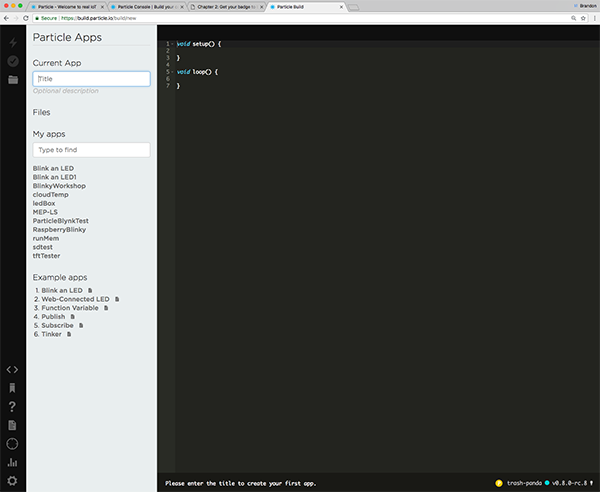
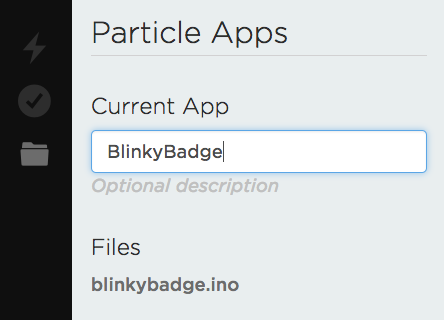
In the Current App textbox, give your app the name "MyTempApp" and hit enter.
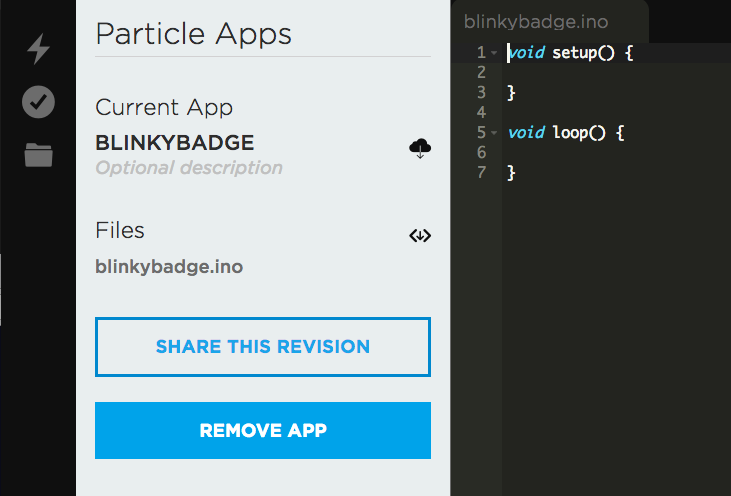
Once you've given your project a name, you're ready to code!
The setup() and loop() functions
Before we dive into our first bit of code, a brief word about the two functions that were auto-populated into your new app. If you've done Arduino or Particle development before, you're already familiar with these and can skip ahead. If not, read on.
Every Particle application must have two functions in the main file (sometimes called a "sketch"): setup() and loop(). Both of these functions are called by the Particle Device OS.
True to its name, setup() runs only only once when the device starts up and is used for initializing buttons, sensors and other things needed to get your project ready to execute.
loop(), on the other hand, runs over and over again as long as your firmware is running on the device. When the function is called by the device OS, the code inside executes sequentially until it reaches the closing brace of the function, before being called again.
While the speed at which the loop() function executes is determined by the specific hardware and the time needed to execute the use code you've written in the function, it's important to know that, much of the time, this function will run very fast.
The bulk of your program, from state management, handling user input, reading from sensors and more will take place inside of the loop() function. It can take a bit of getting used to if you're not familiar with this style of development, but once you become comfortable, you'll enjoy the power this control provides you as a firmware developer.
Install the Onewire library
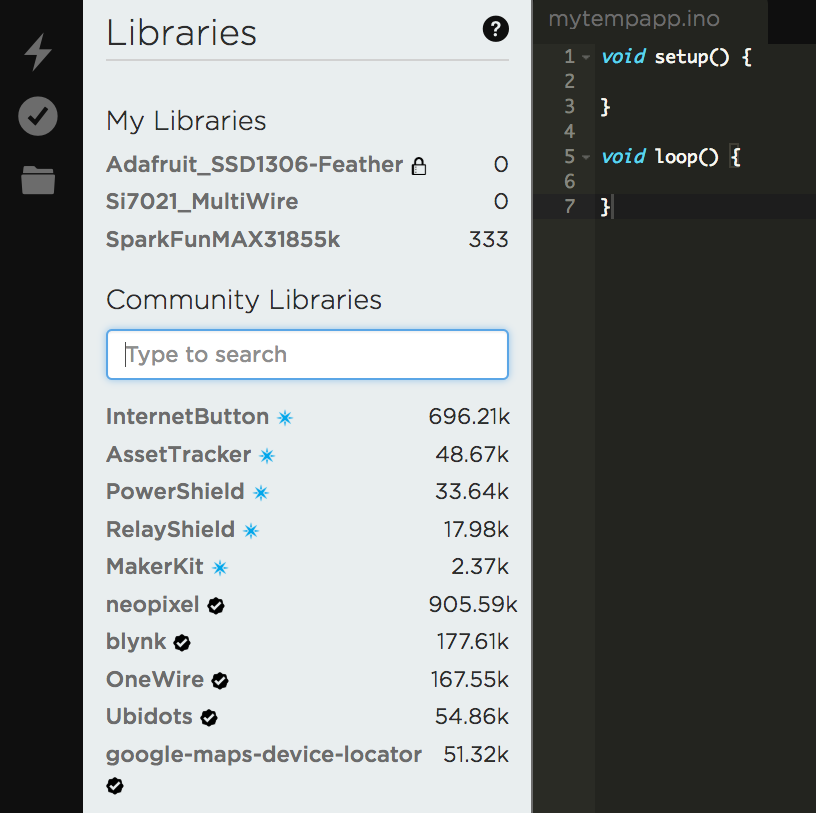
Before reading from the temp sensors, we need to install the onewire library. In the Web IDE, you can work with libraries by clicking on the icon that looks like a bookmark.

The libraries shows a list of Particle provided and community libraries, as well as a search box. Type "onewire" in the box.
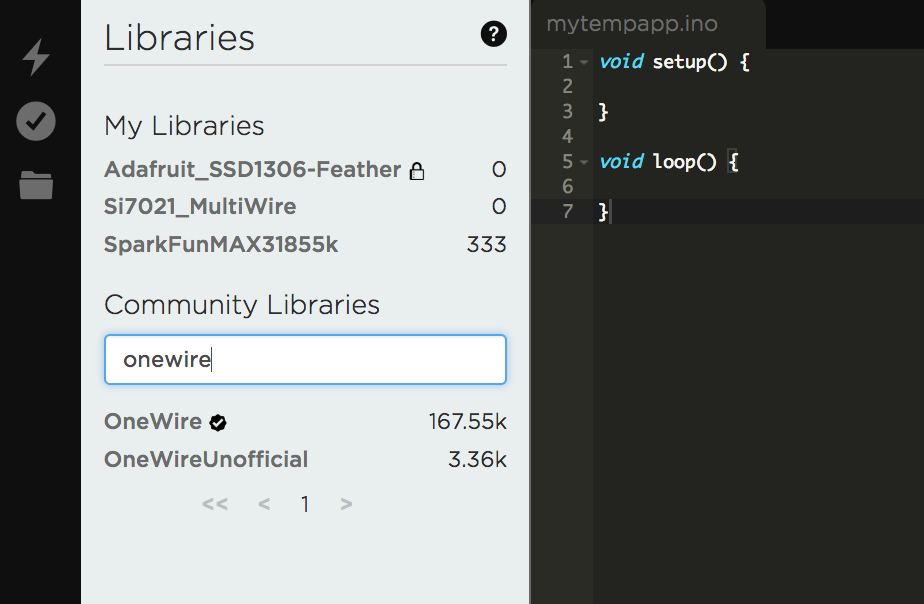
Click on
OneWire(first result) and the "Include in Project" button.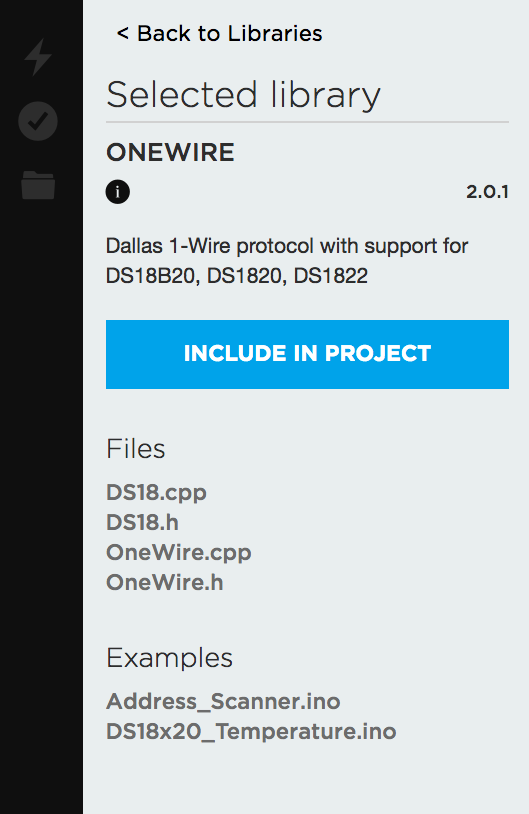
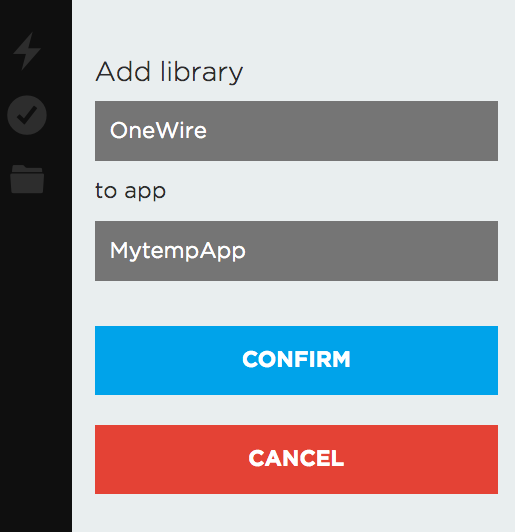
You'll be asked to choose a project in which to include the OneWire library. Select your new "MyTempApp" application.
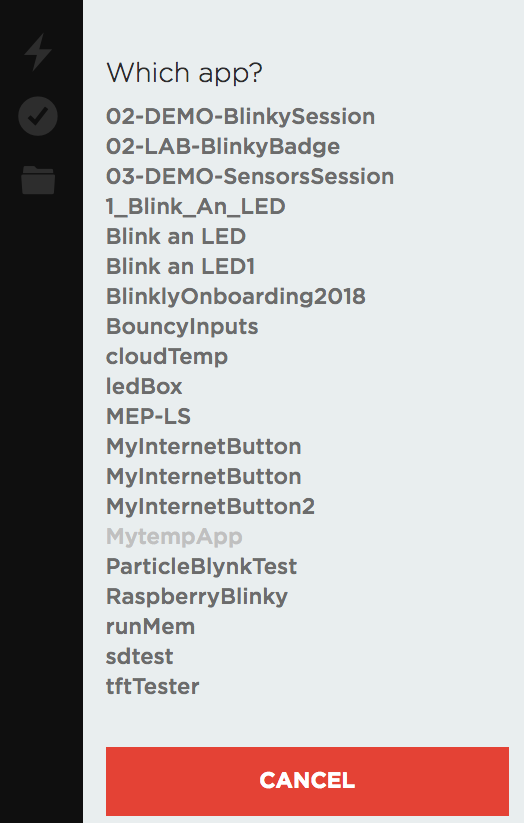
Click "Confirm" on the next screen.
You'll be directed back to your app. Notice that
OneWireis now listed as an included library and has been#included in the code for your app.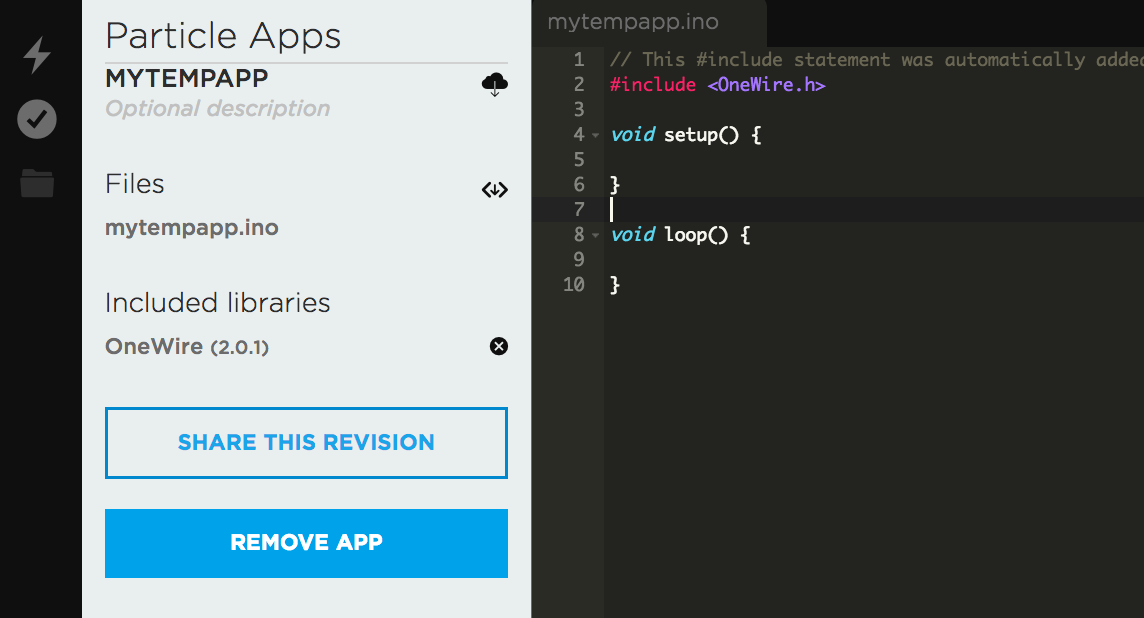
Read from the temperature sensor
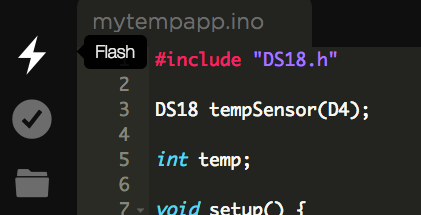
The
OneWirelibrary provides an easy-to-use helper for the DS18-style temperature sensors, so we'll include that. Remove the#includeline forOneWire.hand add the following.include "DS18.h"Initialize the sensor by placing the following outside of the
setup()andloop()functions. The class initializer takes one parameter, the pin to use on the Photon fo reading analog sensor values. Since we wired the device to D4, that's the pin we'll use.DS18 tempSensor(D4);Let's also create a global variable to hold the temperature. Add the following just after the sensor initialization line.
int temp;Next, in the loop, add the following to read from the temp sensor in Fahrenheit and set it to our temp variable. The
delayfunction allows us to pause program execution for a certain number of milliseconds (5000 = 5 seconds) before continuing.void loop() { if (tempSensor.read()) { temp = (tempSensor.fahrenheit() * 100) / 100; delay(5000); } }Before we move on, let's also use the onboard LED wired to pin D7. First, we'll use the
pinModefunction to denote that a given pin (D7in this case) will be used as an output by our program. Add the following to yoursetupfunction:pinMode(D7, OUTPUT);Next, let's modify the
loopto light up the LED each time we're about to take a temperature reading. modify yourloopto look like the following:void loop() { if (tempSensor.read()) { digitalWrite(D7, HIGH); temp = (tempSensor.fahrenheit() * 100) / 100; delay(1000); digitalWrite(D7, LOW); delay(4000); } }In an embedded application, we light up an LED by calling
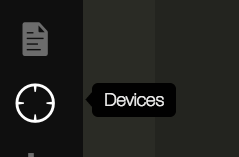
digitalWriteand setting the pinHIGH, meaning we're applying a voltage to the pin, which supplies that voltage to the LED. We then take the temperature reading. Then, we introduce a one second delay so that the status light is on long enough to be human-observable. Once the delay elapses, we turn the LED off by callingdigitalWriteagain and set the pin toLOW, which turns off voltage to the pin and thus, the LED.Now, let's flash this firmware to your device. Click the target icon in the left menu to open the Devices tab.
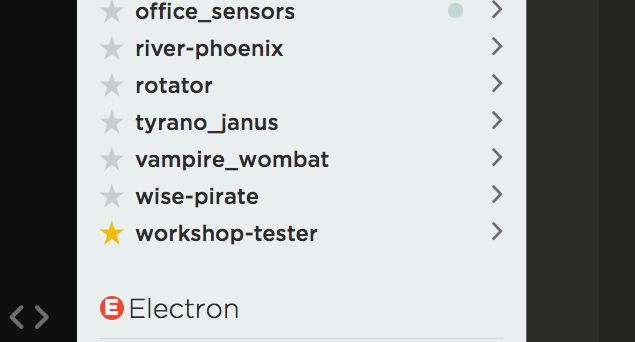
Find your Photon. If you only have a single device, it will be selected by default and you can skip to the next step. If you have multiple, click the star icon next to the name of your new Photon to select it as your current device.
Click the lightning bolt icon to flash your firmware to the device. You'll see the onboard RGB LED flash magenta and green several times as new Device OS firmware is applied. Once your firmware is applied and the device restarts, the LED will resume breathing cyan and you should see the blue LED light up every five seconds, indicating that a temperature reading has been taken.
Add Particle primitives to your app
Flashing an LED when we take a temperature reading is ok, but wouldn't it be nice if we could actually see the temperature readings we've taken somehow? With Particle Device Cloud primitives, we can do just that. First, we're going to expose our temperature variable to the Device Cloud, then we'll introduce a function for triggering device readings on-demand. Finally, we'll publish an event each time a reading is taken so that other apps can subscribe to the sensor data our device is collecting!
Adding a variable
In the
setupfunction, add aParticle.variable. This class method tells the Particle device cloud that a variable namedtempFshould be created to hold the current value of thetempvariable in our sketch.Particle.variable("tempF", temp);Click the flash icon to load the latest firmware. After your device resets, navigate to console.particle.io and select your Photon. This will bring up the dashboard for your device, which shows events, device vitals, and more.
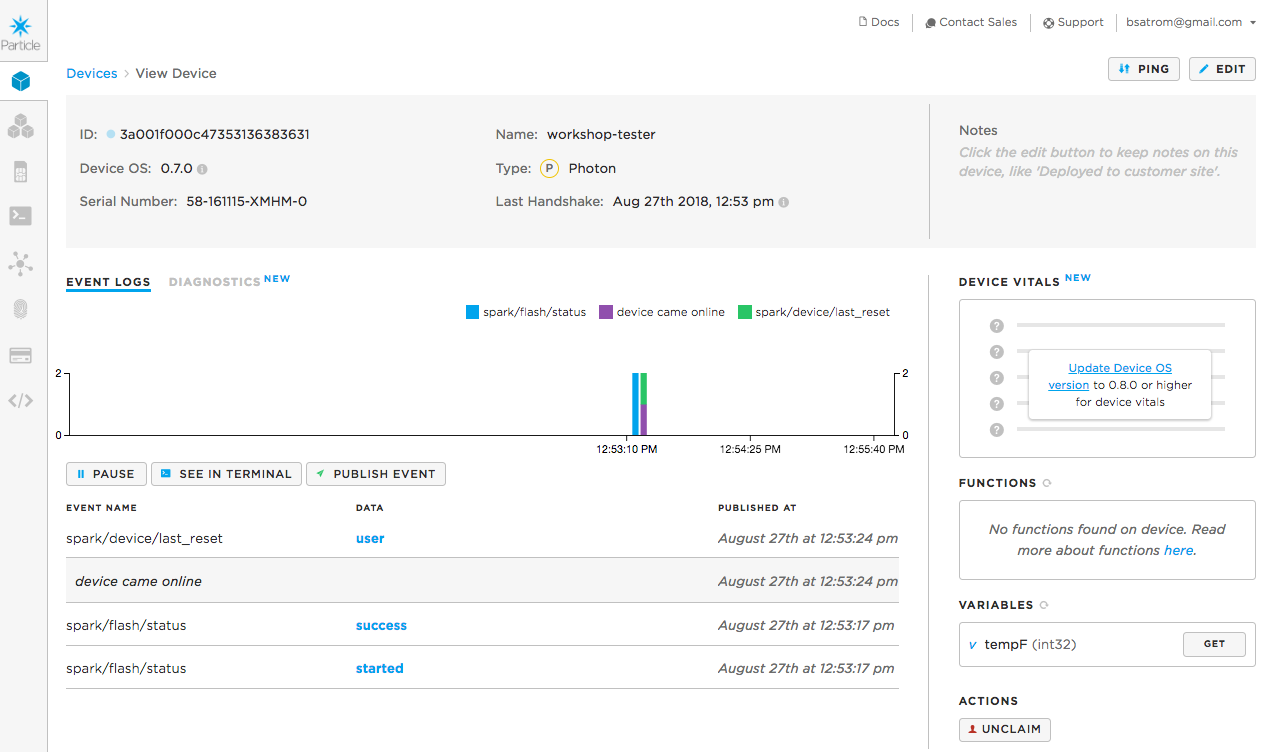
On the right side of your device dashboard, you'll notice two boxes for Functions and Variables. We haven't added a function yet, but you should see
tempFlisted under variables.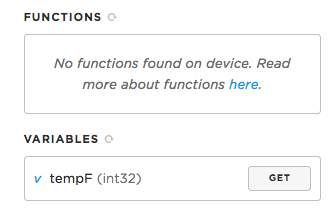
Click on the
Getbutton and you should see a value returned. You're reading a sensor value from the Internet!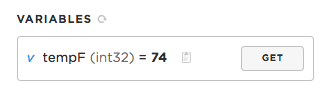
Adding a Function
Now let's add a function that we can call to check the temperature reading, on demand. Along the way, we're going to clean up our existing code a bit. Start by adding the following to the top of your file, just after the
#include:#define TEMP_CHECK_INTERVAL 10000#defineis a text substitution pre-processor directive. It tells the compiler to replace every instance of a text value (on the left) with another value (on the right). In the case above, anywhere we useTEMP_CHECK_INTERVALwill be replaced with the number10000. It's like using a constant, except we're not using any memory in allocating a variable for the program!Next, let's add a new variable we can use to track the last time we checked the temperature. Add the following line right after our
tempvariable.unsigned long lastTempCheck = 0;Now, lets add a function for checking the temperature, since we'll end up needing this in a few places. Just before the
setupfunction, add a newcheckTempfunction.void checkTemp() { if (tempSensor.read()) { temp = (tempSensor.fahrenheit() * 100) / 100; } }Next, we need to clean up our loop a bit. We were using
delaypreviously to pause execution between checks, but this isn't ideal because it blocks program execution. A better way to manage delays between actions in an embedded system is to usemillis()and timing variables, like the ones we added earlier.millis()returns the number of milliseconds that have elapsed since your program started running, and it can be very useful when you need to manage time intervals.Change your
loopto look like the following:void loop() { if (lastTempCheck + TEMP_CHECK_INTERVAL < millis()) { lastTempCheck = millis(); checkTemp(); } }The
ifstatement is checking to see how long it's been since we took a temperature reading. Basically, if 10 seconds have elapsed (ourTEMP_CHECK_INTERVALvalue), we'll set thelastTempCheckto a new value and then check the temperature sensor.Since our first temp check won't happen in the first 10 seconds, we can add an initial check to our
setup.void setup() { Particle.variable("tempF", temp); checkTemp(); }Now we can add our cloud function.
Particle.functionexpects a name and a local function that will handle calls from the Device Cloud. Add the following to yoursetupfunction.Particle.function("checkTemp", checkHandler);And, finally, we'll add the function. All functions to be used as cloud functions MUST return an
intand take a singleStringparameter, which is why the signature is different than ourcheckTempfunction.int checkHandler(String command) { checkTemp(); return 1; }For the sake of clarity, we've wrapped the existing
checkTempfunction in our cloud function handler. How could you refactor this so we've only have one helper function for local calls and the device cloud?Now, flash the firmware to your device and head back to the console. Refresh your device screen and you should now see your
checkTempfunction.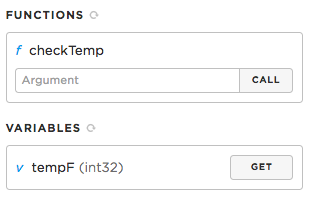
Click on
Callto execute the function. Then, clickGetnext to thetempFvariable to see the result.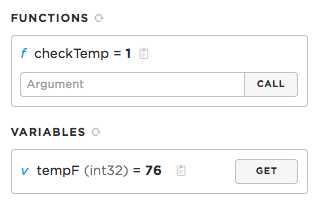
Publishing an event
Before we move on, let's explore one more Particle primitive,
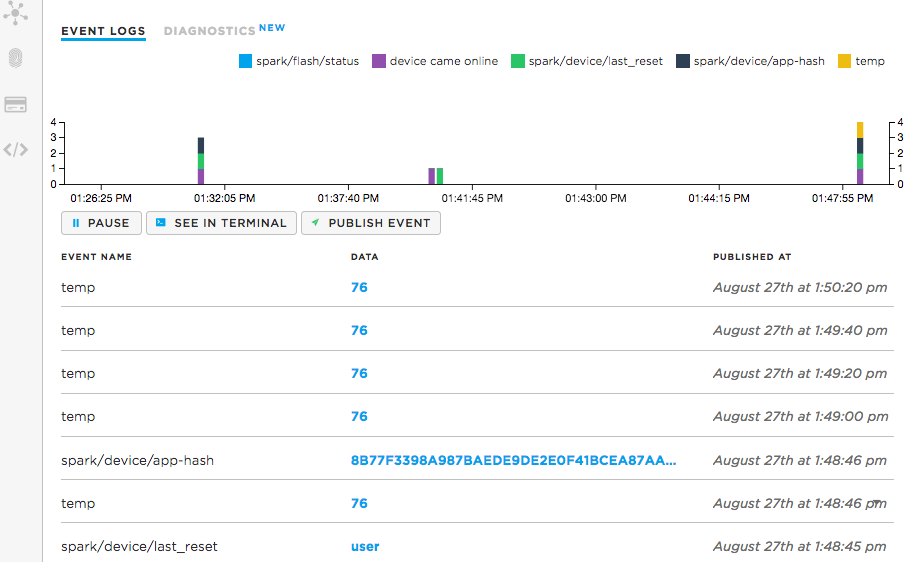
publish, which allows us to fire events that we can subscribe to from other devices, web and mobile apps, or stream into cloud services like Azure!Each time we check the temp, we want to publish an event for all subscribers.
Particle.publishmakes this easy. Add the following to yourcheckTempfunction, inside theifstatement.Particle.publish("temp", String(temp), PRIVATE);And that's all you need to do to publish events! Flash the firmware to your device go back to your device page in the Console. In the event logs, you'll see new temp events come across every ten seconds.
Congratulations on getting your devices connected to the Particle Device Cloud! Now we're ready to take our exploration further and get our sensor data into Azure!