


 Go to console

 Change theme


 Edit Account
 Logout
Monitor Edge firmware - Monitor One
Monitor Edge is the standard firmware for the Monitor One. It can be used as-is, but often you will want to modify it to suit your specific application.
You should always start using Monitor Edge as the base, instead of programming it like other Particle devices directly to Device OS, because of the support for the Monitor One built-in peripherals and console support built into Monitor Edge.
Accessing the USB port
While you can flash the device OTA, it's usually preferable to open the case to access the USB port.
Remove the 6 screws using the smaller of the two included Allen wrenches.
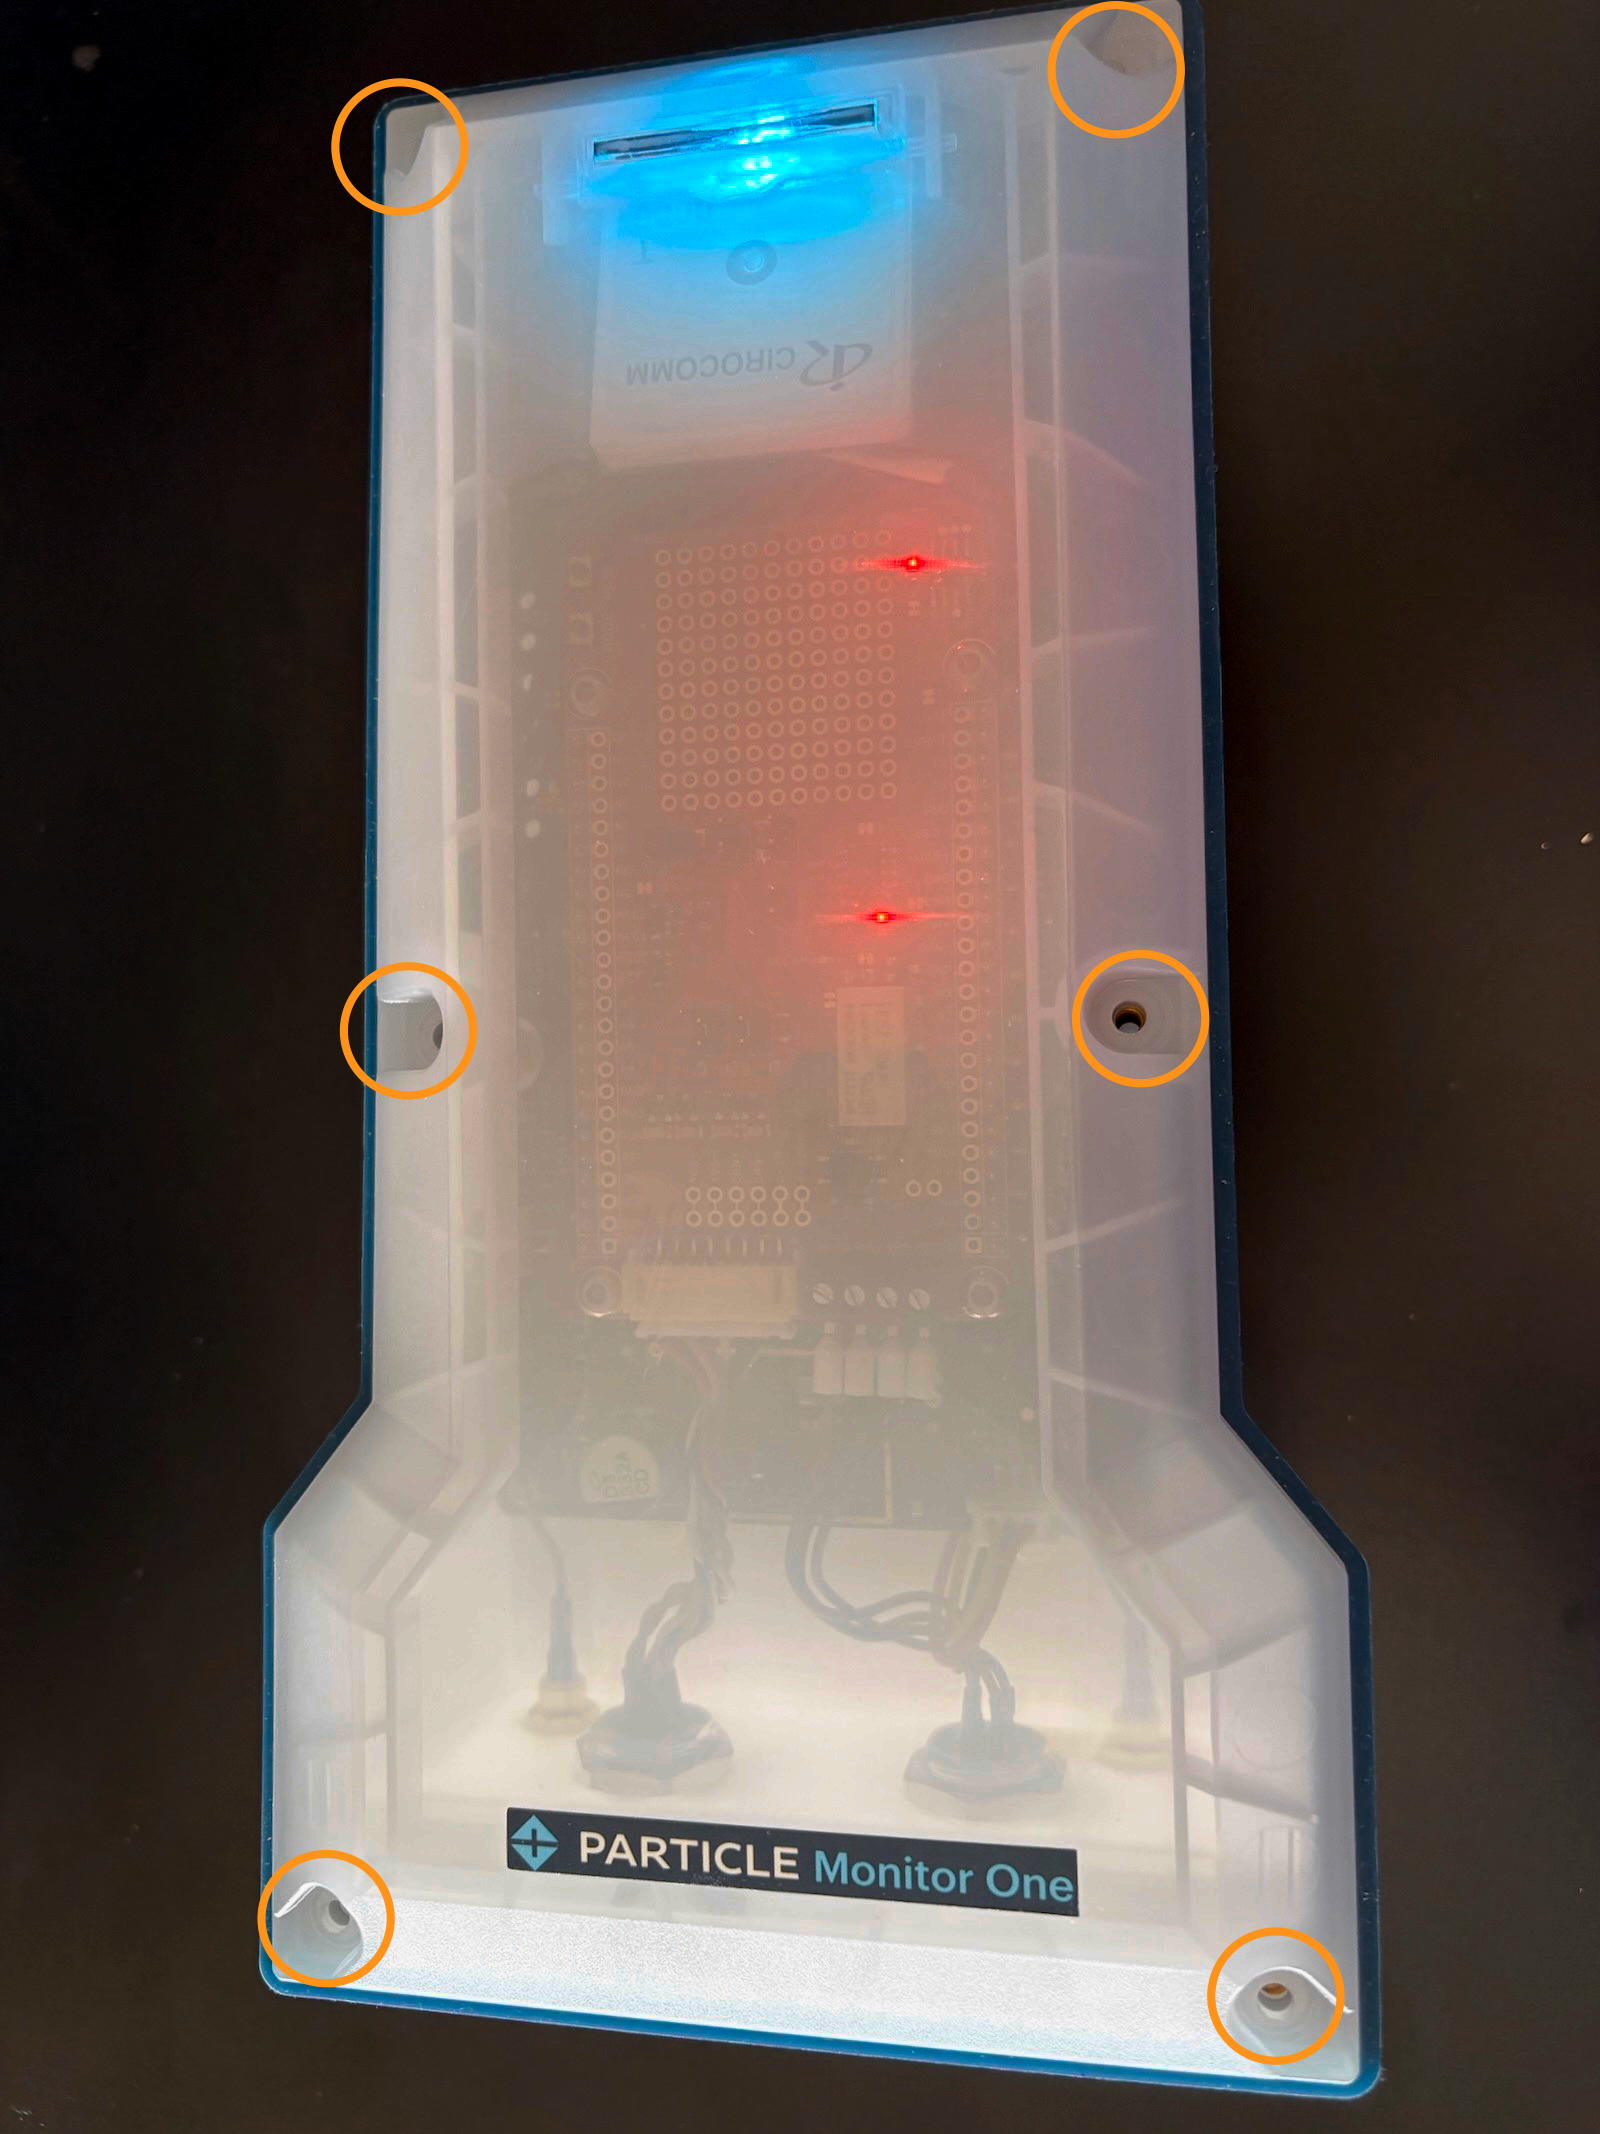
Lift the cover off the base. There is a gasket between the two; be careful not to damage it.
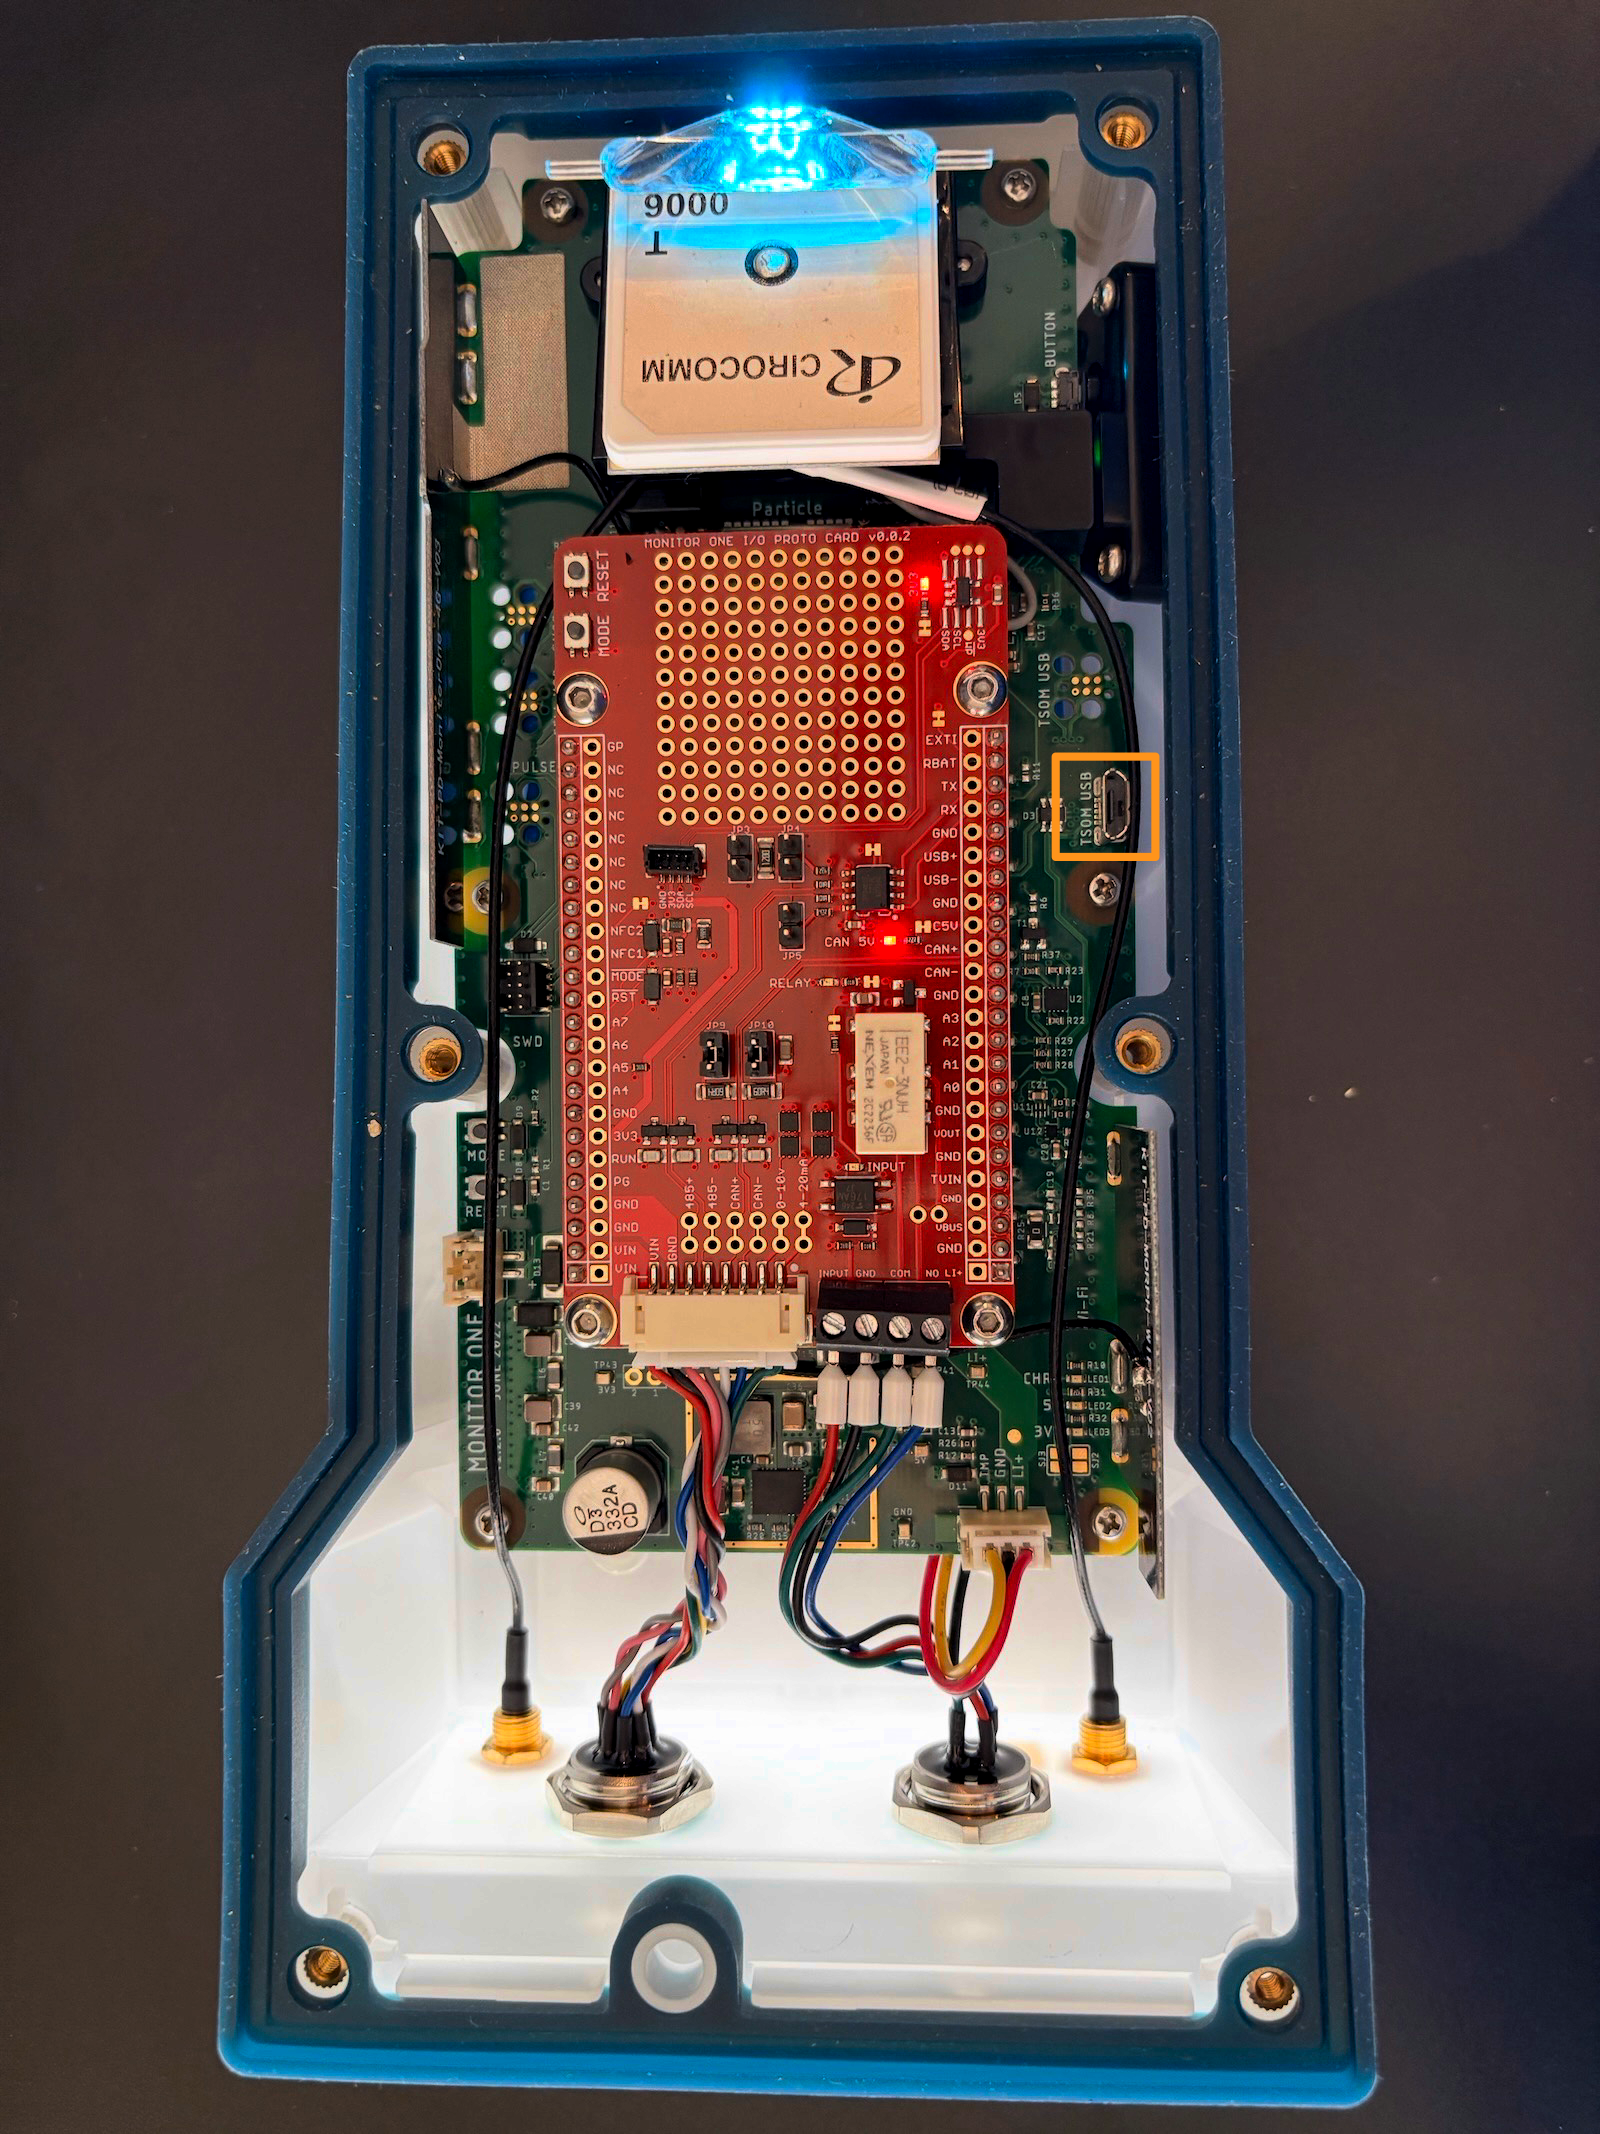
There is a Micro USB B connector on the carrier board. It can be used to power the Monitor One as well as program it by USB.
Upgrading firmware without Workbench
If you have access to the USB port and want to upgrade the firmware on your Monitor One without having to use Workbench, you can use Device Restore USB.
This allows upgrading the Monitor Edge version and Device OS on the device over USB directly from your web browser.
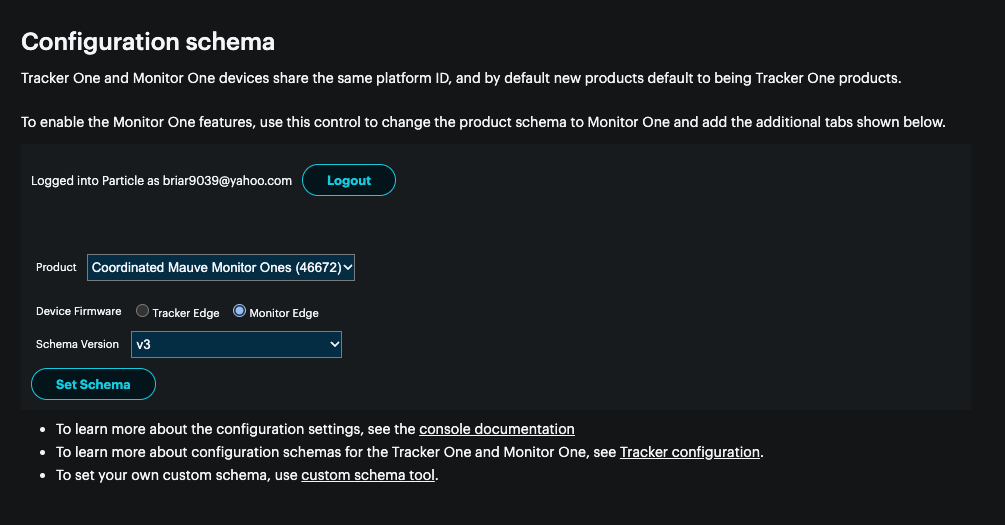
Set the configuration schema
By default, when a Tracker product is created by setup, manually, or via the API, it is created as a Tracker One product. Use the Configuration schema tool to change the product to have the proper configuration panels for the Monitor One.
Get the Monitor Edge firmware
To get the latest Monitor Edge firmware version from Github in Workbench, the easiest option is to use the Github extension.
The Github extension in Workbench makes it easy to use Github. It is typically automatically installed and ready to use.
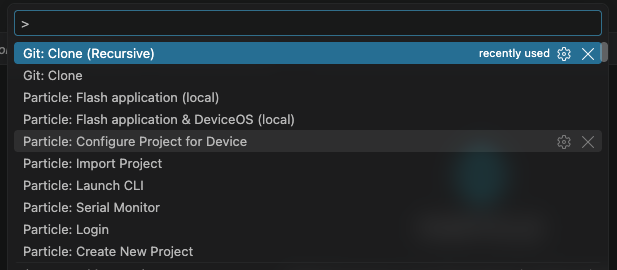
Open the command palette (Ctrl + Shift + P or Command + Shift + P). Start typing "git" to see a list of commands available.
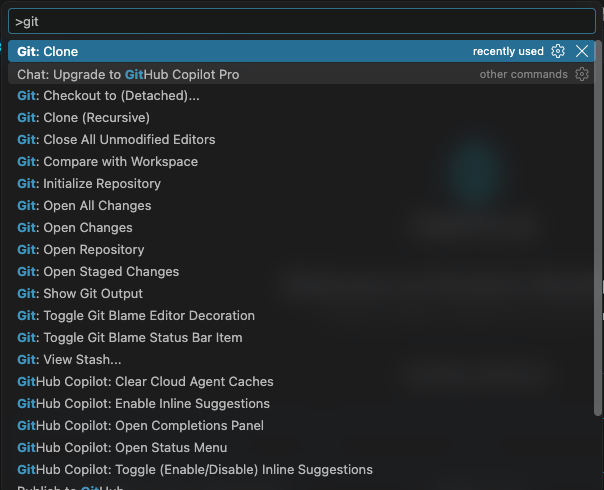
If you want to make a clone of a repository you can use Git: Clone (Recursive). You can use the non-recursive option as well for most repositories, but some like tracker-edge and device-os require it, and it doesn't hurt to use it all of the time. Recursive also clones submodules, which you could also do using git submodule init recursive from the command line, but the built-in version is usually easier.
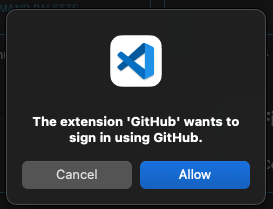
If you haven't signed in yet, sigh in with your Github credentials.
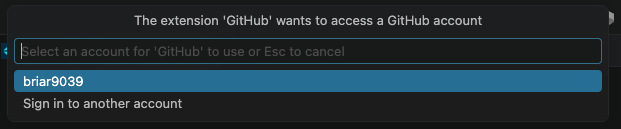
You will be prompted for where to clone from, enter the repository https://github.com/particle-iot/monitor-edge.

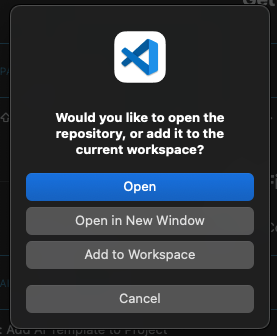
When the clone is complete you are prompted for where to open it. You should only select Open (replaces current window) or Open in New Window. Using the Add to Workspace option will create a multi-root workspace, with multiple projects, which does not work well with the Particle extension.
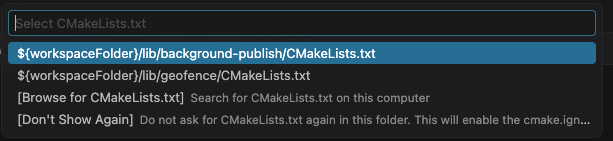
If you are prompted to Select CMakeLists.txt, just use Escape to exit the request, or select Don't Show Again. The main tracker-edge firmware doesn't use CMakeLists.txt.
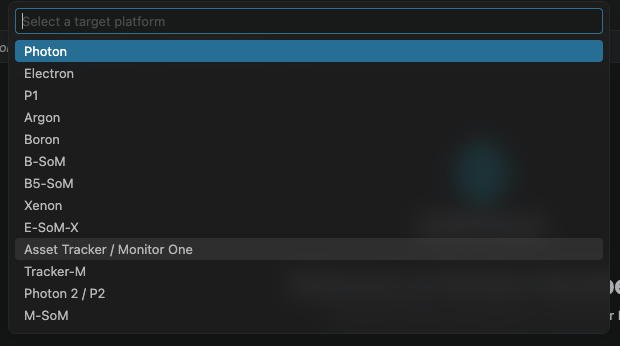
Open the command palette (Ctrl + Shift + P or Command + Shift + P) and select Particle: Configure project for device.
Select Asset Tracker / Monitor One.
Select the version of Device OS for the current Tracker Edge firmware. This is currently 6.5.0 or later.
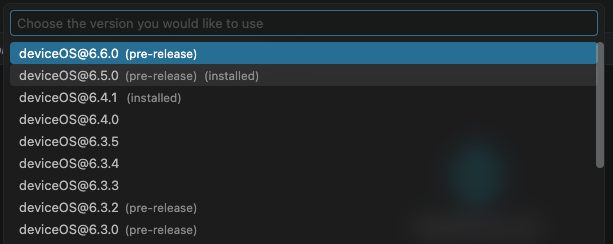
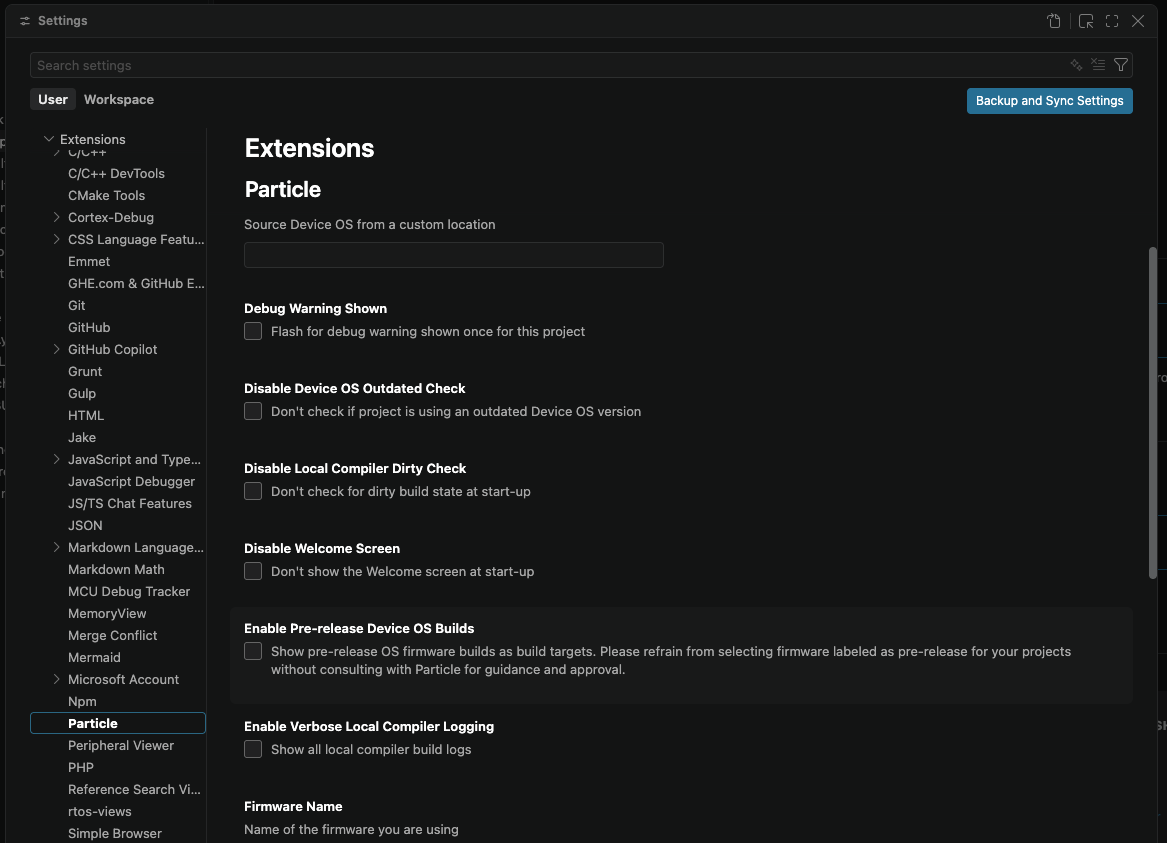
If you do not have the option for 6.5.0, select Preferences then Settings in VSCode.
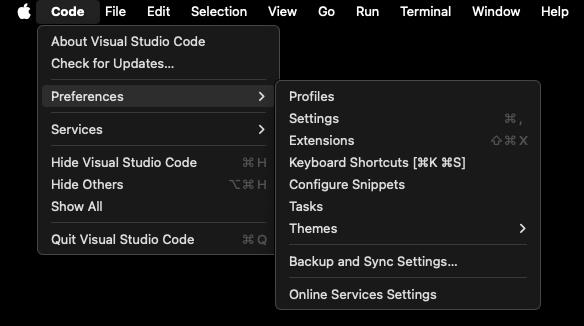
Select Extensions then Particle. Check the checkbox for Enable Pre-release Device OS Builds.
Flashing code
There are two ways you typically compile and flash code:
- Local: compiling on your computer and flashing the device by USB
- Cloud: compiling the code in the Particle cloud and flashing the device OTA (over-the-air)
When using cellular devices, you can save on cellular data by flashing locally.
Open the command palette (Ctrl + Shift + P or Command + Shift + P) and select Particle: Flash application (local).
A Terminal pane at the bottom of the window will appear with the build progress. It will sit in this state for a few minutes, but it will be much faster for subsequent builds.
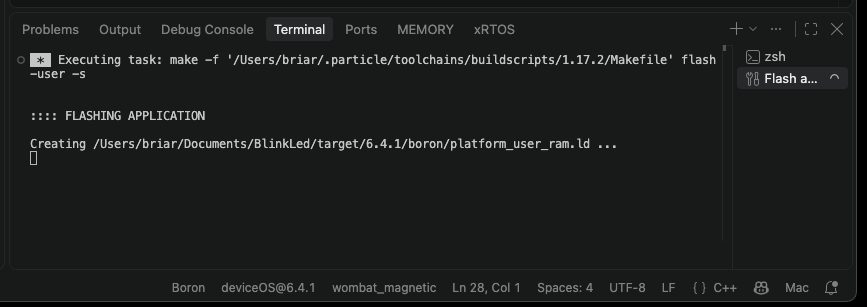
When the build is done, a message similar to this will display:
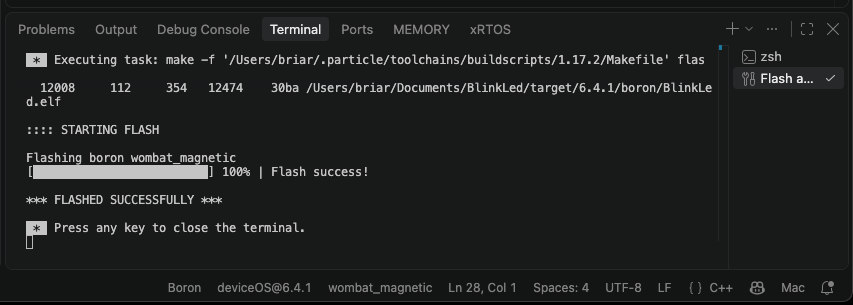
If you are looking at your device, you will notice that it sequences through:
- Blinking yellow: Programming the device by USB.
- Blinking green: Connecting to the network (cellular or Wi-Fi).
- Blinking cyan: Connecting to the Particle cloud.
- Fast blinking cyan: Last step of connecting to the Particle cloud.
- Breathing cyan: Successfully connected.
Next steps
- Learn more about Monitor Edge firmware