


 Go to console

 Change theme


 Edit Account
 Logout
Blink an LED
In embedded programming, it's common for your first project to do nothing but blink an LED. This section will create a project and program your device with it.
Create new project
Open the command palette (Ctrl + Shift + P or Command + Shift + P) and select Particle: Create New Project.
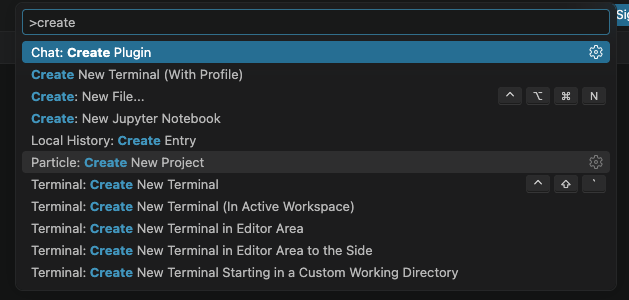
You will be prompted to select the parent of the directory you want your project to be in. Each project is created in its own directory, and it will be created for you in the next step.
Workbench will often prompt you for input and confirmation at the top center of the window. Here's where you'd name the project, in this case, I entered BlinkLed.
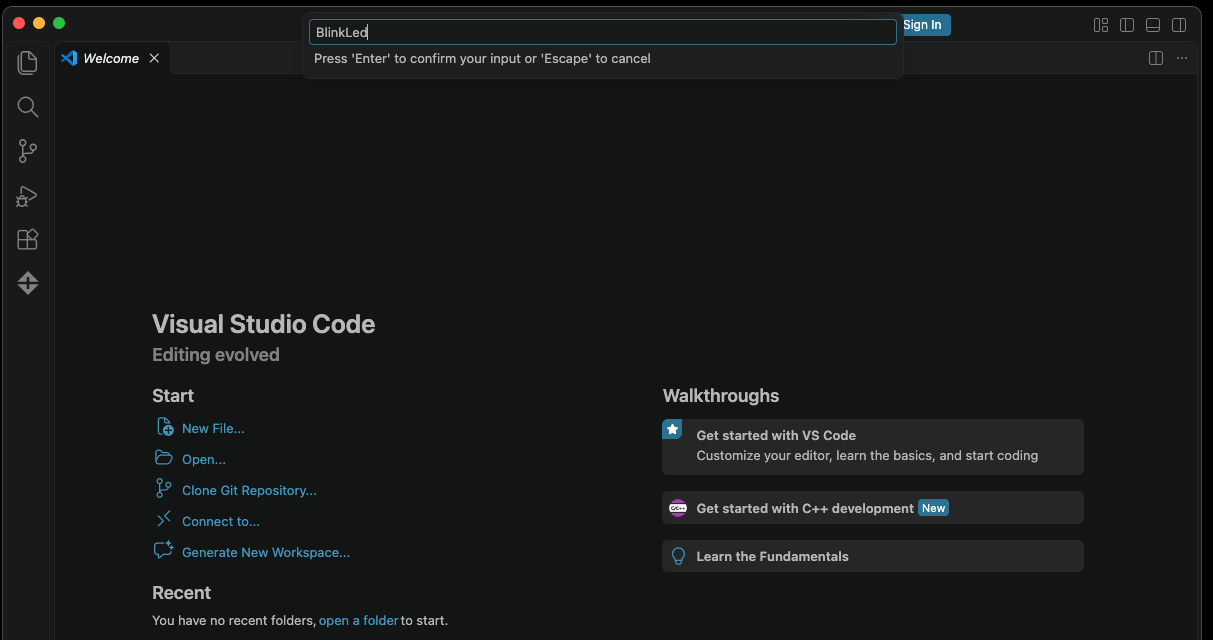
It's recommended that you avoid using spaces or special characters (accented, emoji, etc.) in filenames. Spaces in directory and file names do not work at all on Linux and may have compatibility issues with some tools on Windows and Mac so it's best to just play it safe with alphanumeric characters only.
It's best to open a single project in VSCode at a time. Using Particle: Create New Project automatically does this. In other words, you open the directory containing a project, not a directory containing multiple projects. If you are switching between multiple projects, you can open multiple VSCode windows.
Blink an LED
This is the Workbench window after creating the project. The Explorer panel in the upper left allows you to browse the files in your project.
I've opened the src (source) and clicked on BlinkLed.cpp to view the source file.
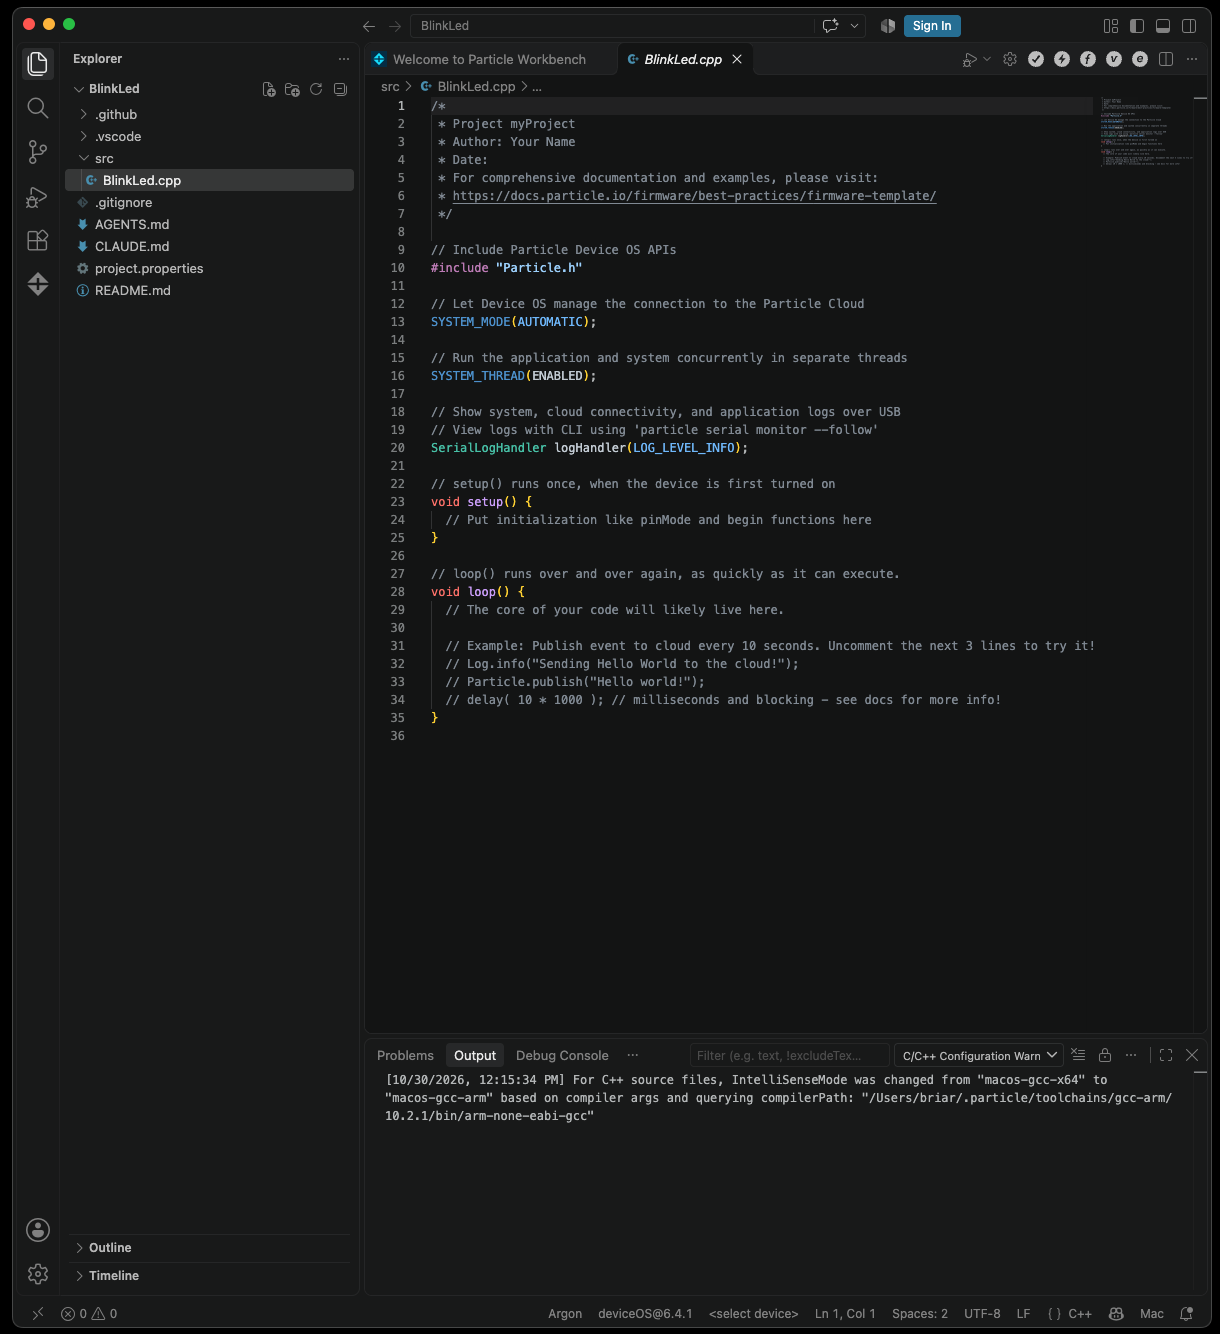
You can download the project here, or just copy and paste the BlinkLed.cpp source code into the project you just created.
Import project
If you download a project like the one above as a zip file you should download the .zip file and extract it.
On Windows, be sure to right click on the file and select Extract All... instead of just double clicking on it.
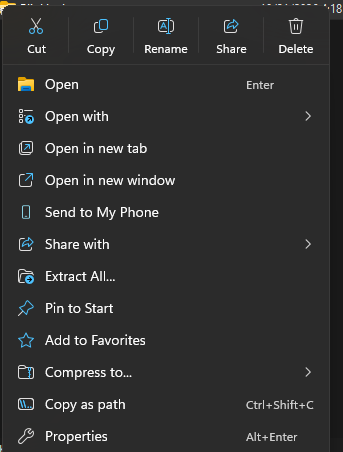
Use Particle: Import Project to import and open the project. You'll be prompted to select the project.properties file and the folder it is contained in will be opened in Workbench. It is opened in place, not copied.
The import step is recommended for projects that contain a project.properties file but do not contain a .vscode directory and do not contain a lib directory in the top level with project.properties.
If you have a complete project you previously created or cloned from Github, you can simply Open Folder to open it. You can also do this if you get an error importing.
If you don't import a project that needs to be imported, it will be missing some settings files like settings.json and launch.json and some features may not work properly.
Configure project for device
Now that you've logged in to your Particle account and opened or imported your project, you must tell Workbench which device you will be working with.
Open the command palette (Ctrl + Shift + P or Command + Shift + P) and select Particle: Configure project for device.
Select the type of device you are using.
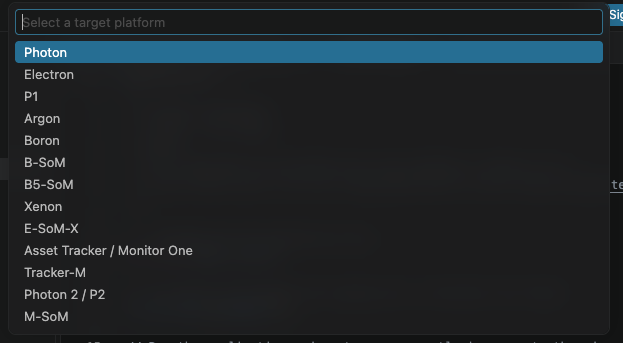
Select the version of Device OS you will be using. Often, you will select the newest. There may be newer versions when you go through this guide, and you can just select the latest version.
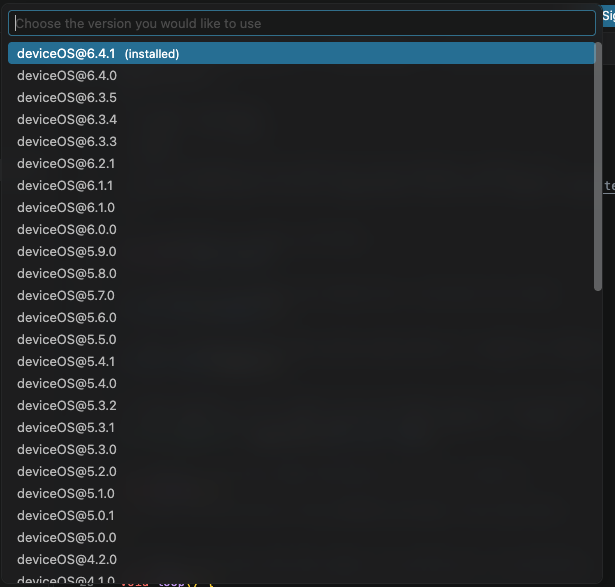
Finally, enter the name of the device you want to program. You can skip this by pressing Escape if you will be programming by USB and you only have one device connected to your computer.

Flashing code
There are two ways you typically compile and flash code:
- Local: compiling on your computer and flashing the device by USB
- Cloud: compiling the code in the Particle cloud and flashing the device OTA (over-the-air)
When using cellular devices, you can save on cellular data by flashing locally.
Open the command palette (Ctrl + Shift + P or Command + Shift + P) and select Particle: Flash application (local).
A Terminal pane at the bottom of the window will appear with the build progress. It will sit in this state for a few minutes, but it will be much faster for subsequent builds.
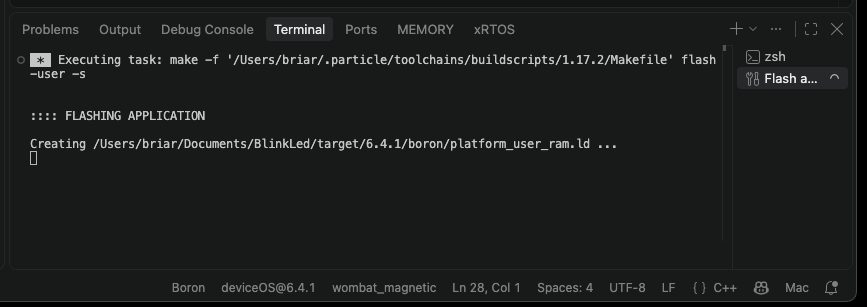
When the build is done, a message similar to this will display:
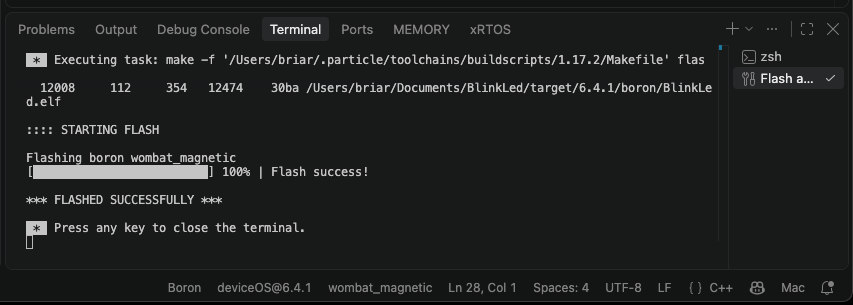
If you are looking at your device, you will notice that it sequences through:
- Blinking yellow: Programming the device by USB.
- Blinking green: Connecting to the network (cellular or Wi-Fi).
- Blinking cyan: Connecting to the Particle cloud.
- Fast blinking cyan: Last step of connecting to the Particle cloud.
- Breathing cyan: Successfully connected.
Also you should notice the blue status LED, which may be located next to the USB connector, or next to the D7 pin, blinking on and off once per second.
Firmware introduction
- Particle devices are programmed in C++
- The style of programming is similar to programming an Arduino
Additionally, your device only runs a single firmware program at a time; flashing a program replaces the existing program and the device reboots. This is different than a normal computer where multiple applications can be running at the same time.
It's called flashing because the program is stored in flash memory, a type of non-volatile memory that keeps its contents even if you remove power. You can unplug your device for years, plug it back in, and it will run the last flashed program. I call what the LED does "blinking" to avoid the ambiguity between blinking and flashing which would otherwise mean the same thing.
There are two parts:
- User firmware: The code you have written to implement your project
- Device OS: The operating system that handles the low-level operation for your device
User firmware is split out separately so it can be compiled more quickly and uses less data (and time) to flash.
User firmware targets a specific Device OS version, that's the version you select from Particle: Configure project for device.
User firmware will run on any Device OS version that's the same as, or newer, than the target version.
You will rarely upgrade Device OS by itself; it will automatically update when the user firmware target version specifies a newer version than is on the device. This can occur over USB or OTA. Device OS will never update itself spontaneously like phones do.
For more detailed information, see Firmware introduction.
Explaining the code
There's some boilerplate code that is common across most applications that I'll skip for now to focus on the important parts:
The first variable defines ledPin as the pin that the blue D7 LED is connected to. The other one holds the current state (true or false).
const pin_t ledPin = D7;

bool ledState = false;
The setup() function is called once when your firmware starts running. It tells Device OS that the ledPin (D7) is an output (as opposed to an input). Functions like pinMode are part of the Device OS API, and you can find out more in the Device OS API reference.
void setup()
{
    pinMode(ledPin, OUTPUT);
}
The loop() function is called repeatedly by Device OS. In this code, I toggle the state of ledState between true (on) and false (off), and set the hardware pin output using digitalWrite().
You can ignore the Log.info statement for now, but it's used to write messages to the USB serial debug log, which is a common way to help debug your code.
By default, loop() gets called about 1000 times per second, which would be blinking too fast to see, so I delay for 1 second (1000 milliseconds).
void loop()
{
    ledState = !ledState;
    digitalWrite(ledPin, ledState);
    Log.info("led state=%d", ledState);

    delay(1000); // milliseconds
}