

 Go to console

 Change theme


 Edit Account
 Logout
Cloud LED
In this section, I'll make it possible to change the device's status LED from the cloud. While normally you'd do something more interesting, like control a bigger light, an electronic lock or gate, or something else external, this is a good place to start.
Firmware
As in the previous section, you can either:
- Particle: Create New Project, create CloudLed1, and paste the contents CloudLed1.cpp file into your file.
- Download the zip file, extract, then Particle: Import Project.
As in the previous section, also do:
- Particle: Configure project for device
- Particle: Flash application (local)
Once the firmware is running you can try making function calls to it.
Gen 2 Devices (STM32) (E-Series, Electron, Photon, and P1; does not include E404X):
Be sure to update the PLATFORM_ID at the beginning of the .cpp file to match your product ID on Gen 2 devices. This is not necessary for Device OS 4.0 and later.
Making function calls
Console - making function calls
I've opened console.particle.io, then my product (Chivalrous Pink Borons), the product device list, then my device (wombat_magnetic). If you still have it opened from the last section, close it and reopen the device.
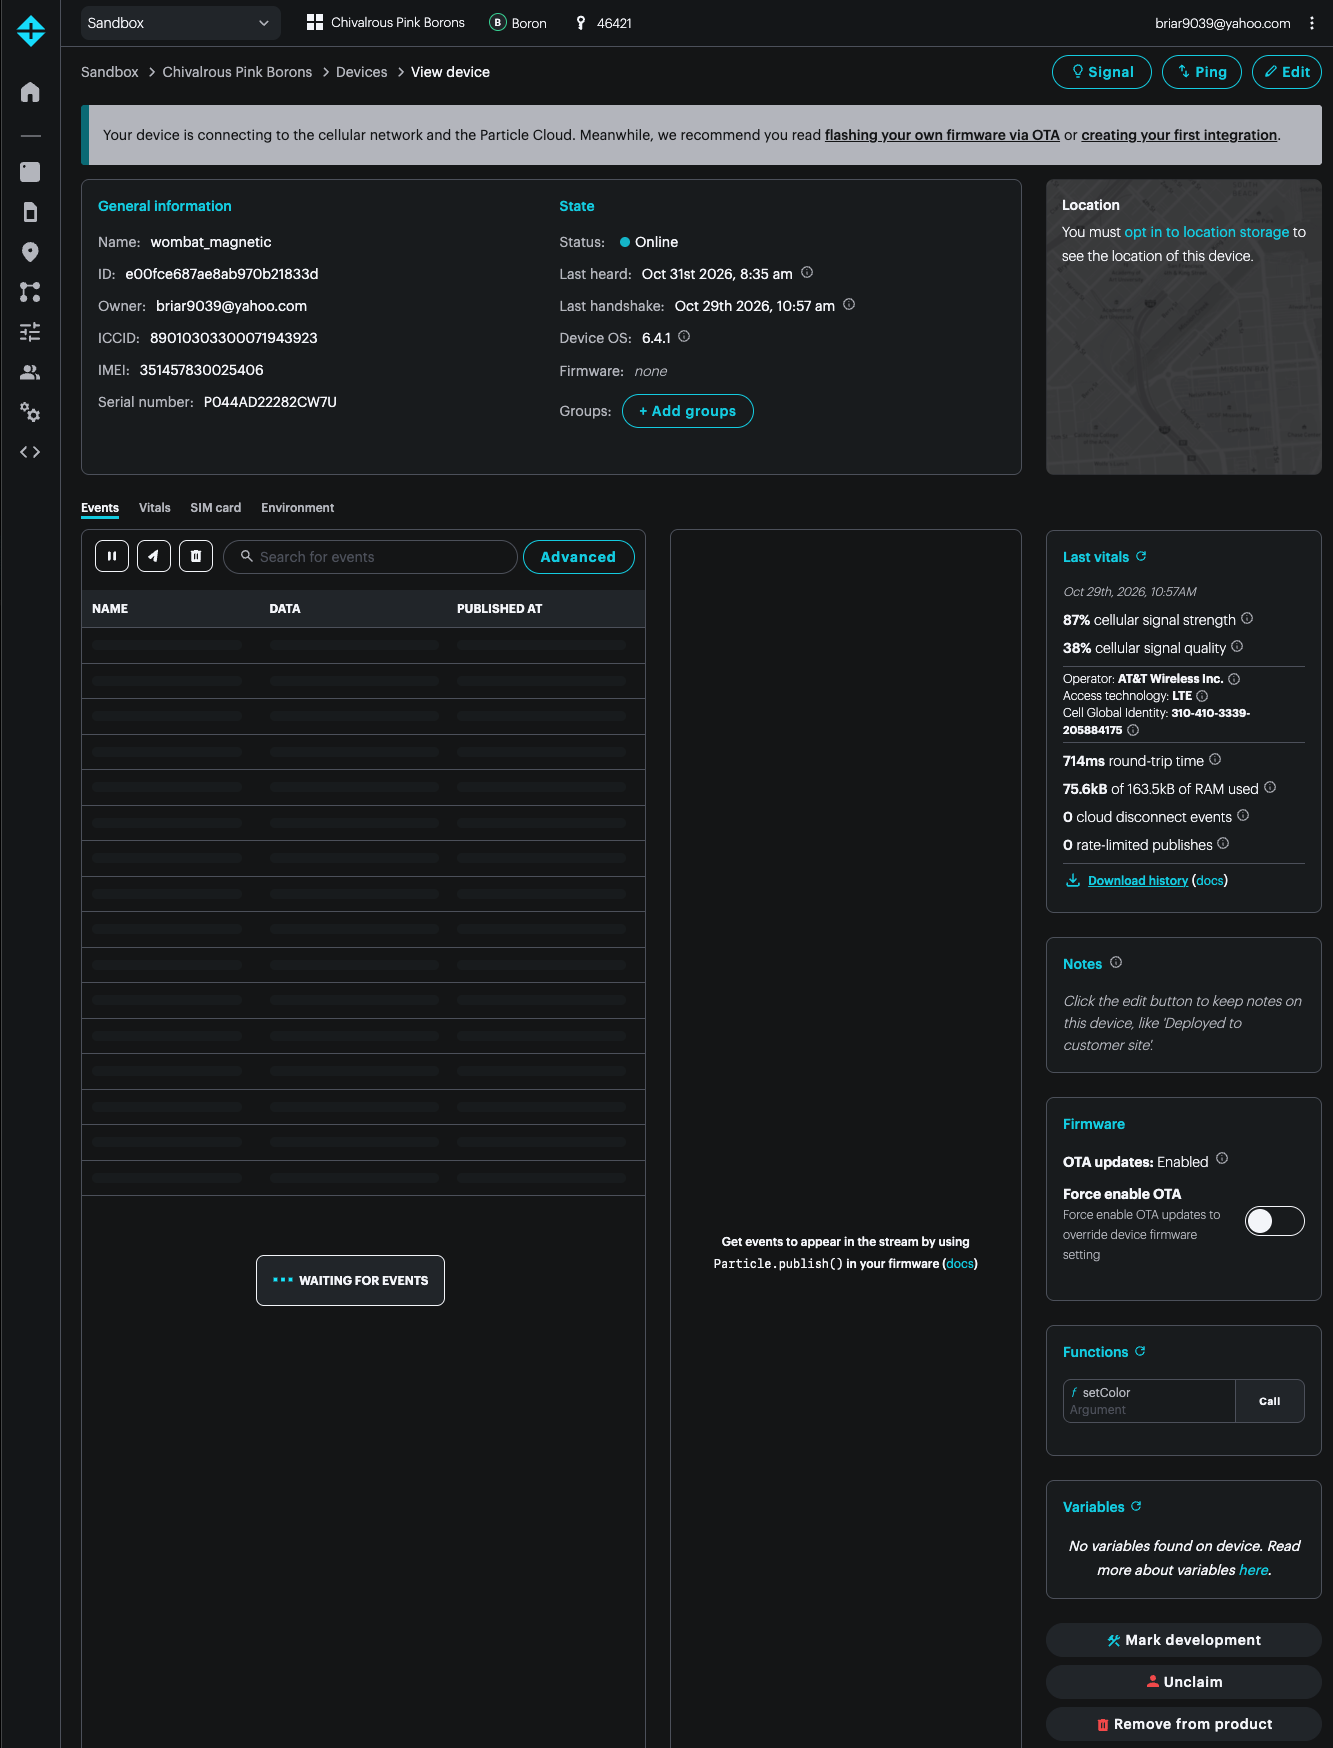
Of particular interest is the Functions panel on the right side of the window.
Enter: 255,0,0 (no spaces, with commas between the numbers) and click Call.
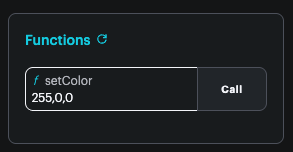
The status LED of the device should change to solid red for 10 seconds!
The numbers are red,green,blue and range from 0-255, so solid dark blue would be 0,0,255. Try some other colors.
Particle CLI - making function calls
You can also make function calls from the Particle CLI.
From the command palette, Particle: Launch CLI. A new Terminal pane will appear at the bottom of the window.
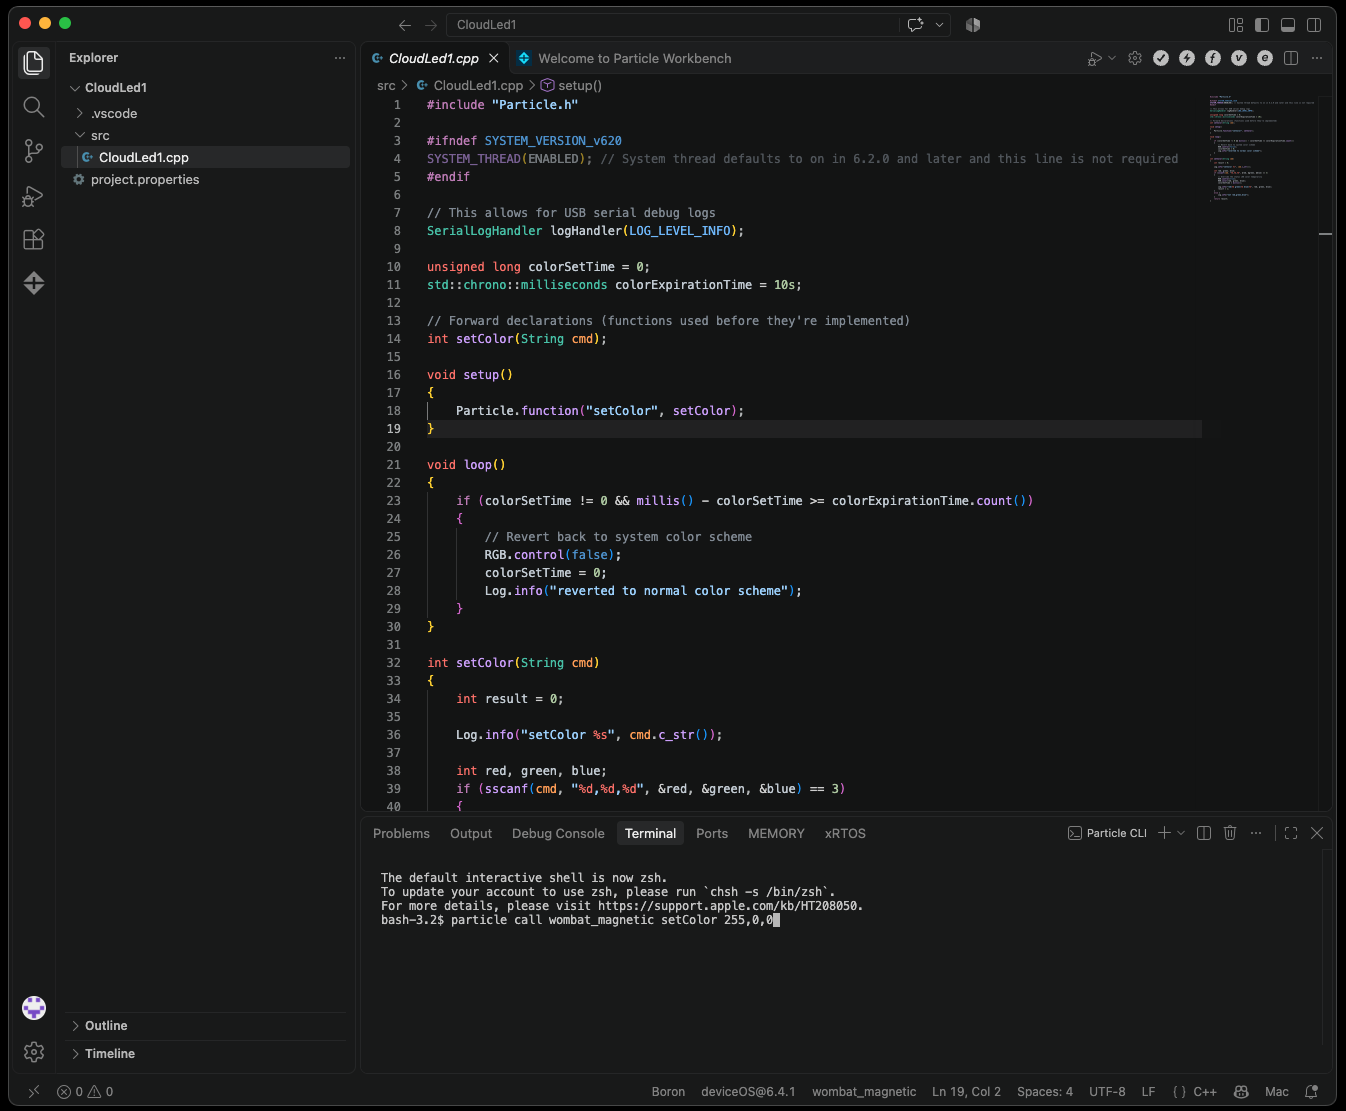
Enter in the terminal window:
particle call wombat_magnetic setColor 0,255,0
Replace wombat_magnetic with the name of your device. Everything else should be the same, and several parts of the command line are case-sensitive.
The status LED of the device should change to solid green.
USB serial debug
If you are monitoring the USB serial debug log, you'll see a message when the color changes, and when it reverts back to normal:
0000012822 [system] INFO: Cloud connected
0000222622 [app] INFO: setColor 255,0,0
0000222622 [app] INFO: red=255 green=0 blue=0
0000232622 [app] INFO: reverted to normal color scheme
0000643743 [app] INFO: setColor 0,255,0
0000643744 [app] INFO: red=0 green=255 blue=0
0000653744 [app] INFO: reverted to normal color scheme
Explaining the code
The unsigned long variable colorSetTime is used to store the value of millis(). This function is often used for millisecond-level timing in your applications. It's very fast and efficient to use.
In some cases you will use Unix time Time.now() which is the number of seconds since January 1, 1970 at UTC. This is better for real-time applications, but the clock will often not be set until you've successfully cloud connected, so depending on the task you may need to use both.
This code uses std::chrono::milliseconds which allows more friendly time specifications like these, instead of specifying time in milliseconds.
10s10 seconds5min5 minutes2h2 hours
See chrono literals for more information.
unsigned long colorSetTime = 0;
std::chrono::milliseconds colorExpirationTime = 10s;
The setup function registers a function handler for the function named setColor.
void setup()
{
    Particle.function("setColor", setColor);
}
The loop function handles clearing the color after the expiration time (10 seconds).
void loop()
{
    if (colorSetTime != 0 && millis() - colorSetTime >= colorExpirationTime.count())
    {
        // Revert back to system color scheme
        RGB.control(false);
        colorSetTime = 0;
        Log.info("reverted to normal color scheme");
    }
}
The setColor function parses the function value cmd string.
int setColor(String cmd)
{
    int result = 0;

    Log.info("setColor %s", cmd.c_str());

    int red, green, blue;
    if (sscanf(cmd, "%d,%d,%d", &red, &green, &blue) == 3)
    {
        // Override the status LED color temporarily
        RGB.control(true);
        RGB.color(red, green, blue);
        colorSetTime = millis();

        Log.info("red=%d green=%d blue=%d", red, green, blue);
        result = 1;
    }
    else {
        Log.info("not red,green,blue");
    }
    return result;
}
sscanfis a C library function to parse a string. In this case, it parses 3 decimal numbers, comma separated.- RGB.control() allows the firmware to take over the RGB LED from the system.
- RGB.color() sets the color to the specified red, green, and blue values. Each value should be of the range 0 to 255.
- The code remembers the millis value when changed, so it can be reverted to system control after 10 seconds.
Next steps
Controlling the RGB LED isn't very useful, but there are more tangible real-life things that can be controlled from a Particle device using the same technique.
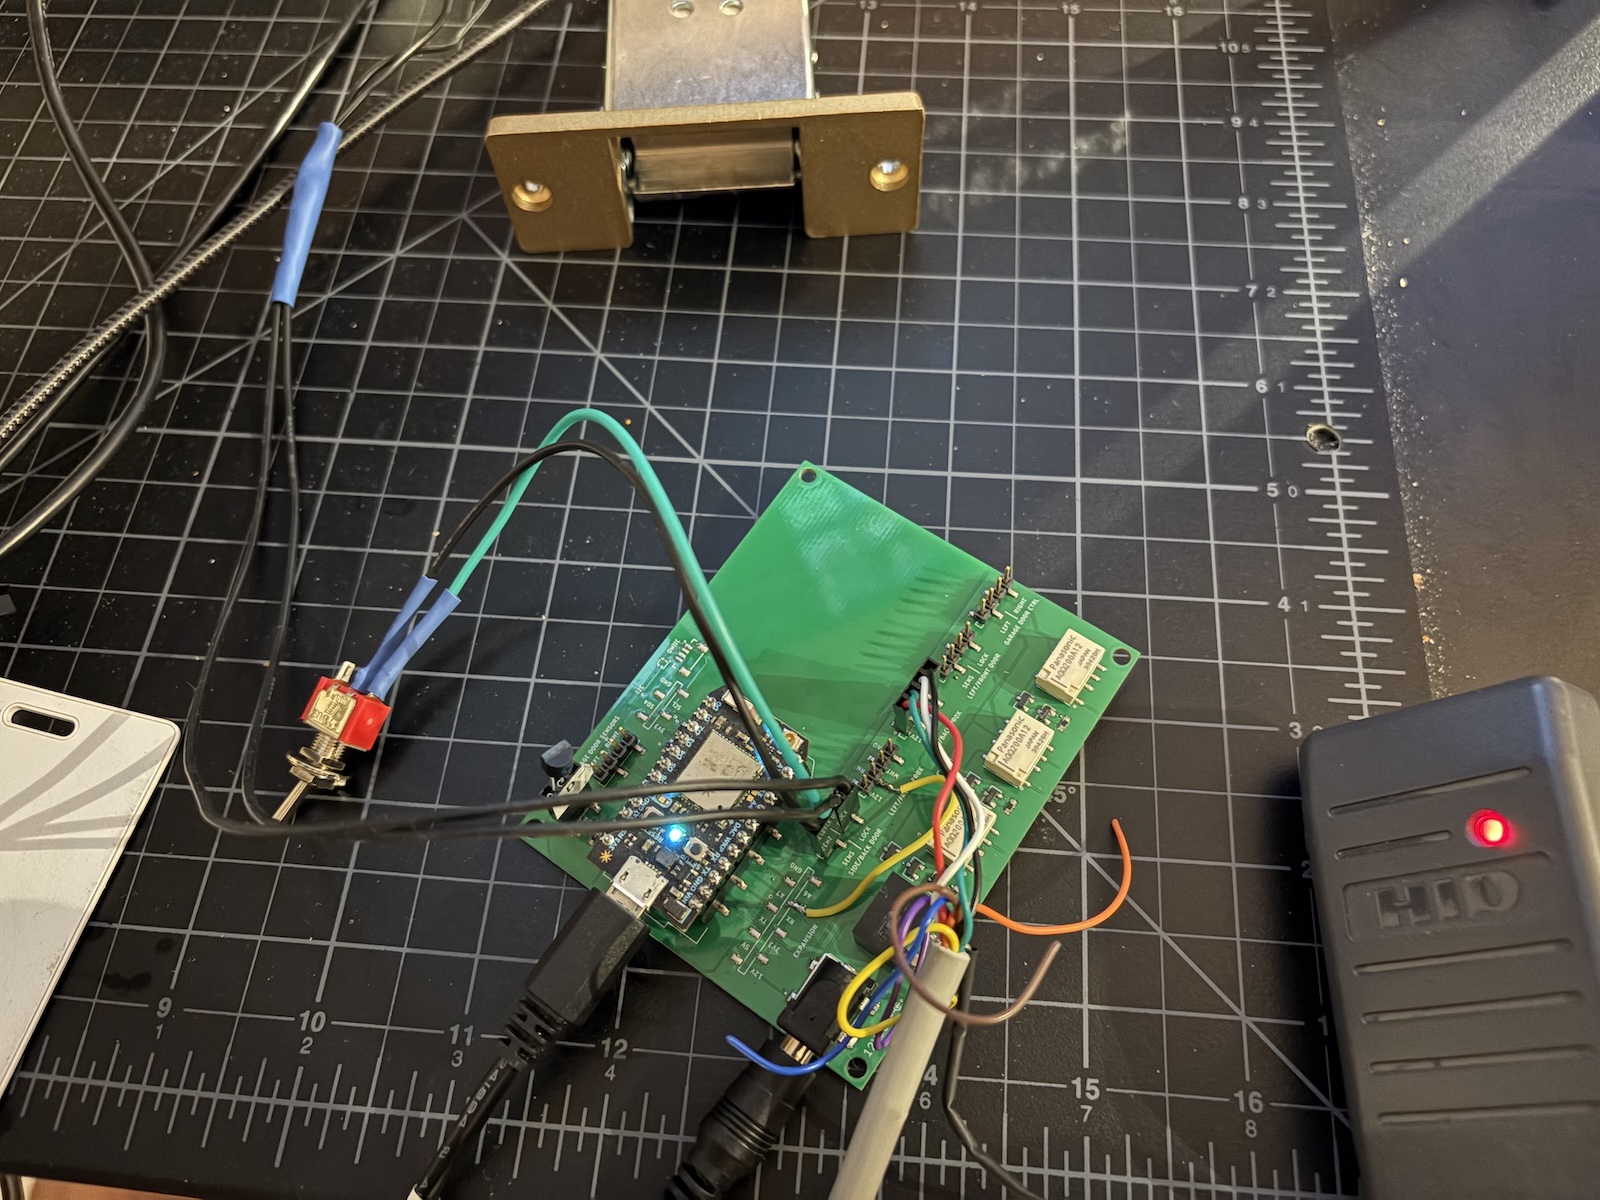
This custom board controls an electric lock strike, to allow the door to be unlocked remotely.