

 Go to console

 Change theme


 Edit Account
 Logout
Using Blynk dashboards
This section includes information on creating integrations and more about environment variables to use Blynk.
Setting up Blynk
Blynk is an external service for processing IoT device data and displaying it in dashboards and apps with minimal code required.
Follow the instructions on the site for creating an account, then use the Blynk Blueprints feature. Select the Connect a Particle device Blueprint.
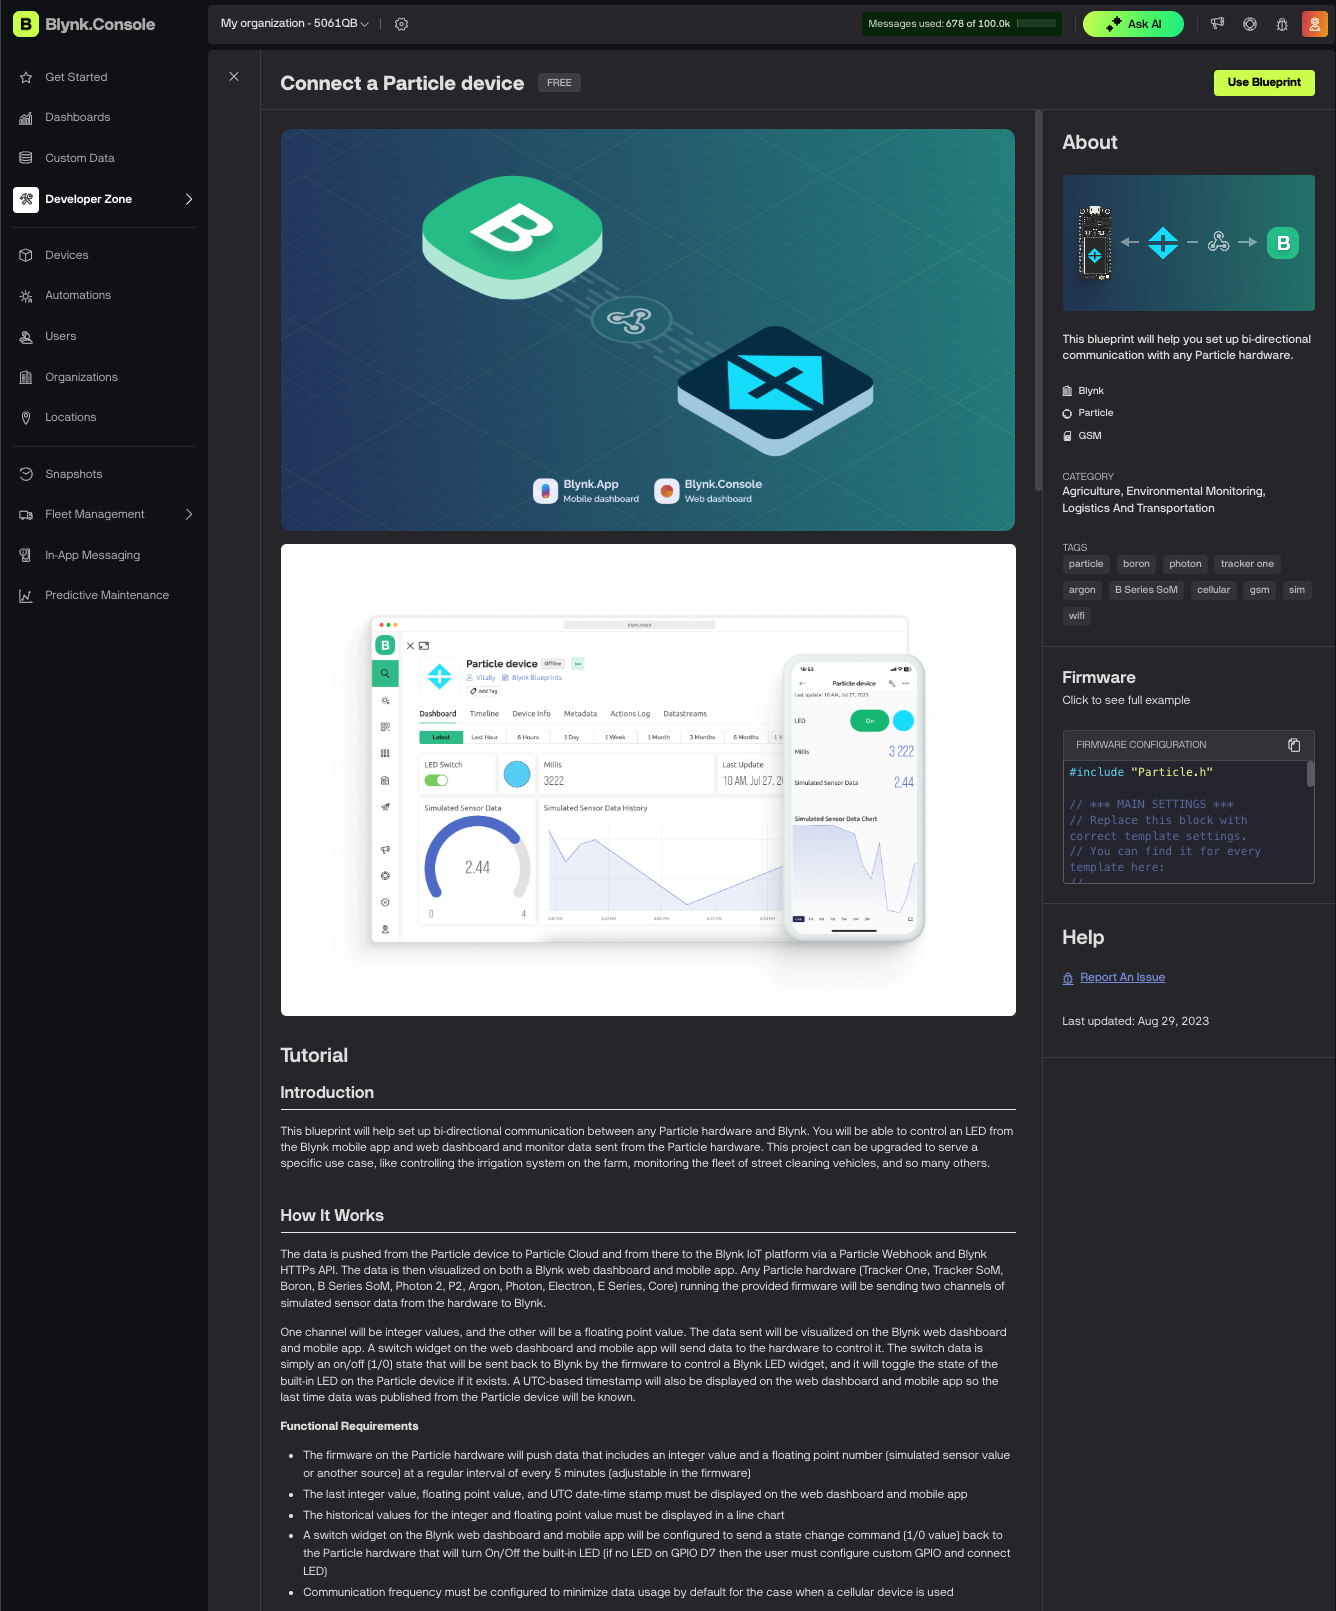
You can follow the Blynk blueprint instructions as is, however I've made a few modification to allow it to work with the existing fleet temperature sensor code that we've used in earlier sections. No firmware changes required!
Create an integration
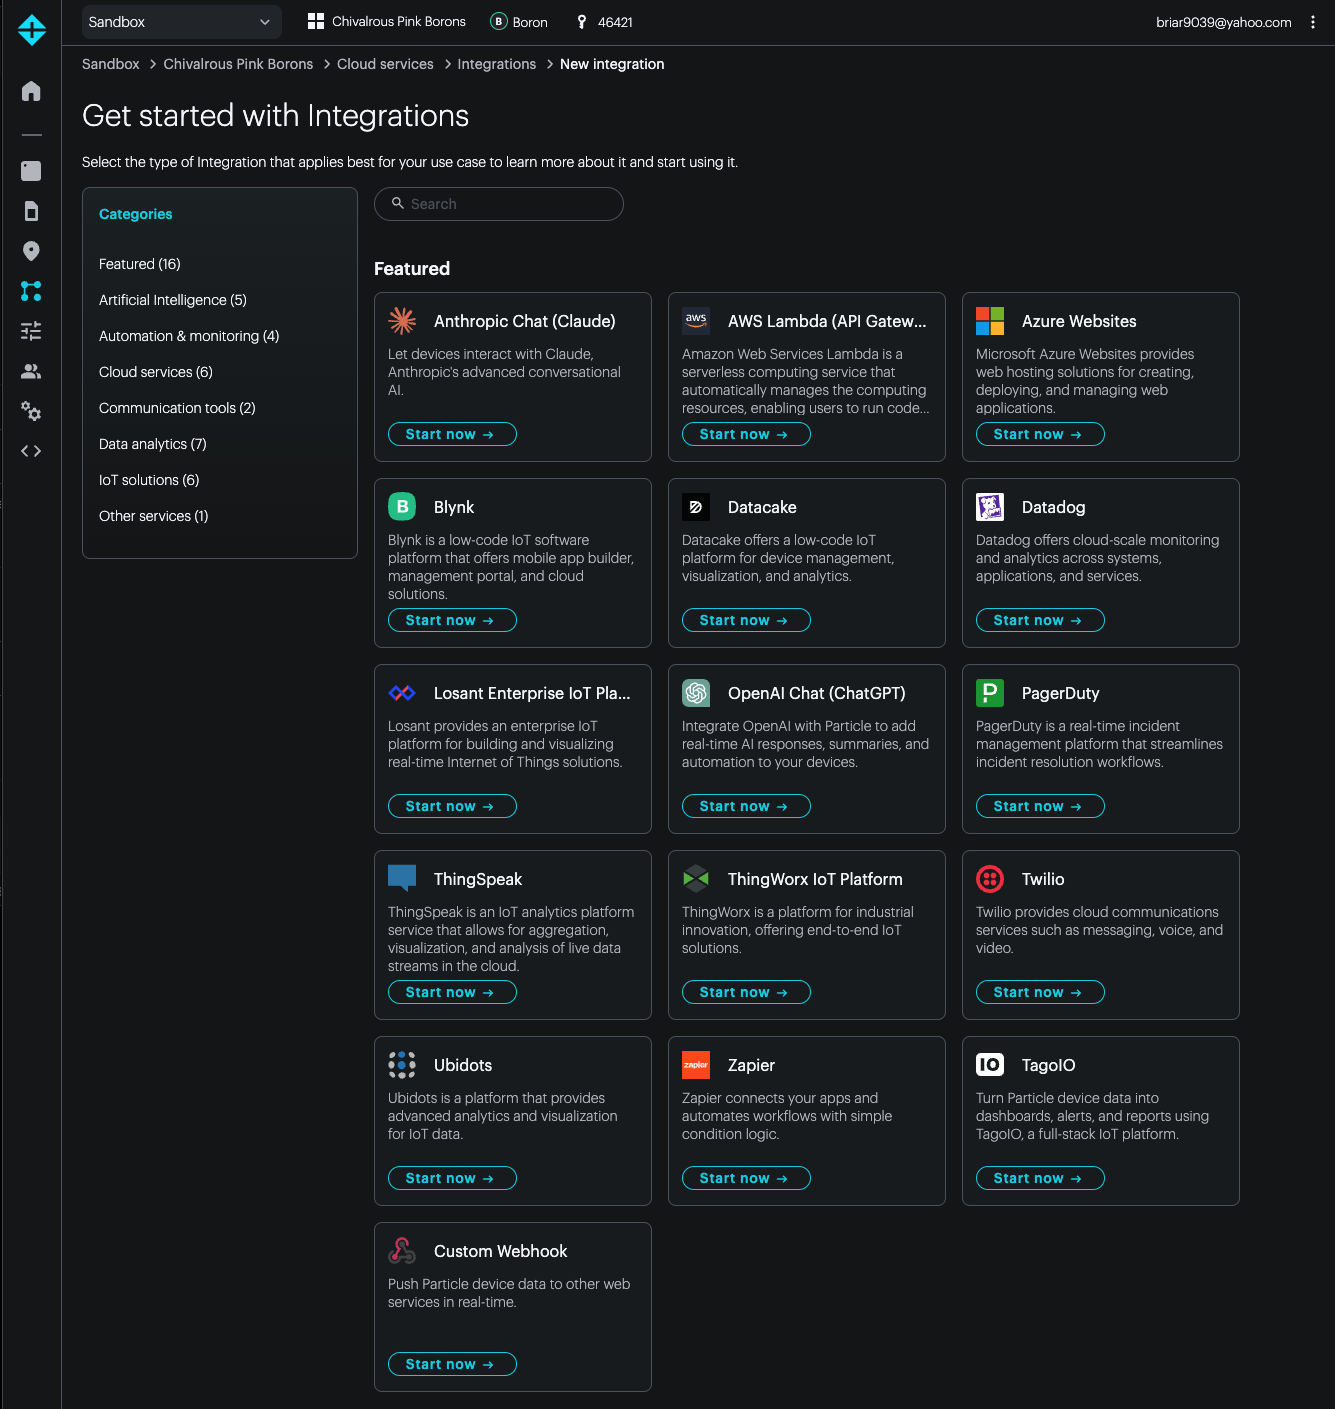
From my product (Chivalrous Pink Borons) I selected Cloud services then Integrations then Add new integration to open the integrations gallery.
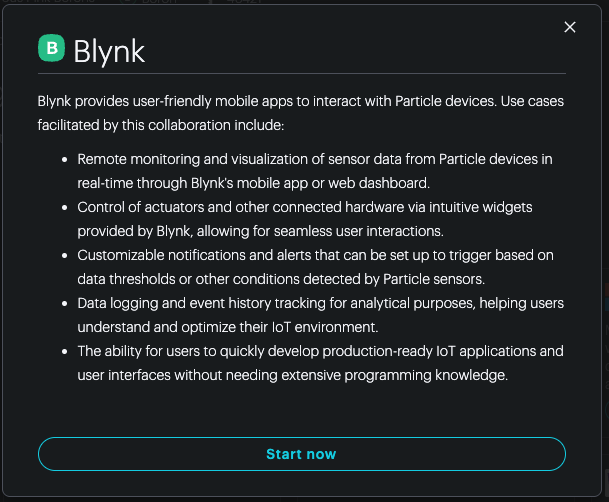
I selected Blynk then Start now.
This is the default integration template:
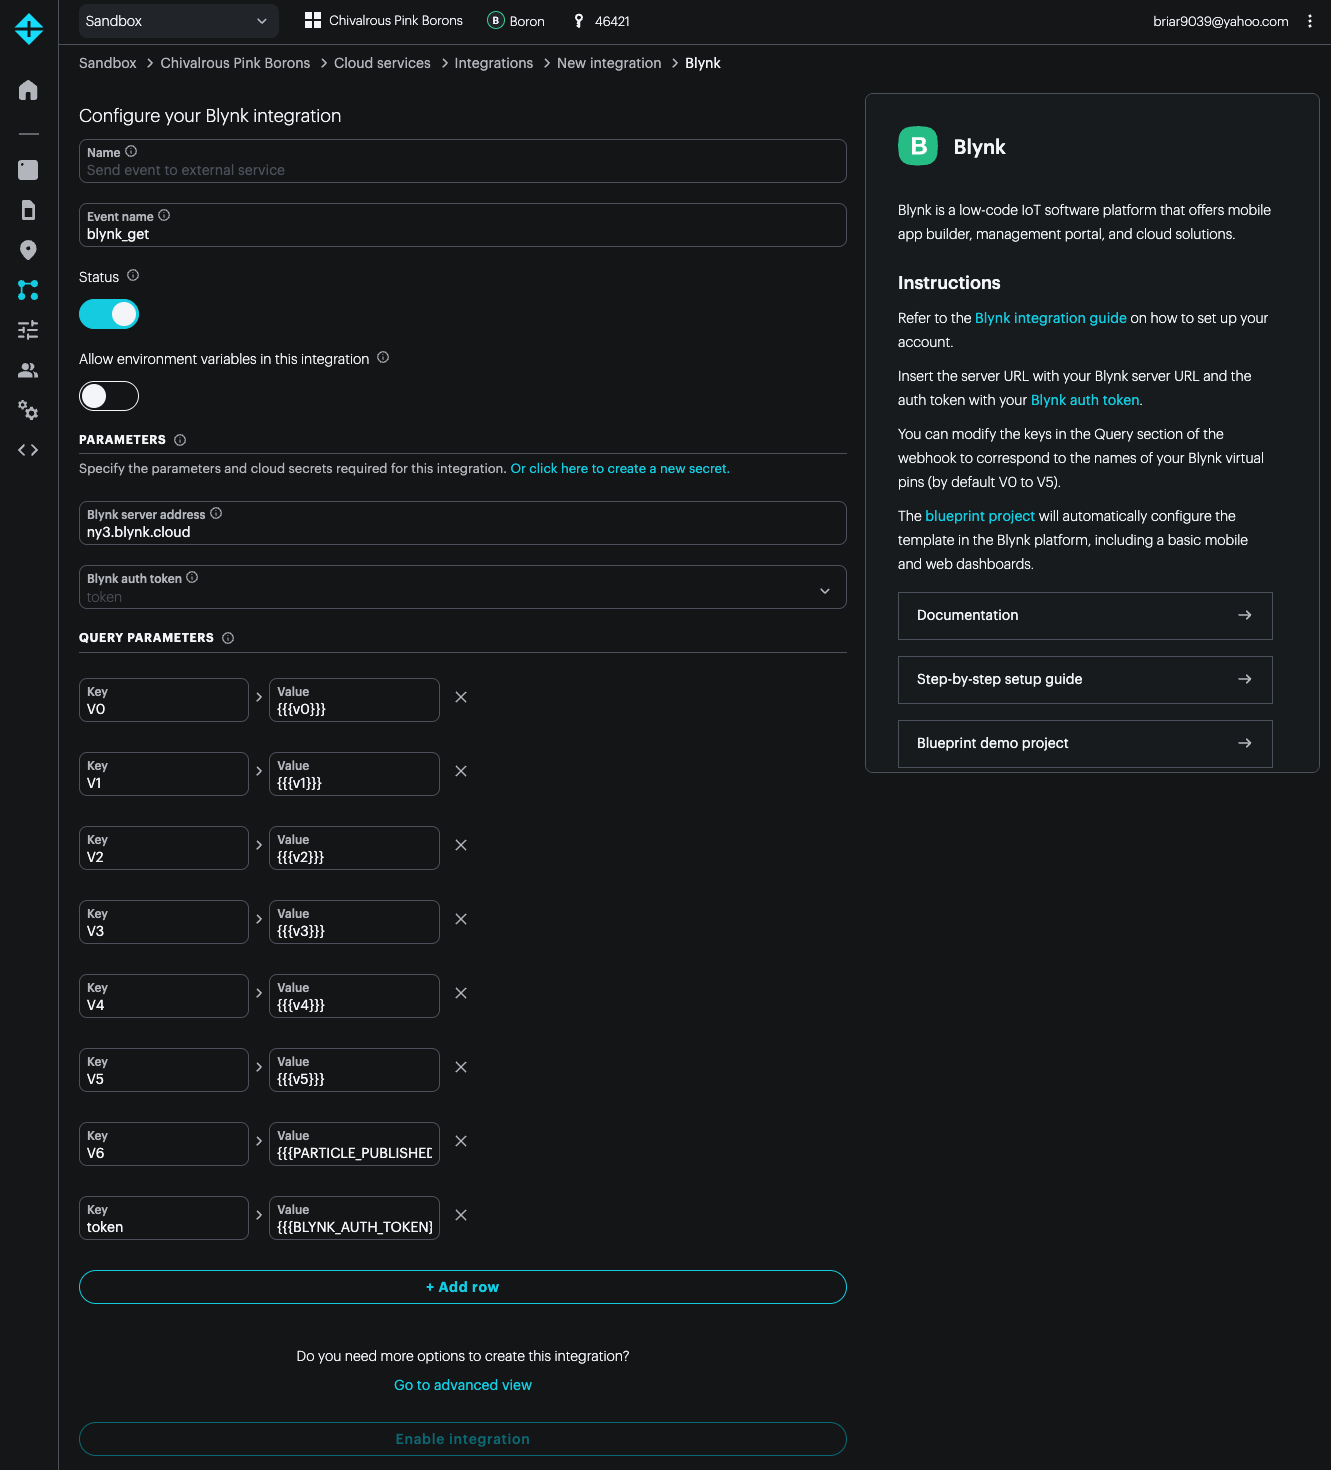
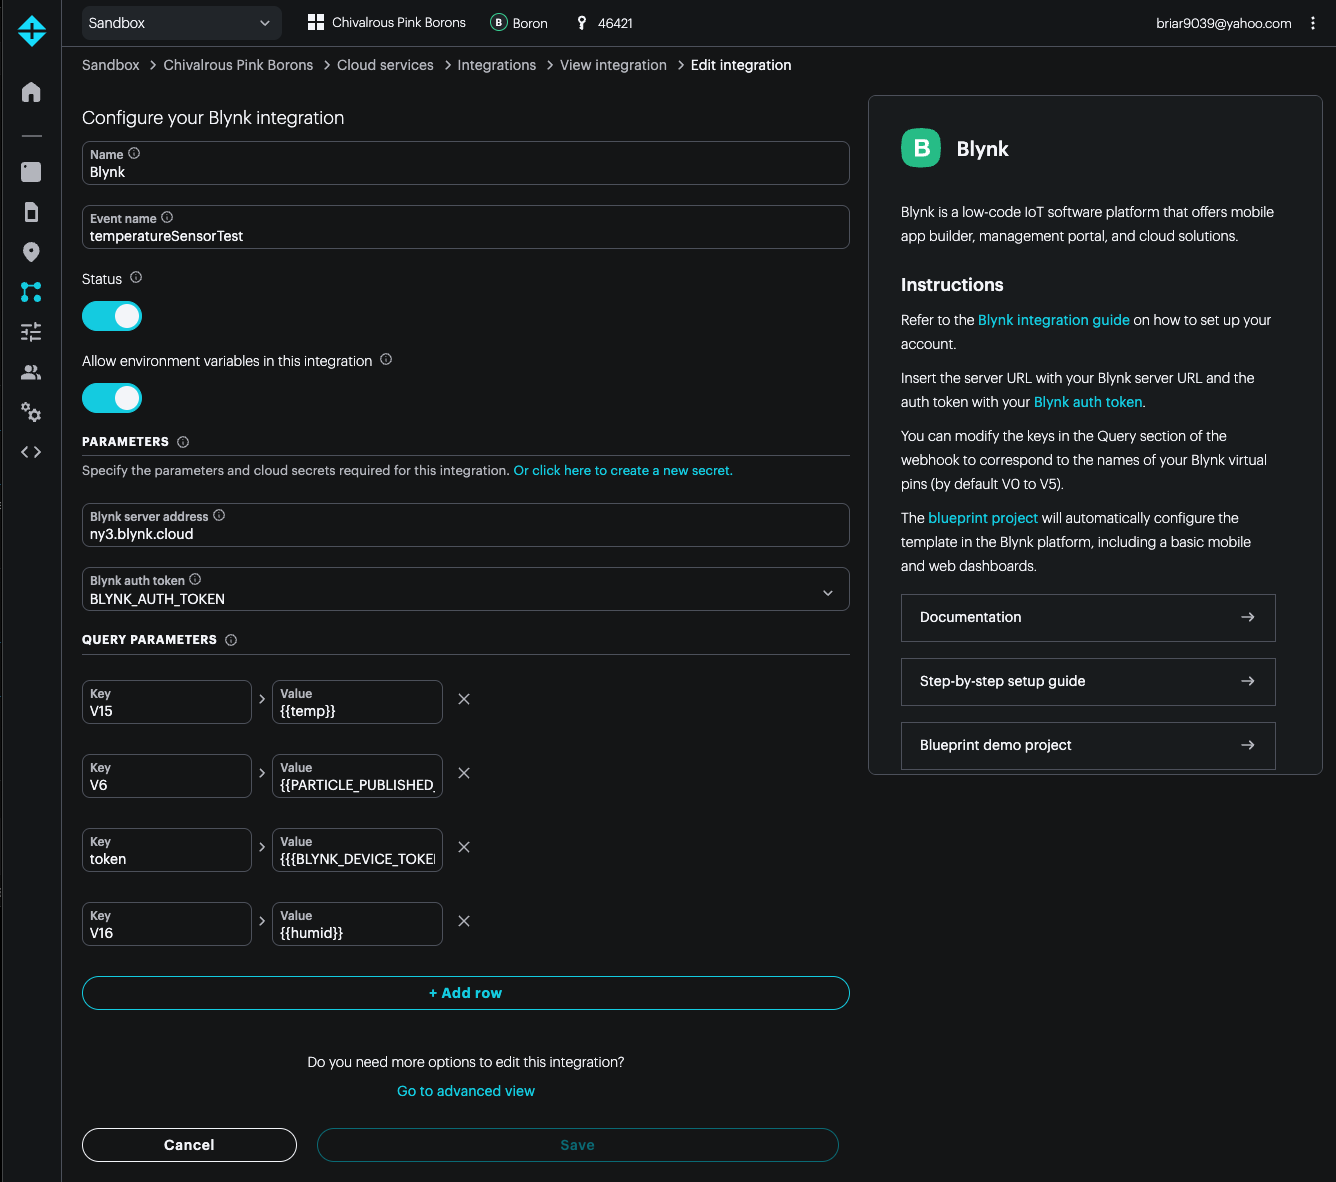
I edited it for my purposes:
| Field | Old Value | New Value | |
|---|---|---|---|
| Name | Blynk | ||
| Event name | blynk_get | temperatureSensorTest | |
| Status | on | on | |
| Allow environment variables in this integration | off | on | |
| Blynk server address | ny3.blink.cloud | ny3.blink.cloud | |
| Blynk auth token | |||
| V0 | {{{v0}}} | (deleted) | |
| V1 | {{{v2}}} | (deleted) | |
| V2 | {{{v2}}} | (deleted) | |
| V3 | {{{v3}}} | (deleted) | |
| V4 | {{{v4}}} | (deleted) | |
| V5 | {{{v5}}} | (deleted) | |
| V15 | {{temp}} | ||
| V6 | {{{PARTICLE_PUBLISHED_AT}}} | {{{PARTICLE_PUBLISHED_AT}}} | |
| token | {{{BLYNK_DEVICE_TOKEN}}} | ||
| V16 | {{humid}} |
Create an environment variable
When using Blynk with https upload of data, as is done with the Particle integration, each device has its own Blynk API token. This allows the Blynk service to securely separate the data between multiple devices.
The Blynk blueprint accomplishes this by hardcoding the API token into the device firmware and sending it in the Particle event to the webhook. This is does not work well with device fleets that share common firmware. Fortunately, the environment variable feature works great for this use case.
From my product (Chivalrous Pink Borons) I selected Cloud services then Configuration then Environment variablesn:
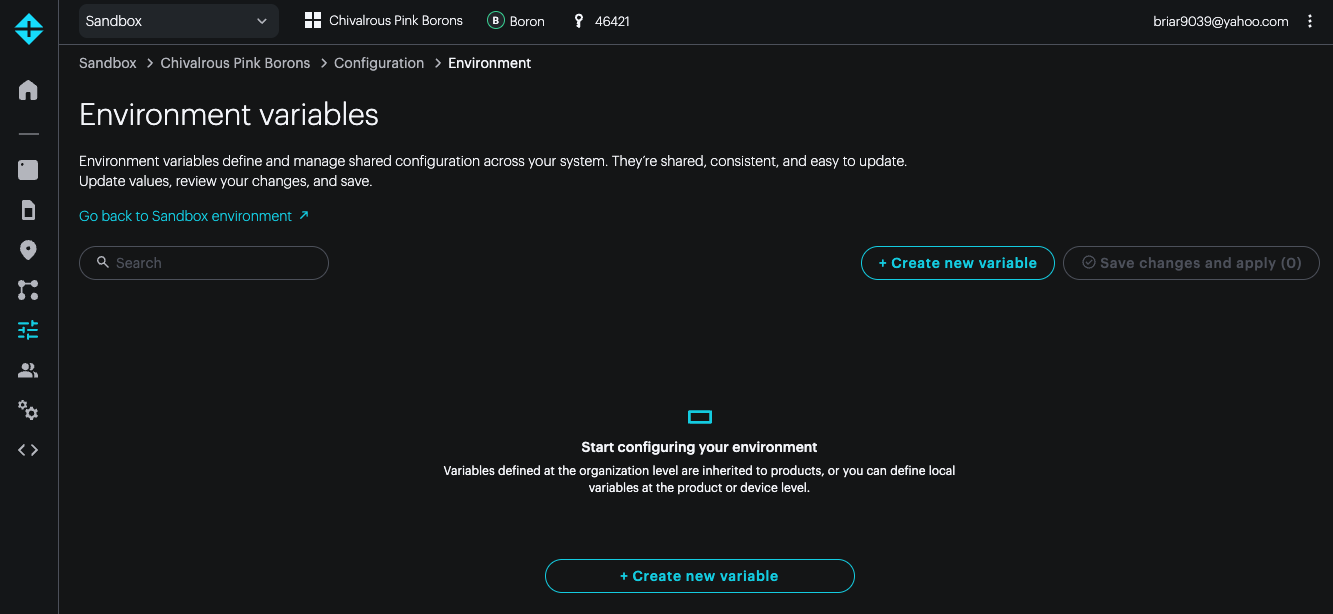
I created a new environment variable BLYNK_DEVICE_TOKEN but did not set a value at the product level.
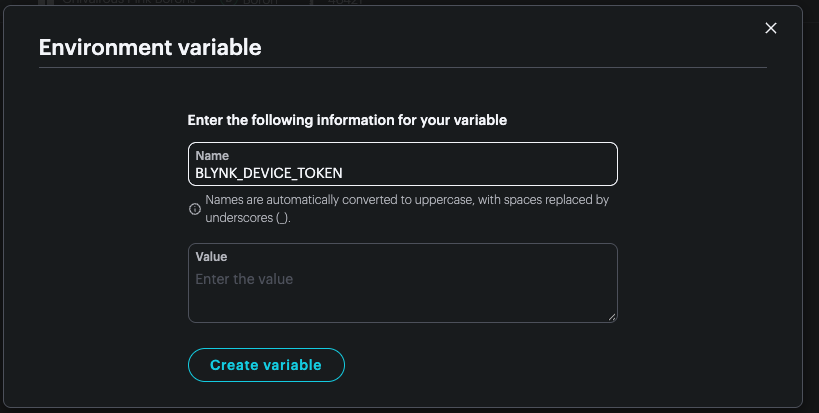
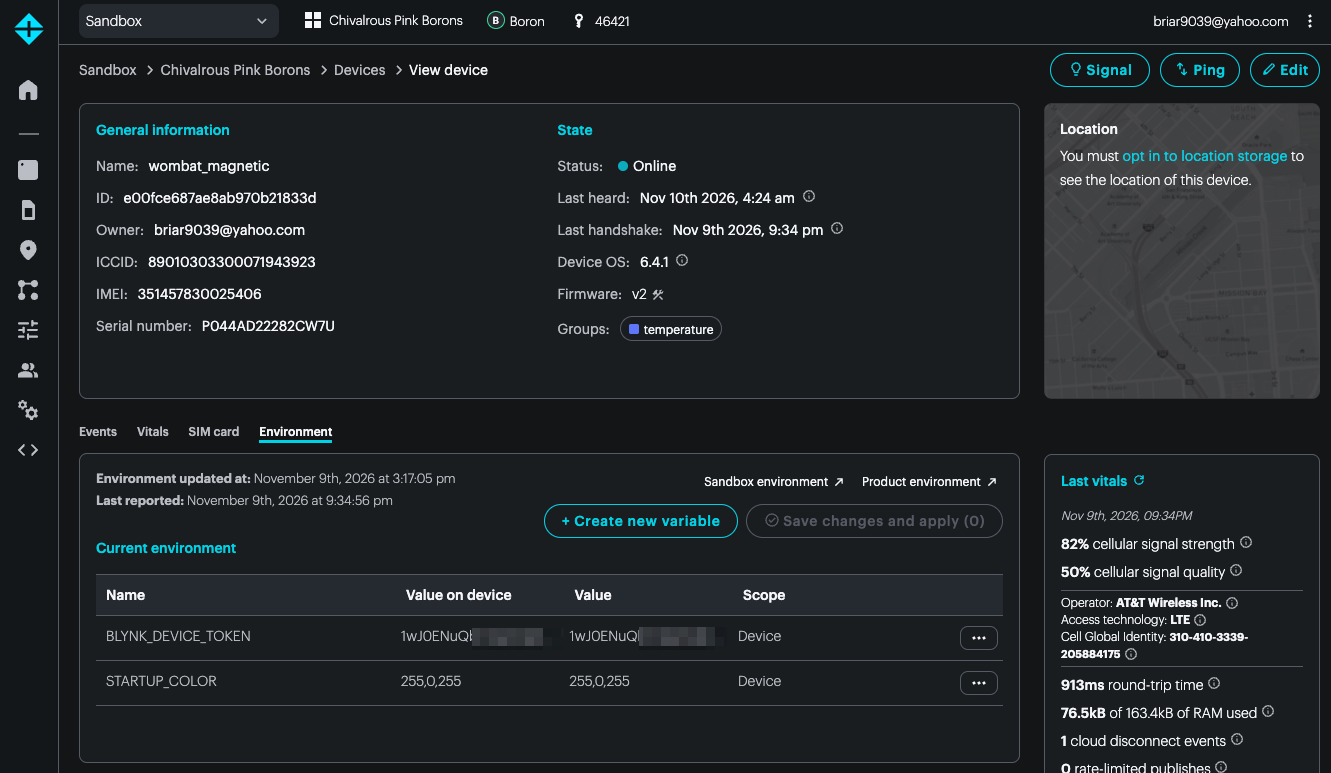
I then went into each device in my product, and in the Environment section created a new variable BLYNK_DEVICE_TOKEN and the value of the Blynk auth token for this device.
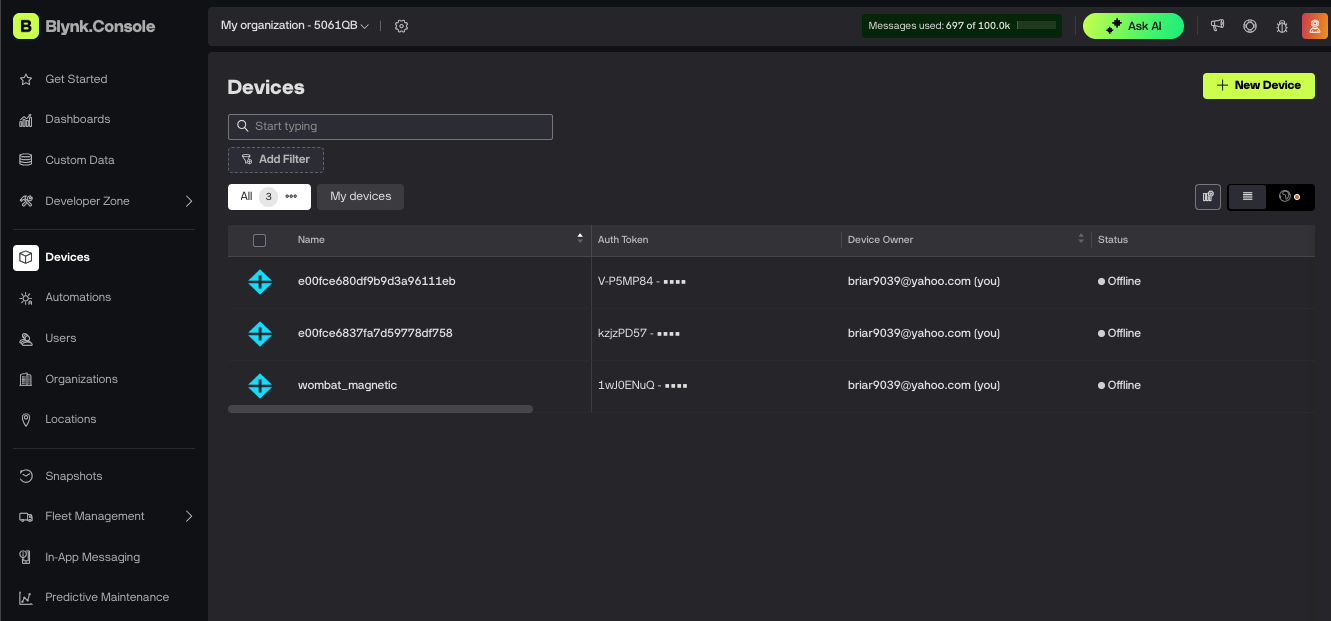
You can create and view the Blynk auth tokens from the Devices section in Blynk.
When you select Allow environment variables in this integration in the integration settings it allows you use the value of an environment variable via Mustache templates. I use this feature to set the value of token to {{{BLYNK_DEVICE_TOKEN}}}.
Note: You use an environment variable instead of a Secret because the value needs to be scoped to device. Secrets are scoped only to Sandbox or Organization and can't be overridden on a per-device basis.
Device dashboard
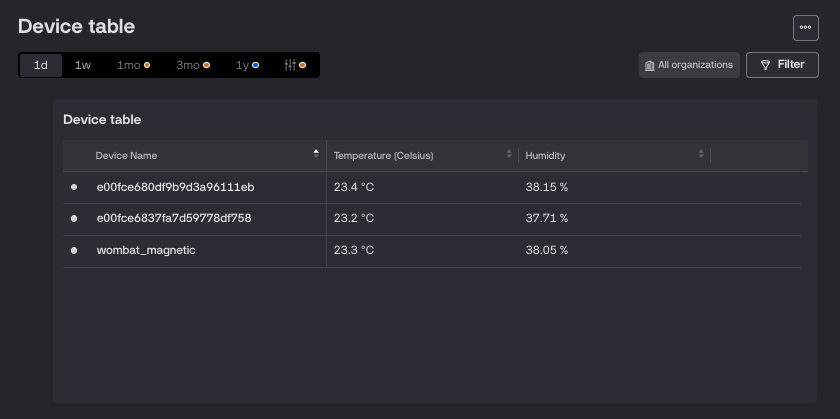
Once the data is in Blynk you can drag and drop controls to easy make dashboards.
Monitoring the integration
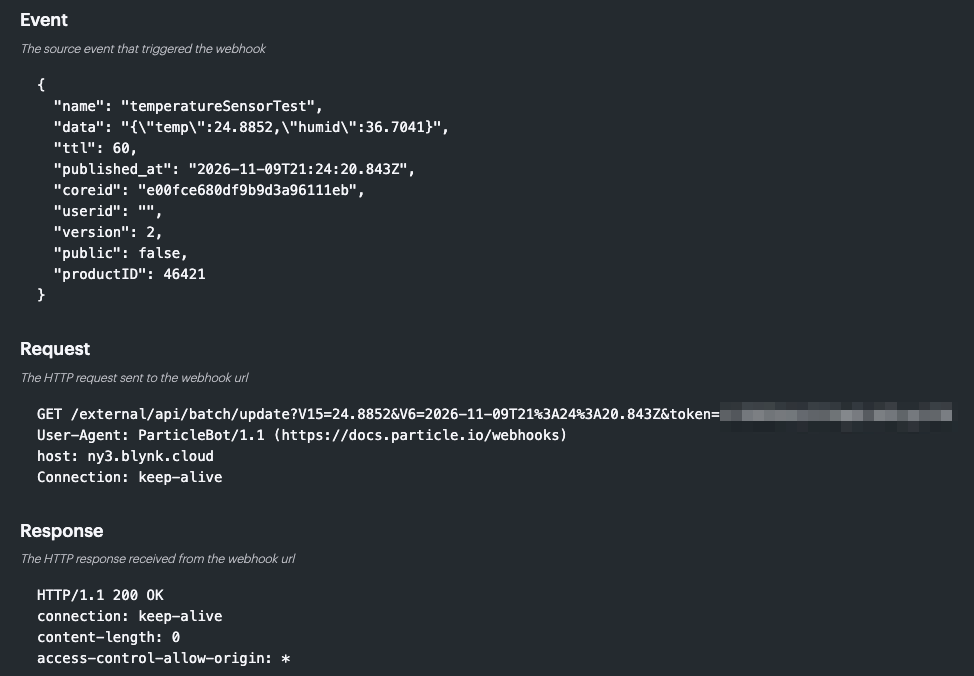
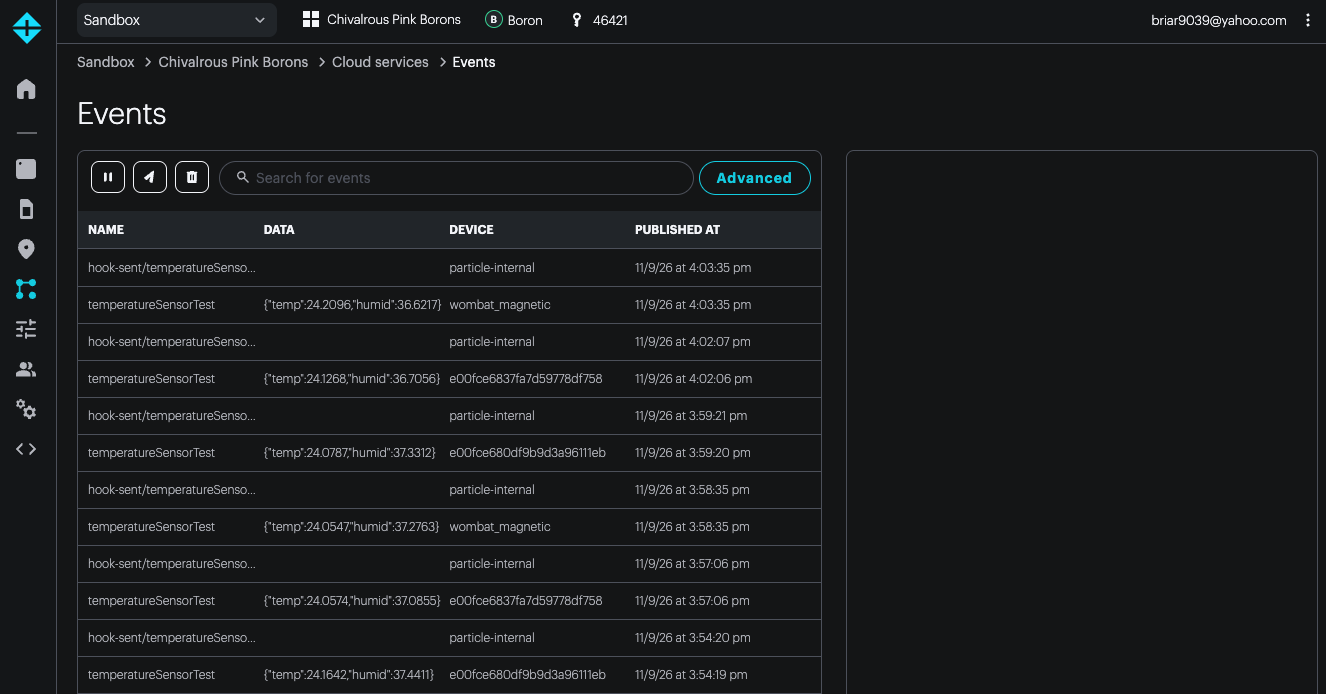
In the product Events pane, you can see the events from the devices and that a response was received from the webhook.
In Integration - View details - History it shows the 10 most recent events that triggered the integration (webhook).
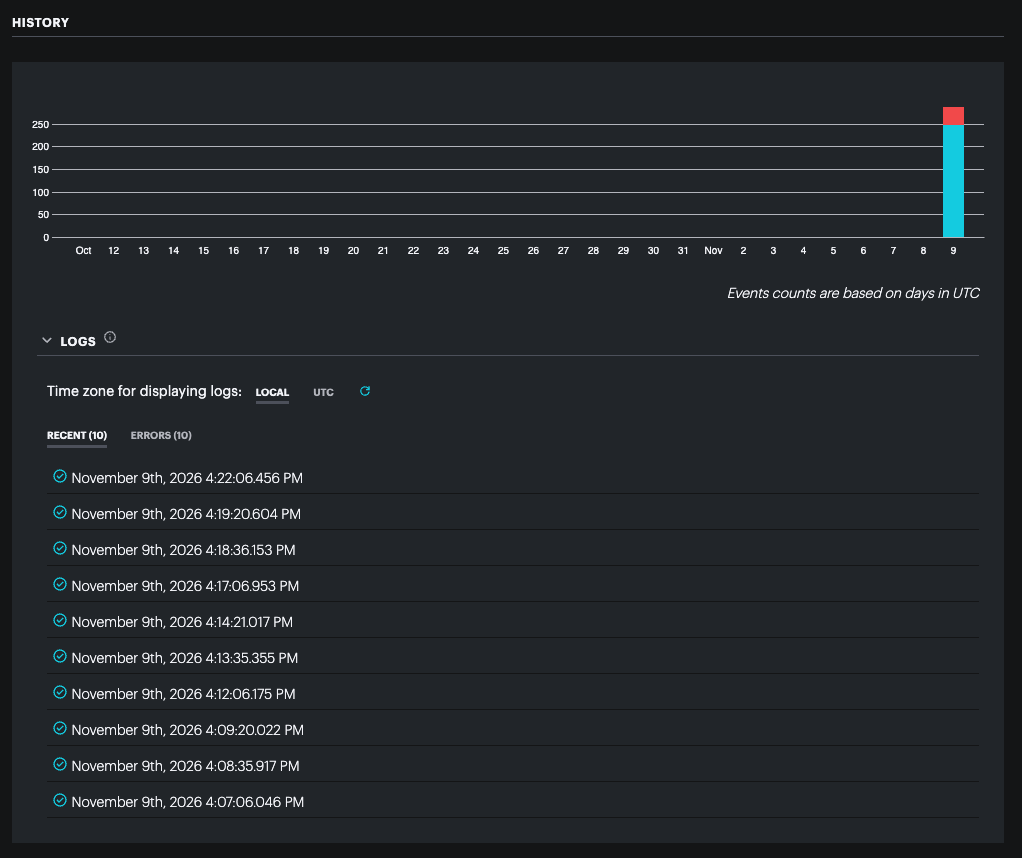
You can see greater details about the event, webhook request, and webhook response by expanding the history log entries.