
Cloud to device ledger getting started
Device ledger is a great way to manage and automatically synchronize your device-specific or product-specific configurations throughout your fleet without the hassle of building schemas or making complex command and variable logic.
Table of contents
What is ledger?
Ledger is a cloud-based data storage system to build “digital twins” for your devices in the Particle cloud.
It allows you to store device-specific values like:
- The device current condition. For example, if the engine is running, last temperature measurements, etc.
- Synchronize configuration data such as device-specific calibration values, offsets, behaviors, data publish rates
- Device-specific metadata like tags, deployment location, associated client, etc.
Since ledger lives in the Particle cloud, it can be read or updated by apps and other services even if the device is offline. The last known device’s state can be retrieved at any moment. When the device reconnects, it receives the queued update and performs any necessary actions.
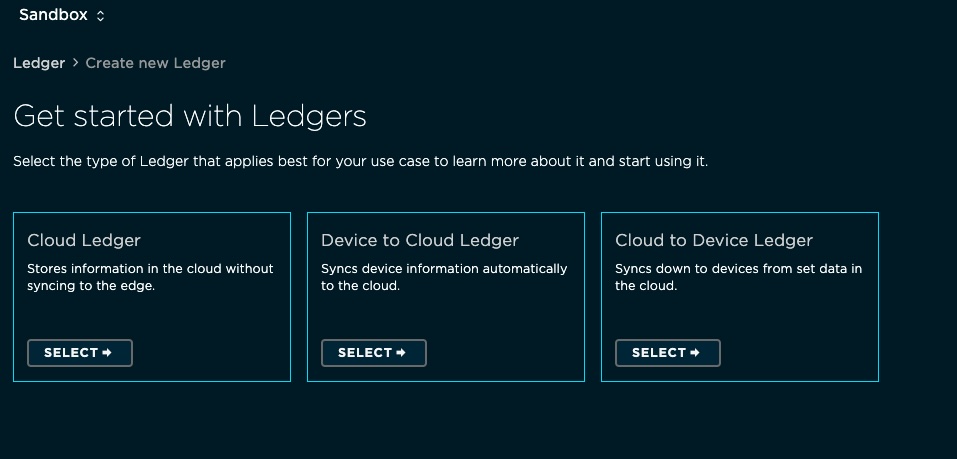
There are three types of ledgers:
- Cloud-only ledger. Stores information about the device that doesn’t need to be pushed to or retrieved from the device. Useful for tags, like serial numbers or deploy location info.
- Device to cloud ledger. The device syncs information automatically to the cloud. Used for reporting device states, like sensor measurements.
- Cloud to device ledger. Syncs down to devices from data set in the cloud. Useful for sensor calibration values, sleep intervals, etc.
Using cloud to device ledger
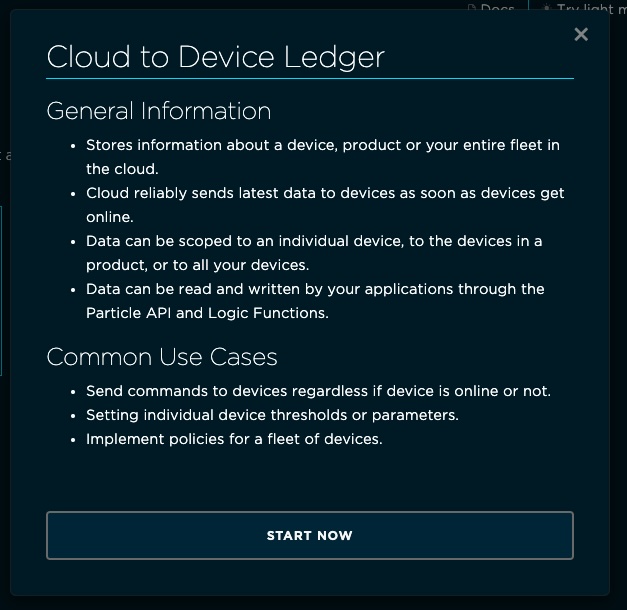
Cloud to device ledger is useful for managing fleet configuration values. This allows to store or update any key pair values on the cloud that will be pushed to the device when available. This ledger can be:
- Product scoped. The values will be pushed to all devices inside the specified product.
- Device scoped. The values will be pushed to a specific device.
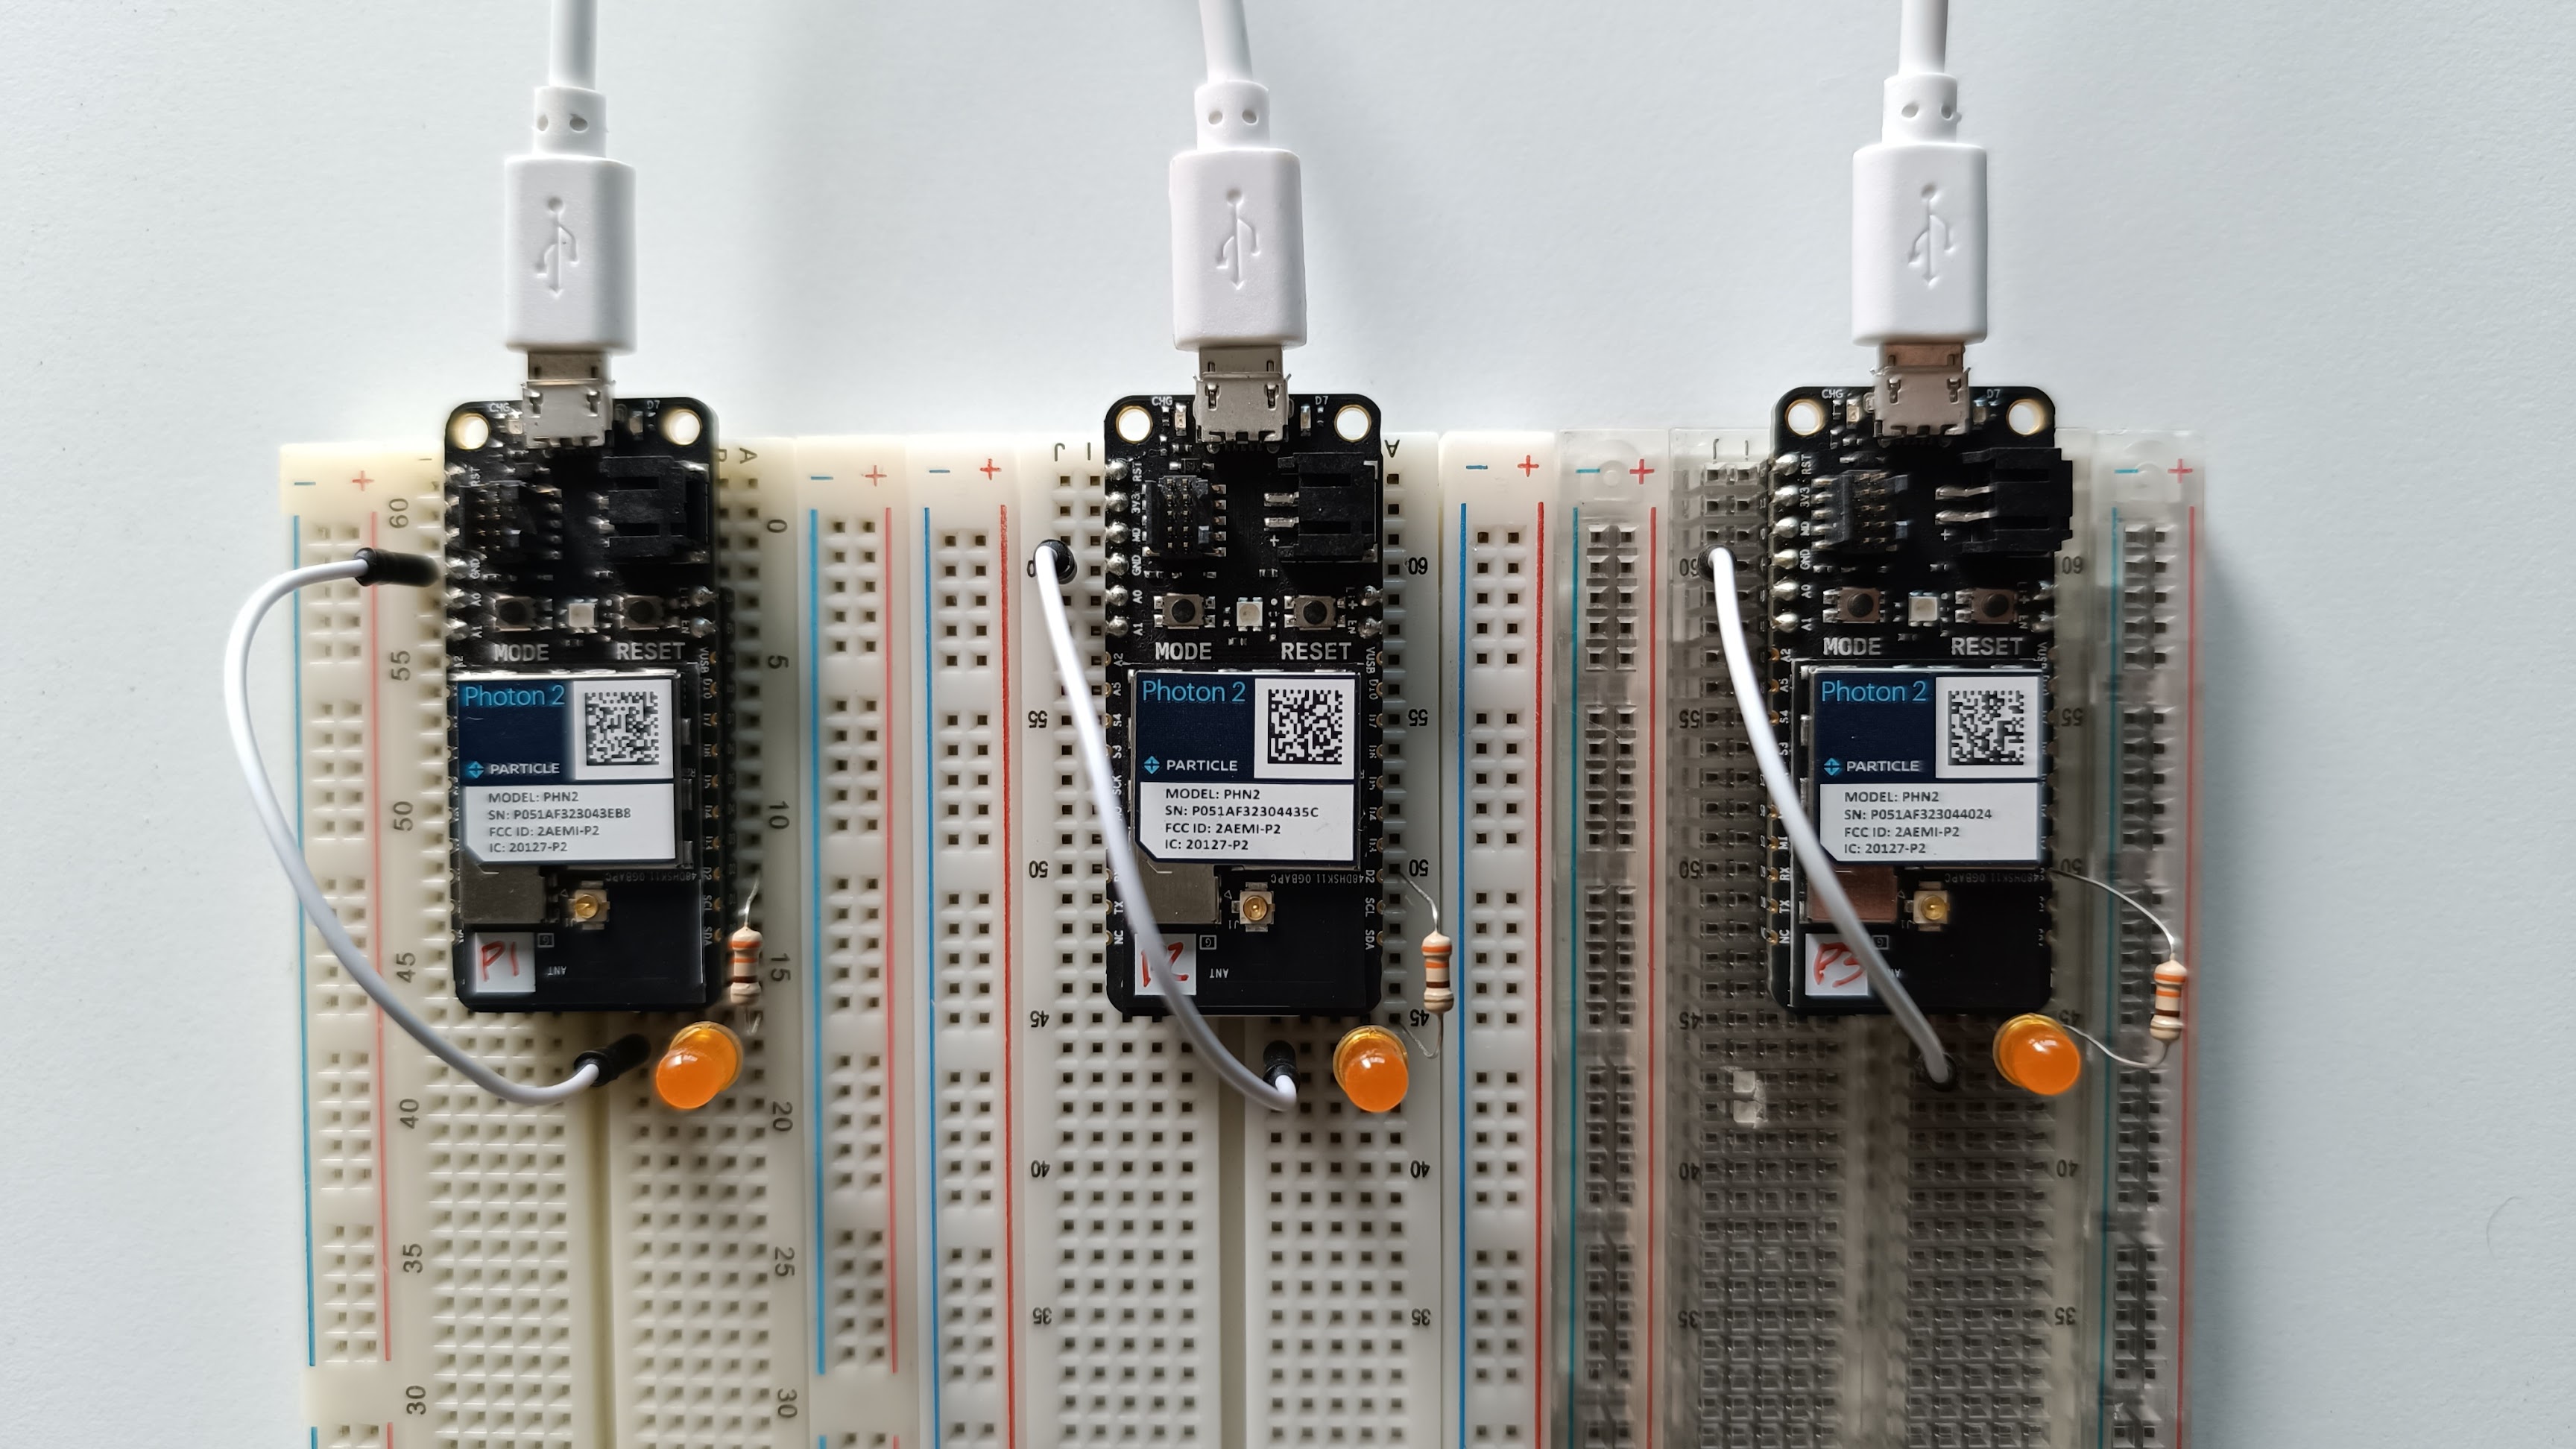
In this tutorial, we will demonstrate the use of cloud to device ledger and its scoping capabilities to change the frequency of two pulsing led attached to some Photon 2 devices. You can use any device as long as it supports Device OS 5.8a or later.
Wiring
The built-in LED attached to pin D7 will represent a device-specific configuration and the orange LED attached to pin D2 will represent a product-wide configuration.
Setting the product
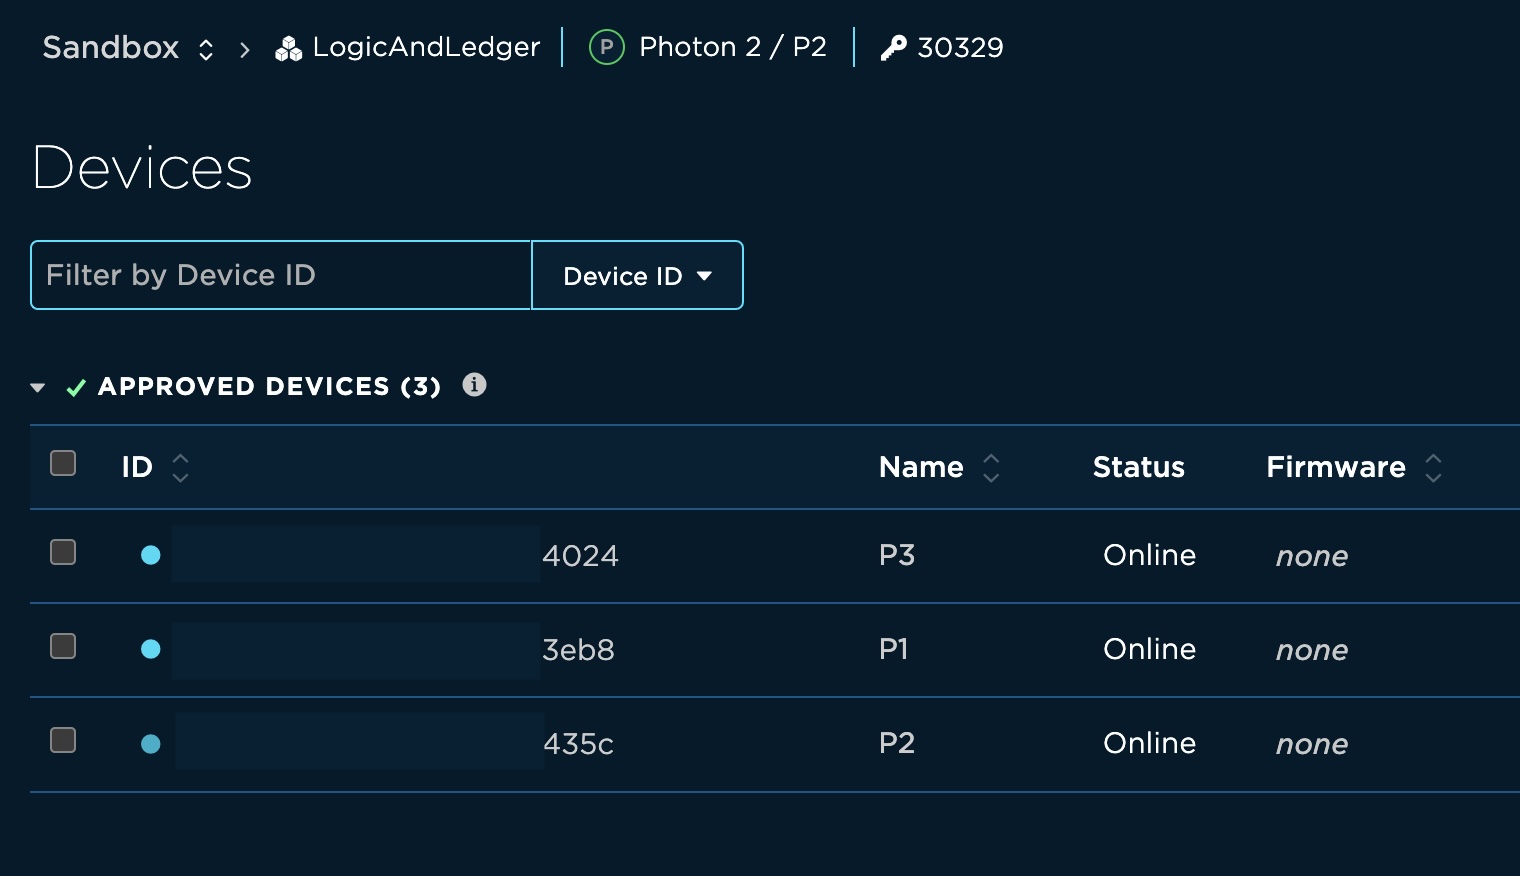
For testing the product-scope ledger you need to move your devices to the same product. In this example, we set up three Photon 2 inside a product named LogicAndLedger.
Setting your ledgers
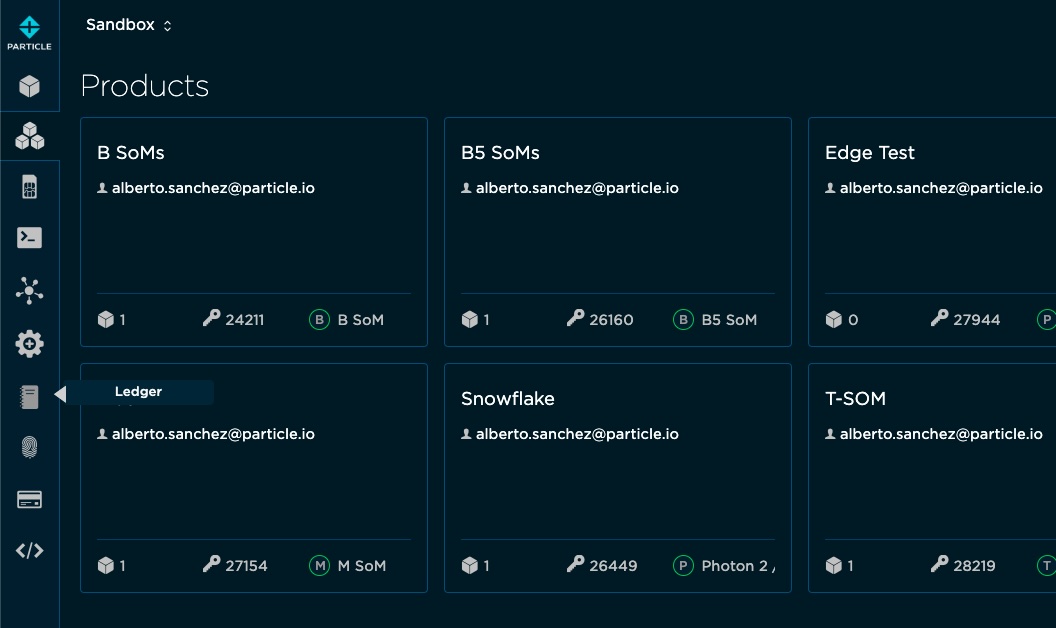
Ledger options are located on the main console page, you need to go back if you are currently inside a product console page. You will see the ledger icon on the left icon bar.
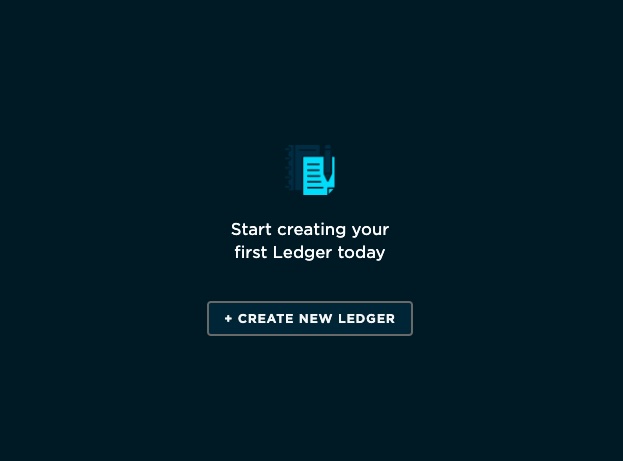
Once inside the ledger page, you will presented to the ledger instances created. If this is the first time creating a ledger, you will see an empty list.
Device scoped ledger
Use the CREATE NEW LEDGER button. Then select Cloud to Device Ledger
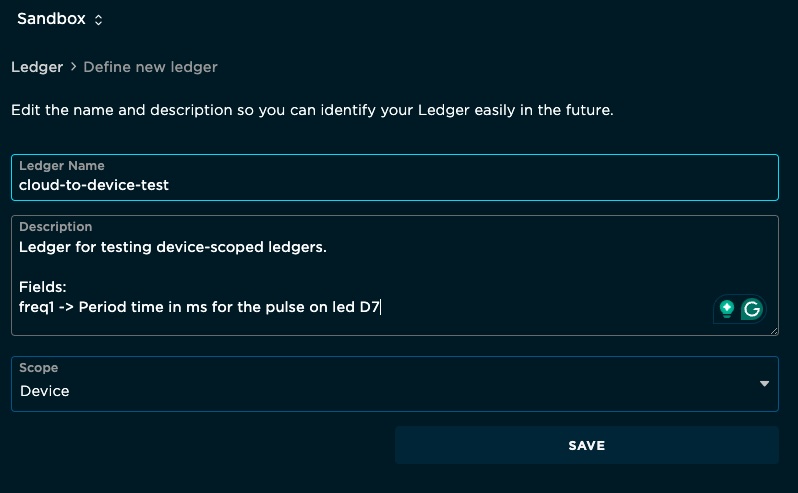
Fill in the information for your ledger instance:
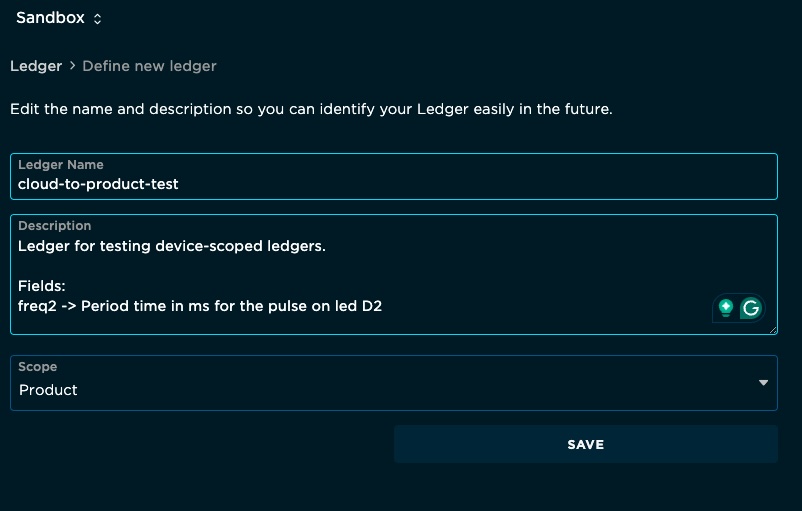
- Choose a name for your ledger. This name will be used to link the cloud ledger in the device firmware. We used
cloud-to-device-test - Add a useful description of what your ledger does.
- Select the scope. In this case, the ledger created will be device-scoped.
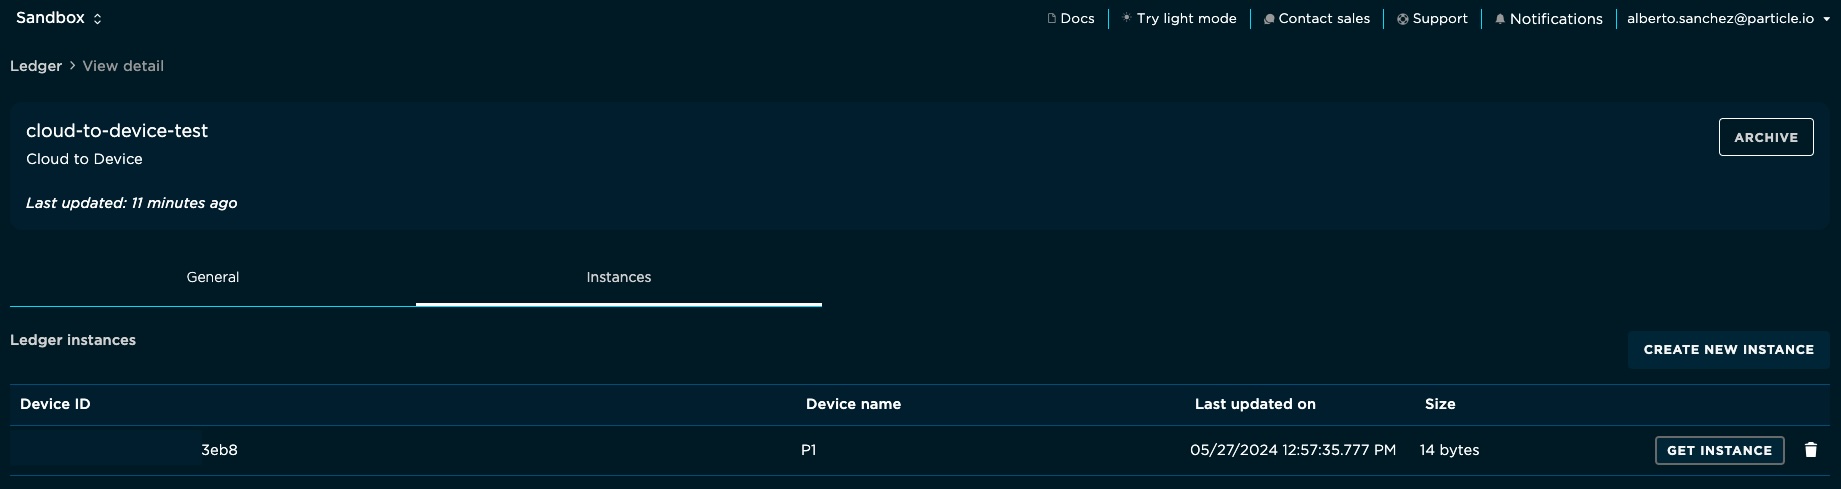
By clicking on save, you will be redirected to the ledger’s detail view. In device-scoped ledgers, an instance represents a single device’s data. You can create one instance per device on your product by clicking on Instances and then on the CREATE NEW INSTANCE button.
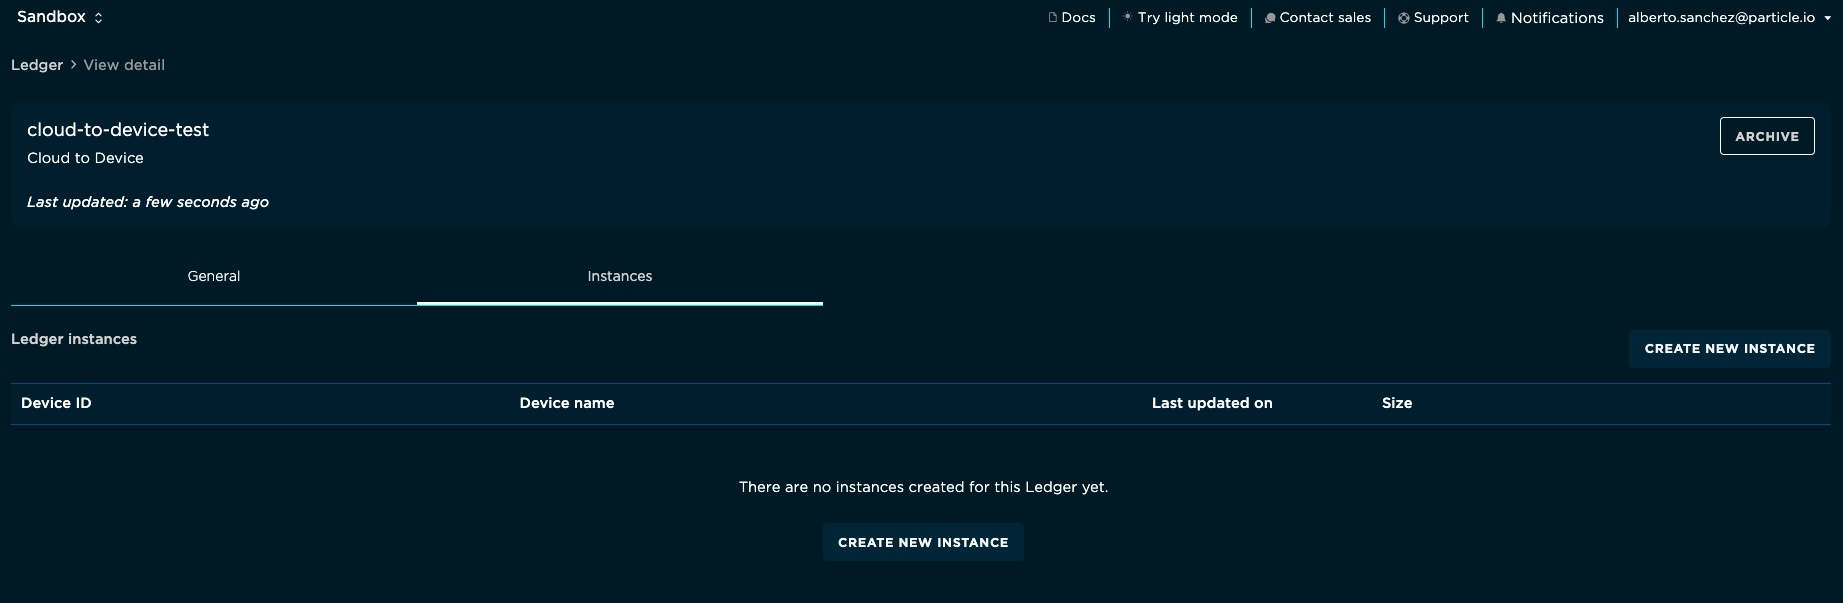
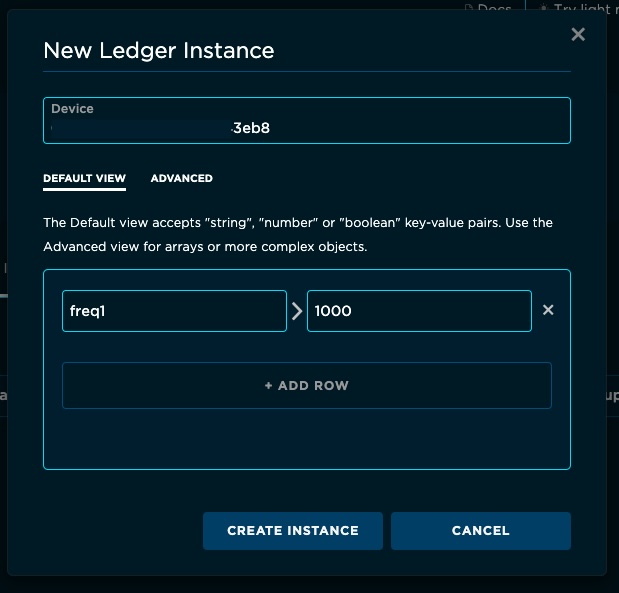
Fill in the information for your instance:
- Device: Your device ID (24 character hex)
- Add the pair-keyed data. In this case, we are only passing the frequency (period) value for the LED blink as a number. Is also possible to push string and boolean values.
The new instance will be shown in the list. To change the config value for any instance, you can click on the GET INSTANCE button.
Product scoped ledger
Similar steps are used for creating a product-scoped ledger but selecting instead “Product” as the scope. Ours is called cloud-to-product-test. You need to use your product’s name as the instance name.
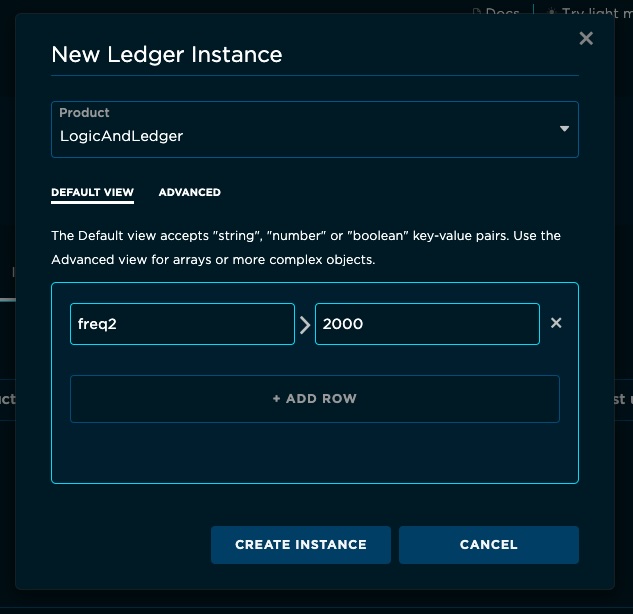
As soon as you click the SET INSTANCE button when creating or editing your instances, the changes will be pushed for the available devices and queued for the offline devices. We now need to add the ledger features to our fleet’s code.
Preparing the devices
Now it’s time to code and flash your devices. We recommend using the Particle Workbench for this. Device Legder is available on OS version 5.8 and above.
You need to create a ledger instance per ledger configured in your console. When the ledger is updated, the instance can trigger a helper function to get and decode the data.
If configured as this tutorial,
- The device will receive a
“freq1”: valuepair when thecloud-to-device-testledger is updated. The firmware has to decode the value and store it on the local variable used for the D7 LED blink. - The device will receive a
“freq2”: valuepair when thecloud-to-product-testledger is updated. The firmware has to decode the value and store it on the local variable used for the D2 LED blink.
The full code is available here:
Ledger deviceConfig; Will create an instance for the device-scoped ledger. This is called before the setup function.
Then, three forward declarations:
onDeviceConfigSync(Ledger ledger);is a helper function to get and decode the device-scoped Ledger’s data when sync.void onProductConfigSync(Ledger ledger);is a helper function to get and decode the product-scoped Ledger’s data when sync.startupSync();Is a function similar to the previous that forces the two Ledgers to sync when the device boots.
The Ledgers are configured and linked inside the setup() function, along some code to configure the led pins.
deviceConfig = Particle.ledger("cloud-to-device-test");Will associate the ledger instance to the cloud ledger by using the name set in the console.deviceConfig.onSync(onDeviceConfigSync);Will register the onDeviceConfigSync helper function to be called when the ledger is updated.
The loop() function only contains the code to control the LEDs blink. Global variables freq1 and freq2 controls the timing on this blink.
Inside the helper functions:
LedgerData data = ledger.get();creates an instance of a ledger data type to store the synced values.freq1 = data["freq1"].asUInt();looks for thefreq1value in the Ledger’s data and stores it in the variable of the same name that controls the LED blink period.
Testing
Once the devices are flashed, you can test your Ledgers. Note the LEDs on devices with no ledger instance configured will blink as well, as they are using the pre-coded (default, 1000 ms) value in the firmware app.
- Go to the console, enter your device scoped ledger and edit the value for the instance already created, you should see the blink frequency change in that device.
- Next go to the product scoped ledger and edit the value for the instance. You should see a change in the external LED blink on all your product’s devices.
- Next go back to the device scoped ledger and create a new instance for the rest of devices, set a value and once saved you should see a change in the LED timing for every device only.