
Enabling Wi-Fi RF test for ESP32
This document contains instructions for conducting RF tests with the ESP32 Wi-Fi chip on the Argon development kit.
Hardware modifications
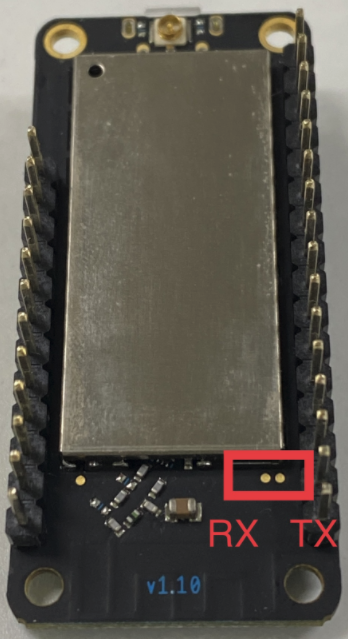
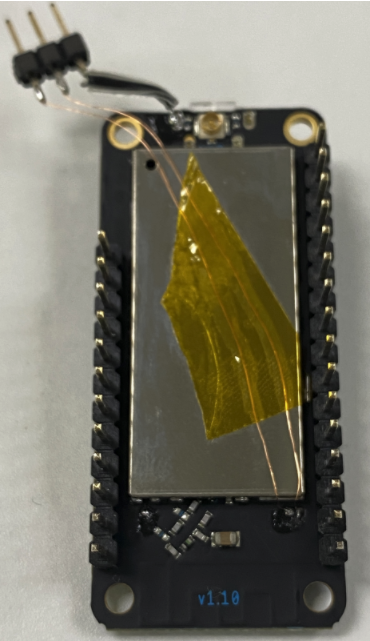
There are two pins (UART) exposed on the back of the Argon for sending test mode commands to the ESP32 chip. You will need to connect these two pins to the Particle Debugger. The following diagram shows these two pins - ESP32 RX and ESP32 TX. Remember to provide the GND for the connection as well:
Setup
- Flash the firmware to the Argon that enables RF test mode for the ESP32 Wi-Fi chip: https://go.particle.io/shared_apps/6018eabcc892360008f2c8b9
- Download the test tool zip file
- Connect ESP32 RX to Debugger TX and ESP32 TX to Debugger RX
- Connect the GND pin as well.
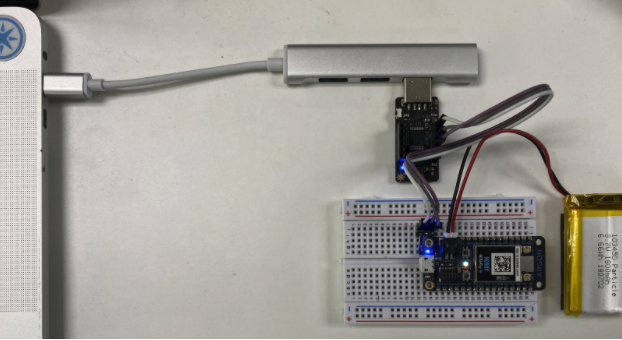
- Attach a battery.
- Connect the Debugger to a Windows PC.
Verification
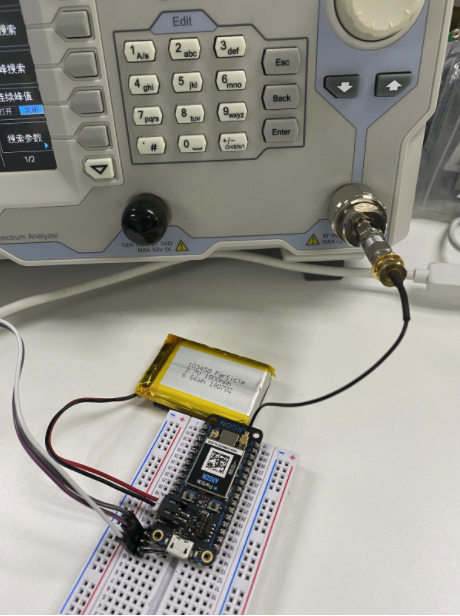
Connect the Argon to a spectrum analyzer via the U.FL (with labelled Wi-Fi) connector:
- Download ESP Test Tool (only works on Windows): link, see "Flash Download Tools (ESP8266 & ESP32 & ESP32-S2)".
- Start the tool - espRFTool.exe.
- Set the items
- ChipType: ESP32
- COM: the COM port of the Debugger
- BaudRate: 115200
- Test Firmware: ESP32_RF_TEST_BIN_V1.3.3_20180403.bin (contained in the test tool zip file bin directory)
- After that, click the button - load bin.
- Note: if it doesn’t start to load, press the reset button on the Argon once.
- Once it shows SUCC, then you can select the test parameters like Test Mode, Wi-Fi Rate, Bandwidth and Channel.
- If you need to reduce TX power, set attenuation.
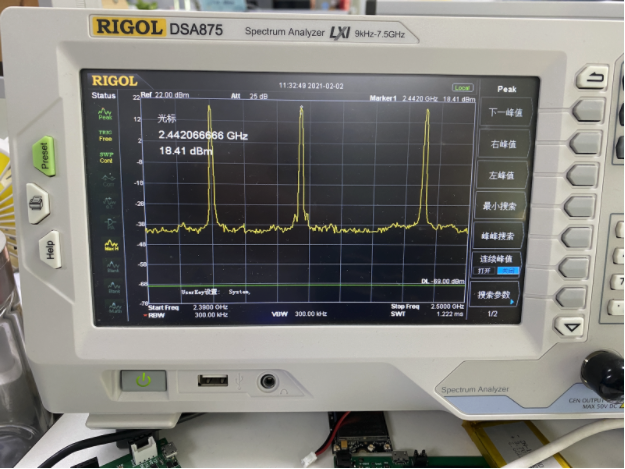
- Click the start button and monitor the spectrum analyzer.

TX:
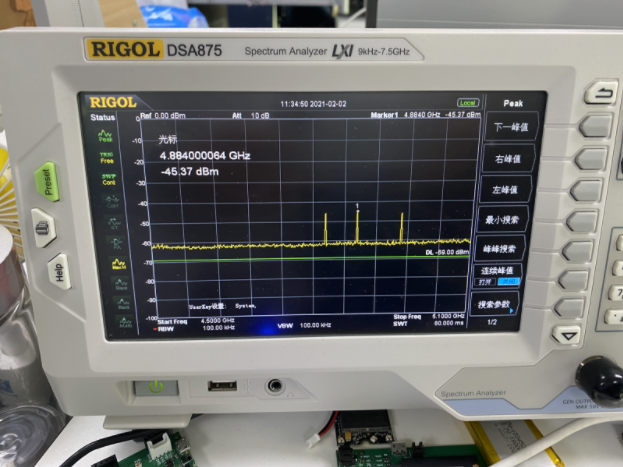
Harmonics:
References
- ESP32&ESP8266_RF_Performance_Test_Demonstration__EN.pdf in the ESP RF Test Tool and Test Guide