
Tulip
Easily connect Tulip with Particle devices
Setup
Setting up your Tulip Machine Endpoint
Creating a machine in Tulip requires the following:
- API Credentials
- Machine Type
- Machine
API Credentials
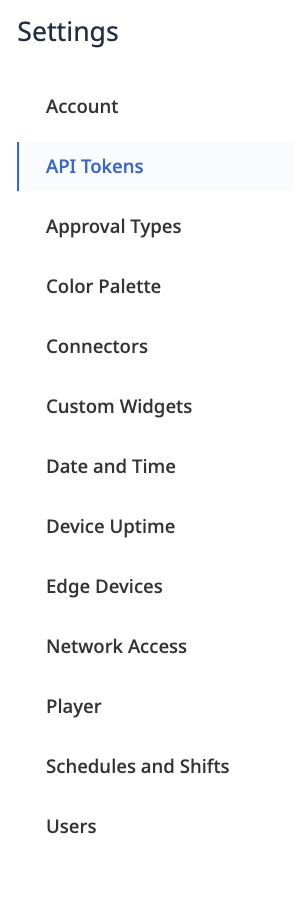
Go to Settings → API Tokens to create an API token with the ability to read / write to machines and attributes
Machine Type
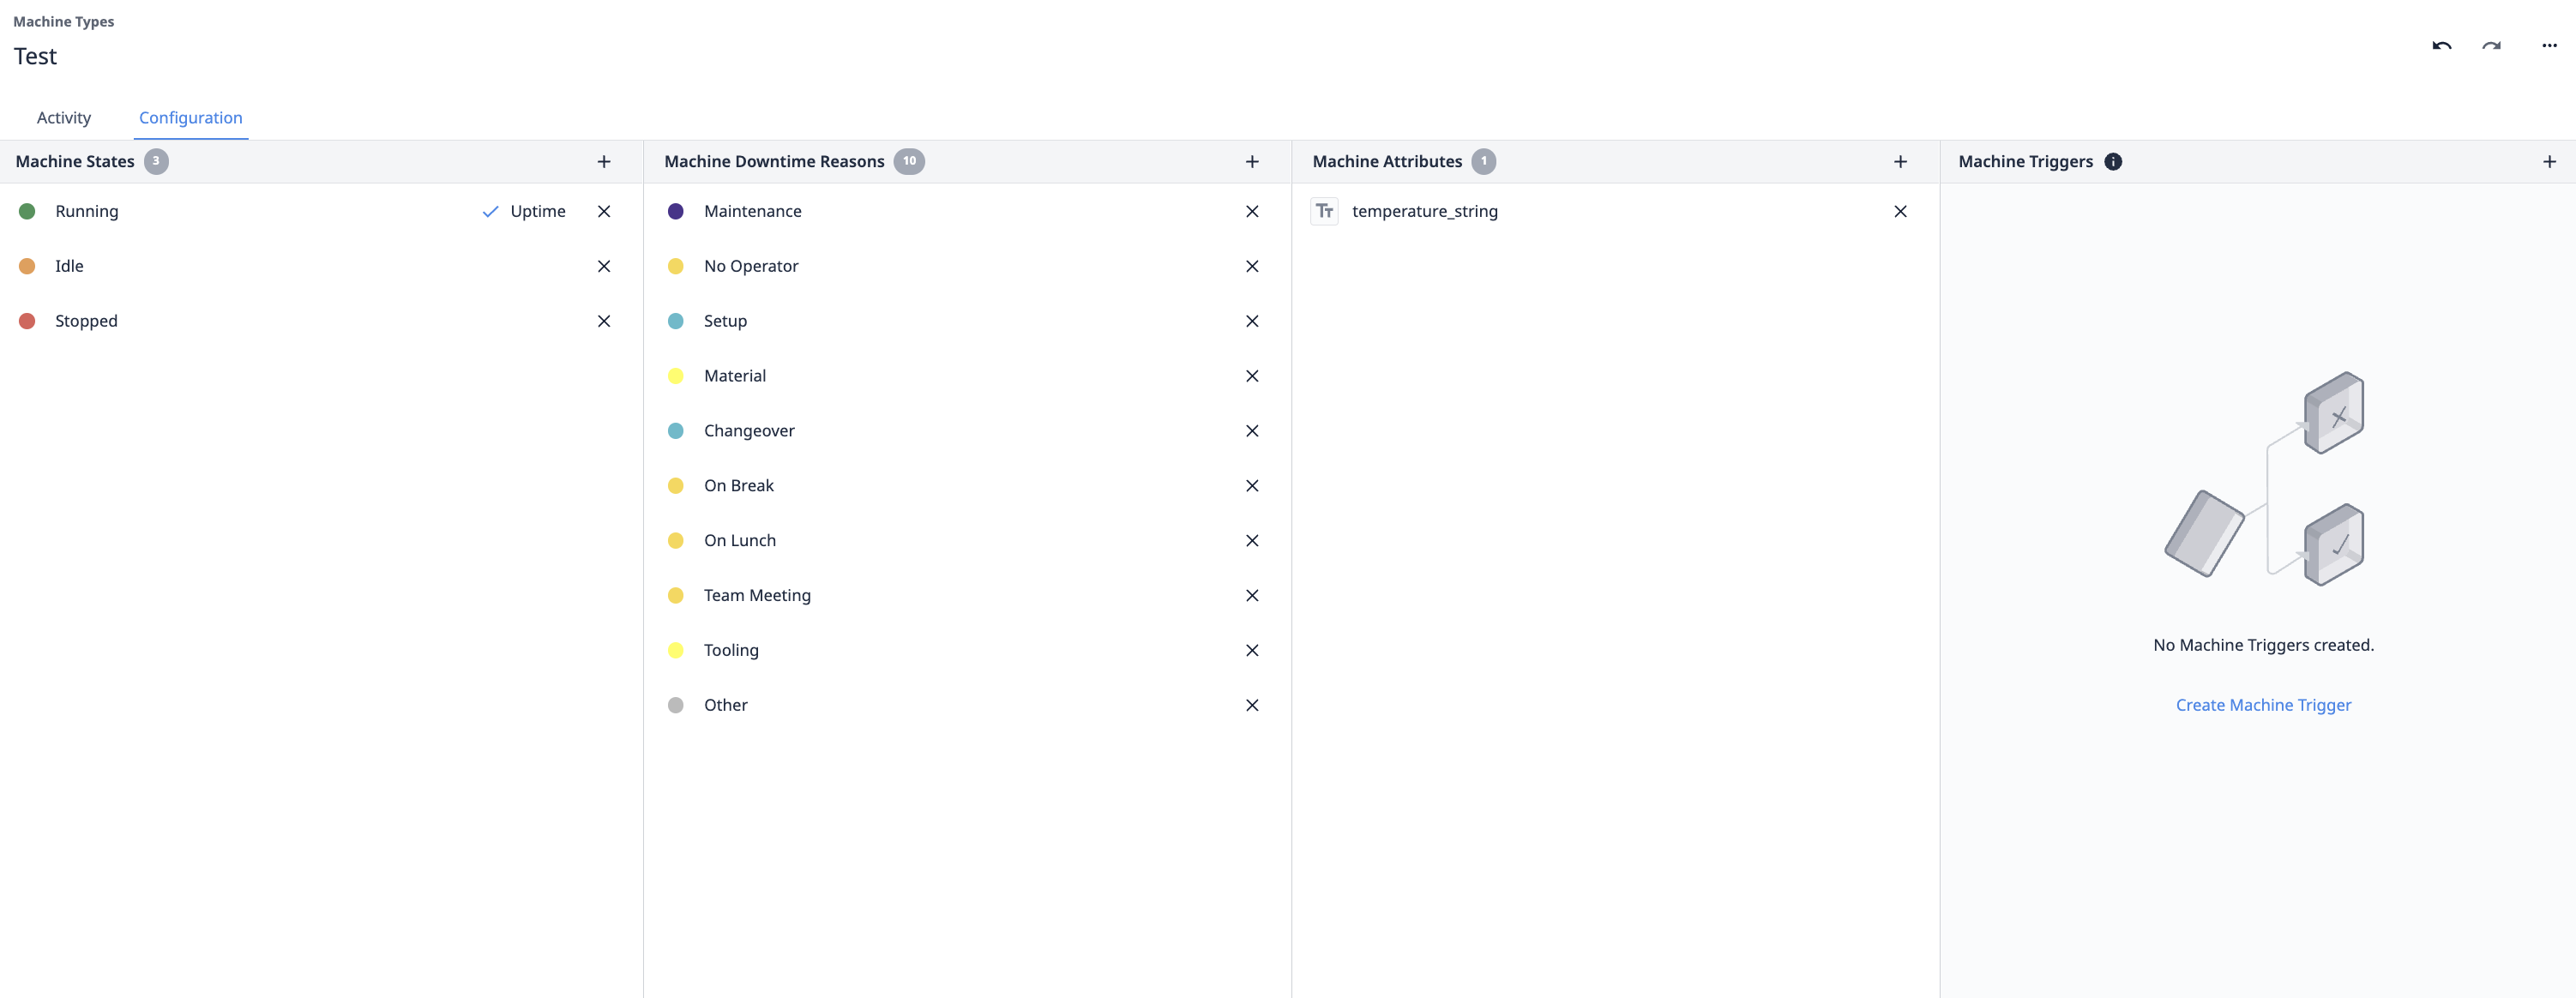
Go to Shop Floor → Machines → Machine Types and create a new Machine Type. Create machine attributes to reflect the events published from Particle. NOTE: Data type must be string.
Machine
Create a new machine under the newly created machine type; under configuration, map the machine attribute to the Tulip Machine API and note the MachineId and AttributeId as you will need these in the next step.

Enabling the integration
Now that you've done all of the pre-configuration required, you are now ready to enable the Tulip integration on the Particle Console.
If you are adding an integration to your product, click on Products, then your product, then Integrations in your product.
If you are creating an integration in your developer sandbox, click on the top-level Integrations icon.
Once in the Integrations tab, click the New Integration button. From the list of available integrations, click Webhook.
The next step is configuring the Webhook. Fill out the following fields:
- Event Name: The name of the event that will trigger publishing an event to Tulip Machine. This is the name of your event when you call Particle.publish() in your firmware.
- URL: The full url of the Tulip Machine API Example:
https://[instance].tulip.co/api/v3/attributes/report - Request Type: The Tulip server is expecting a POST so make sure that's selected.
- Request Format: The Default is Web Form but we will be sending JSON, so make sure that you change this to JSON.
You'll need to click the Advanced Settings area to fill out the custom JSON format. You can fill this out as follows, substituting your machine ID and attribute ID values from the previous step.
{
  "attributes": [
    {
      "machineId": "your_machine_ID",
      "attributeId": "your_attribute_ID",
      "value": "{{{PARTICLE_EVENT_VALUE}}}"
    }
  ]
}
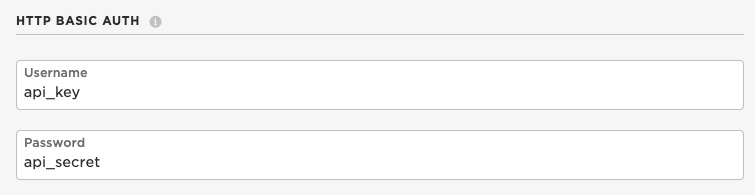
Finally, you'll need to authenticate to Tulip with the api key and secret using HTTP Basic Auth.
Click Create Webhook. You have now successfully told the Particle cloud to stream data to Tulip via its MachineAPI!
It's time to move on to your firmware!
Firmware
Now that the integration is enabled in the Particle cloud, the final step required to get data streaming into Tulip is to flash a device with some firmware that publishes the targeted event.
If you're already working on a firmware application, just make sure you include a Particle.publish() with the event name matching the event used to enable the integration above. Otherwise, if you need some sample firmware, paste in the below code into your firmware app:
void setup() {
}

void loop() {

  // random data
  String data = String((rand()%100)+1);
  // Trigger the integration
  Particle.publish("temperature", data, PRIVATE);
  // Wait for 6 seconds
  delay(6000);
}
The above code will publish an event every 6 seconds, where a random number is generated and then published to the webhook event.
Go ahead and flash the firmware with the Particle.publish() that will trigger the integration to a Particle device.
Congrats! This is all you need to get the integration working end-to-end. Your device will now begin to publish the targeted event, which will signal to the Particle cloud to stream the contents of the event to your Tulip instance.
Be sure you turn off or restore default firmware on your device after running this example so it will not use an excessive number of data operations.
Confirming the data reaches Tulip
To ensure that the data is successfully being published to Tulip, you can view machine updates in the Shop Floor → Machines area

NOTE: The attribute may have to be in string format and then converted later.
Example use cases
Using Particle devices such as the B-SoM or Boron are great when Wi-Fi is poor and cellular is a faster workaround for device connectivity. The use cases can include:
- Material tracking
- Machine monitoring
- Real-time quality updates
Advanced topics
It is possible to submit multiple attribute values in a single publish by encoding your data in JSON from your device. See the JSON topic that describes how to send JSON data from your Particle device as well as update your webhook template to map the JSON data to attributes and values.
If you do this, it's also possible to send non-string attributes. For example attribute a is a string and b is an integer. The webhook editor will flag the reference to b as potentially being an error, but it will work properly as long as the device sends the value of b as an integer or float.
{
  "attributes": [
    {
      "machineId": "your_machine_ID",
      "attributeId": "your_attribute_ID_a",
      "value": "{{{a}}}"
    },
    {
      "machineId": "your_machine_ID",
      "attributeId": "your_attribute_ID_b",
      "value": {{{b}}}
    }
  ]
}