


 Go to console

 Change theme


 Edit Account
 Logout
Device setup and console - Monitor One
The getting started guide section of the Particle docs contains tutorials and examples for getting started with the Particle Monitor One and the Particle platform.
In this section I'll set up a device and begin exploring the Particle console.
Compatible devices
This page is for the Monitor One.
- For the Tracker One, see Tracker One Guide.
- For the all other Particle devices, see Guide.
Device setup
You will generally set up your device from a computer (Windows, Linux, Mac) connected by USB to your devices. A Chromebook can be used for device setup, but you'll need a full computer to install and use the Particle Workbench development environment.
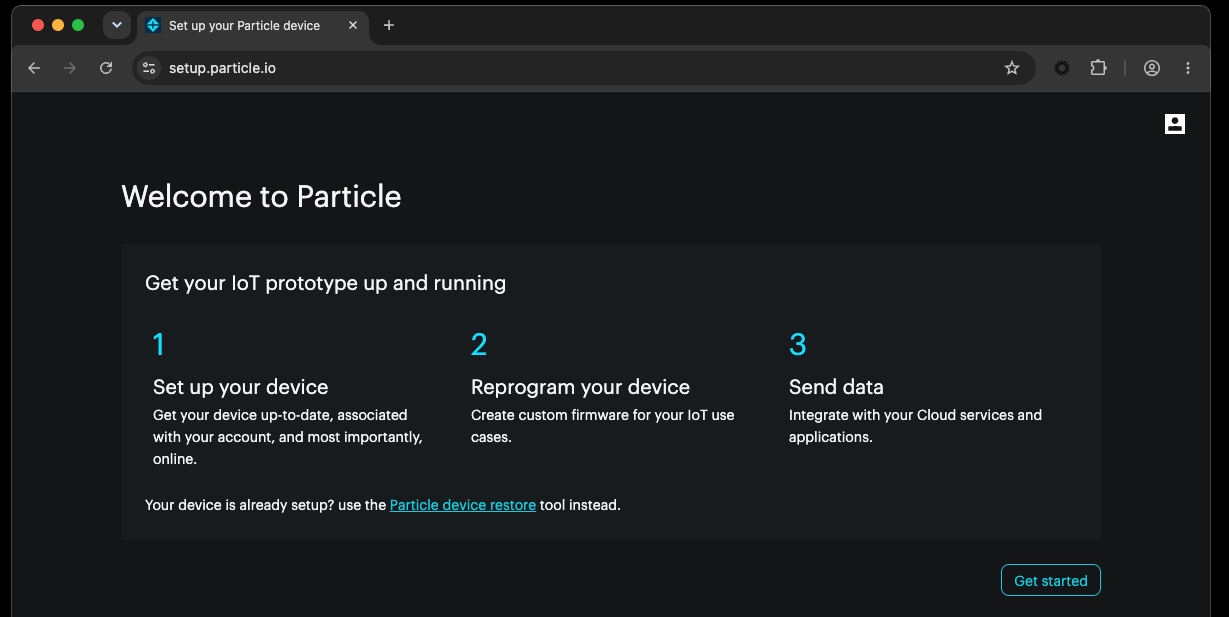
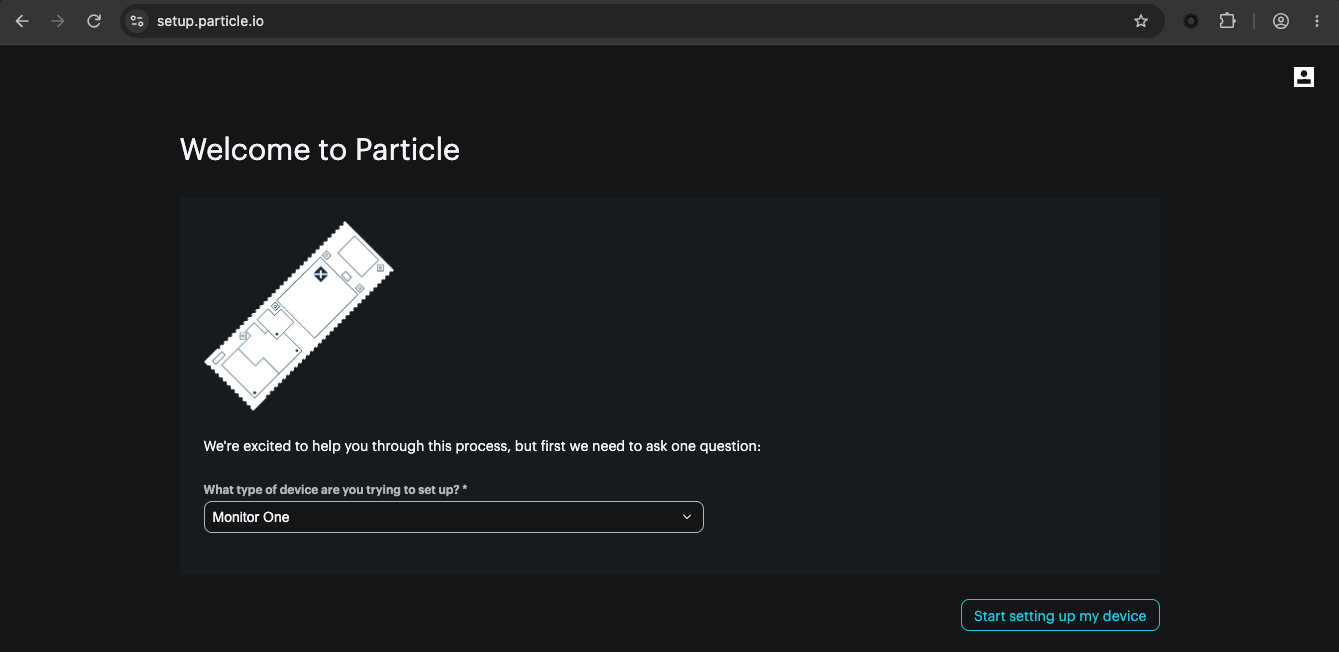
Simply follow the instructions at: https://setup.particle.io/.
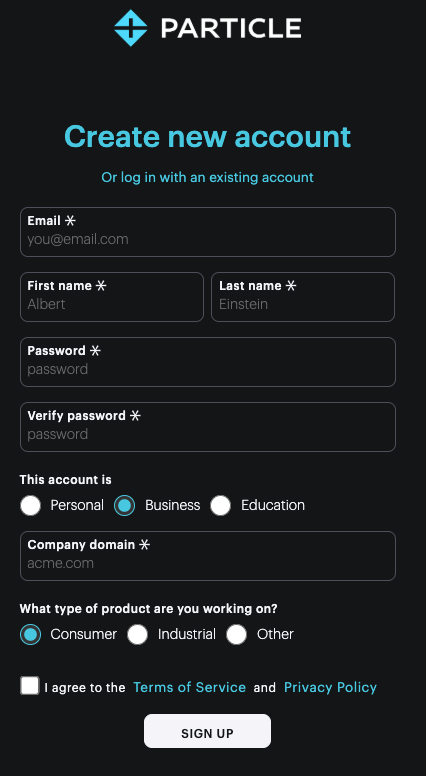
If you do not already have a Particle account you can create one as part of the setup process. You will use this account to access things like the Particle console in the next step. It's quick and there is no fee or credit card required.
Obtain the serial number
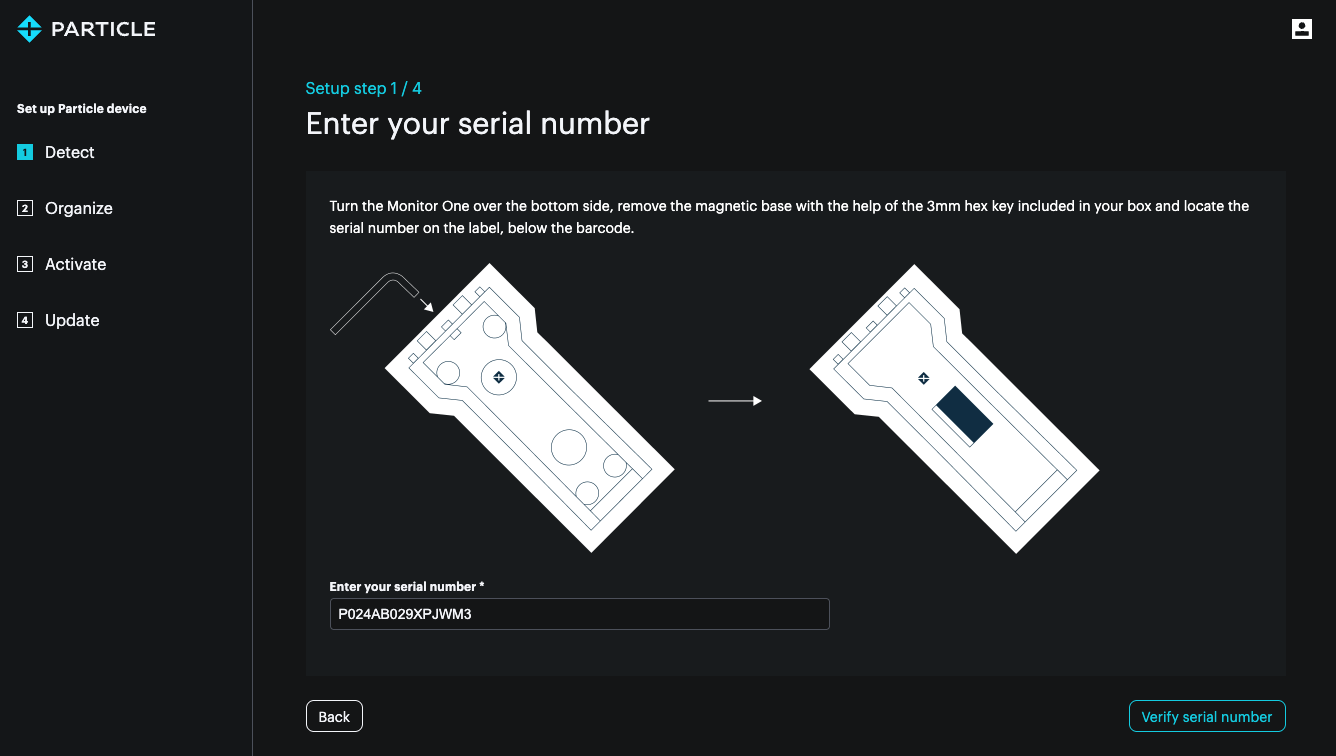
In order to set up a Monitor One device you will need the serial number, because there is no exposed USB port for setup.
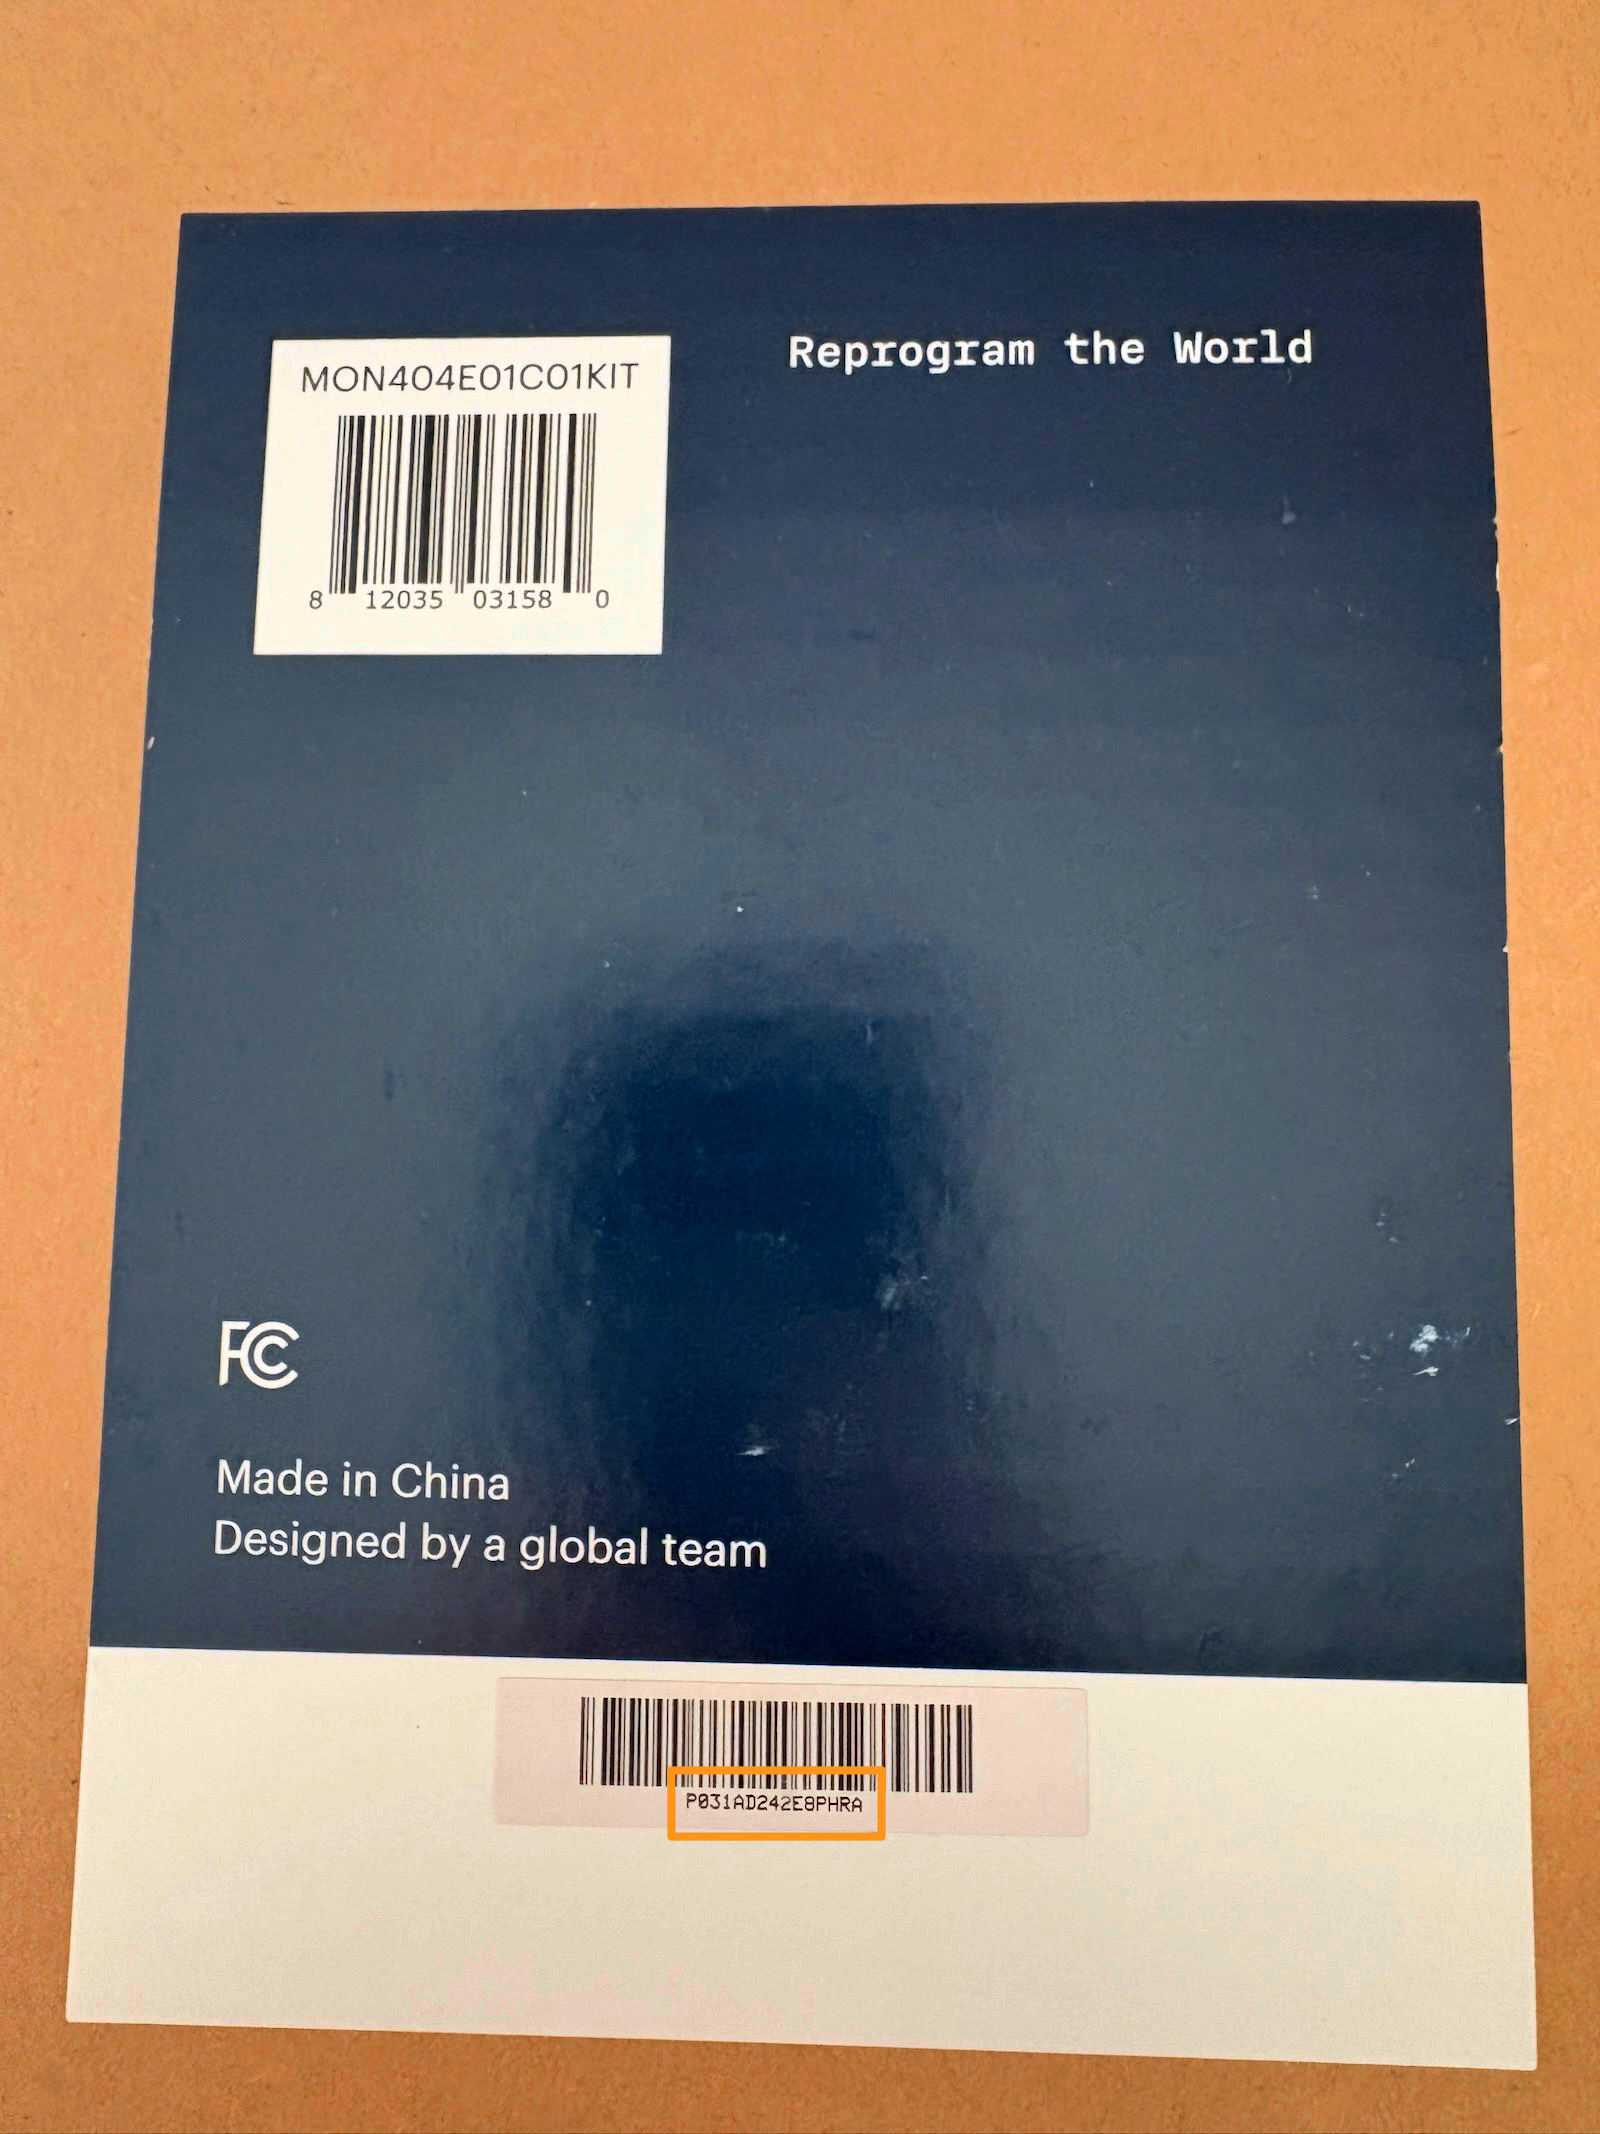
Box serial number
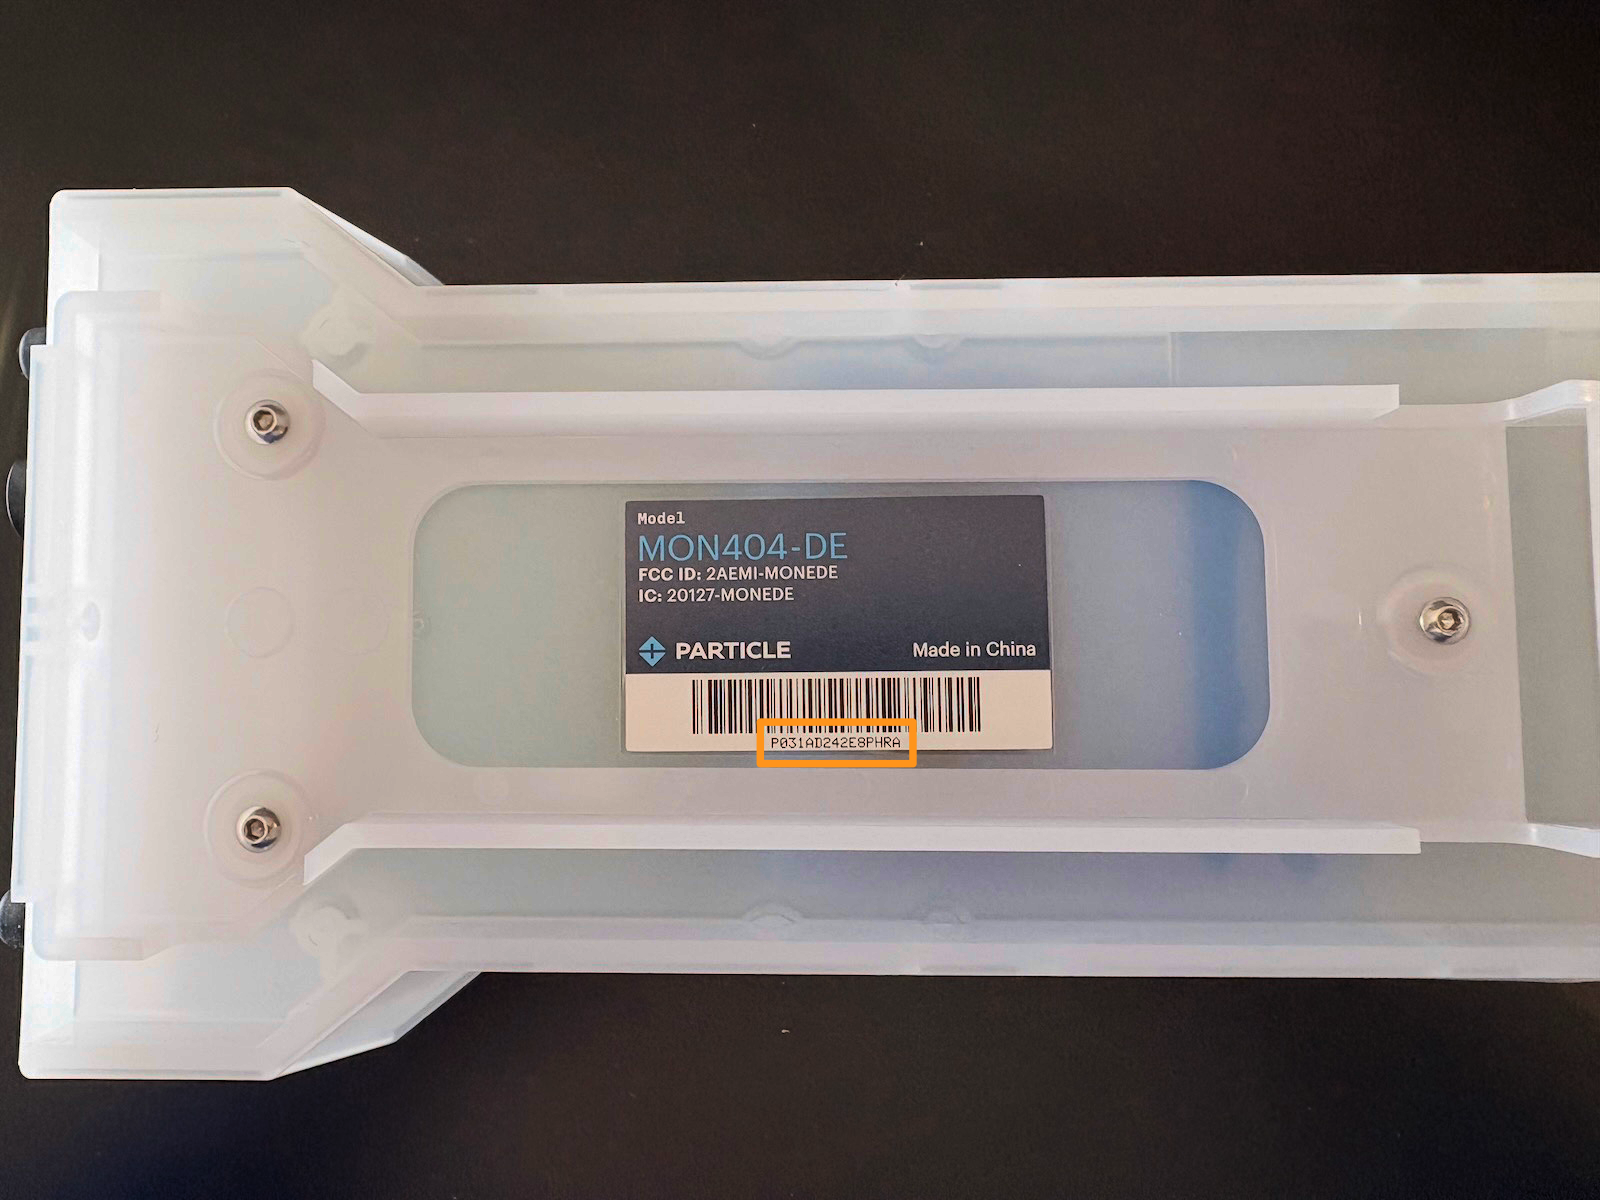
There is a sticker with the serial number on the box. It's below a barcode and begins with P and a 3-digit number.
Enclosure serial number
There is a sticker on the Monitor One enclosure itself, but it is hidden under the mounting plate.
Remove the hex screw on the bottom of the mounting plate. It requires the larger of the two included Allen wrenches.
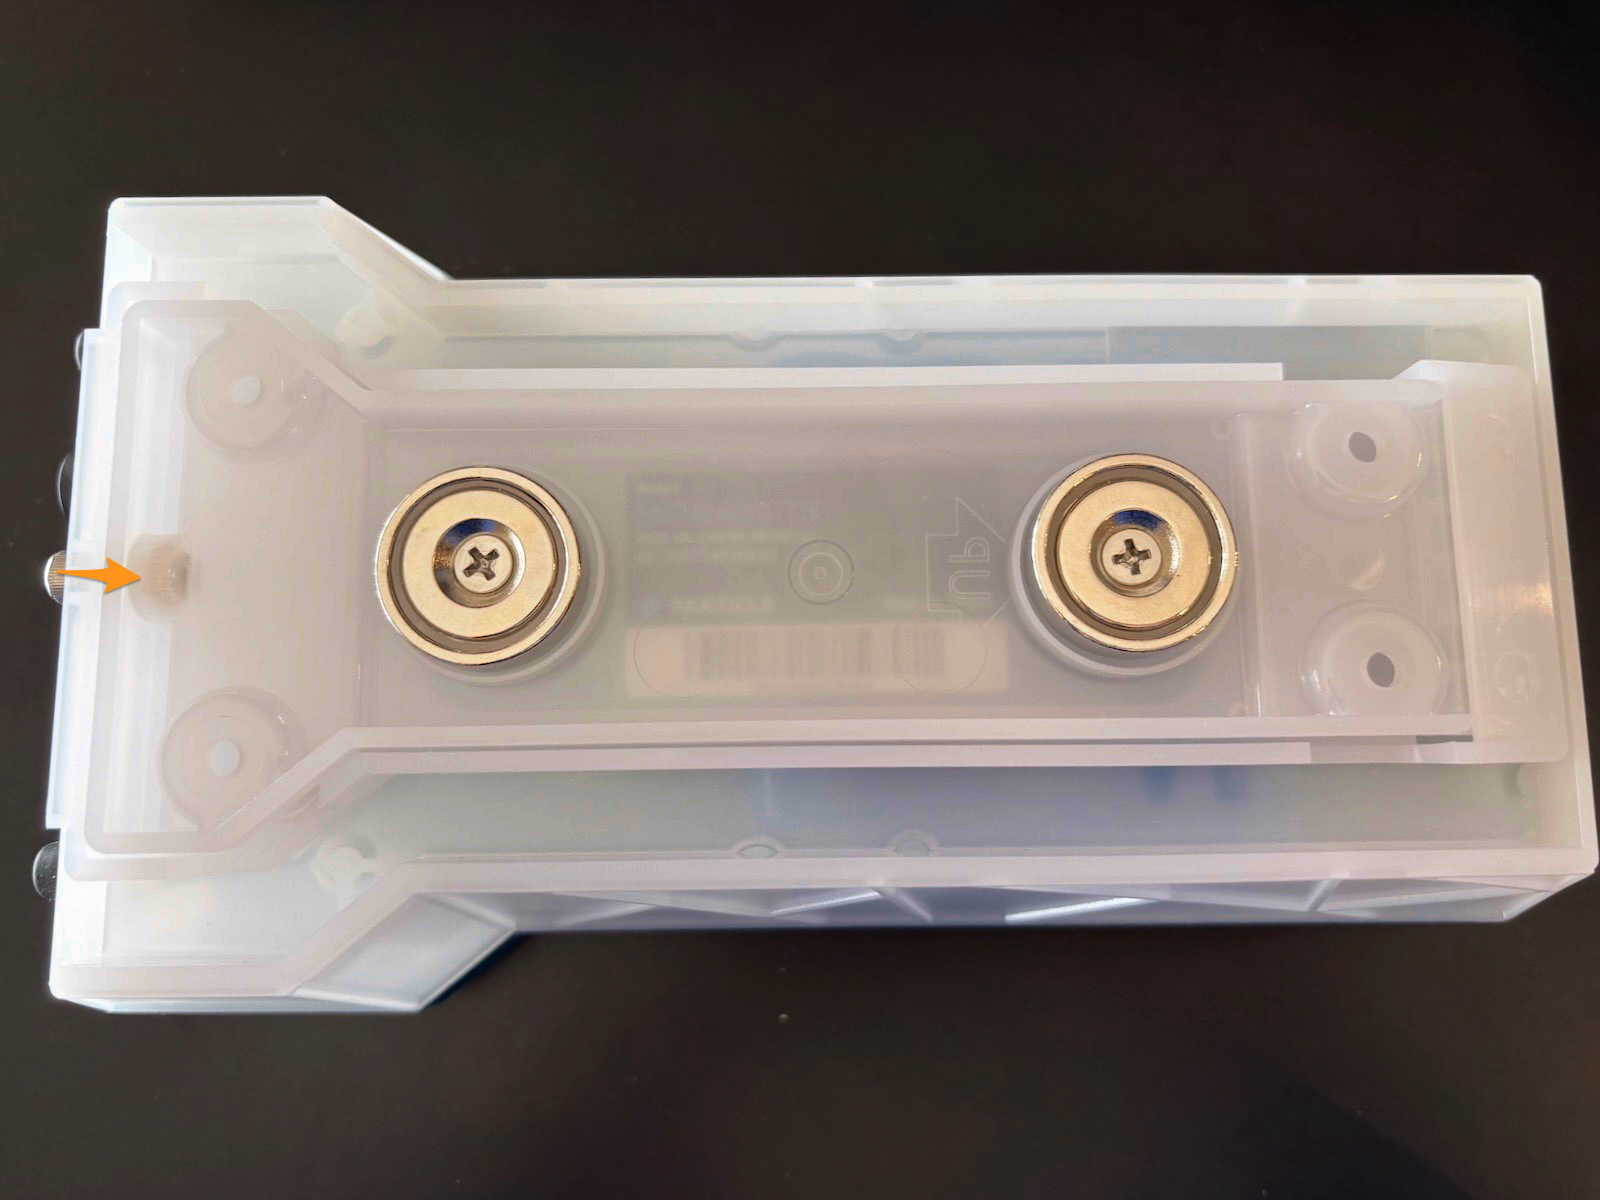
Under the mounting plate is a sticker with a barcode and the serial number. It begins with P and a 3-digit number.
Make sure you select Monitor One, not the default Device with USB port.
Enter the serial number you obtained earlier. It begins with P and a 3-digit number.
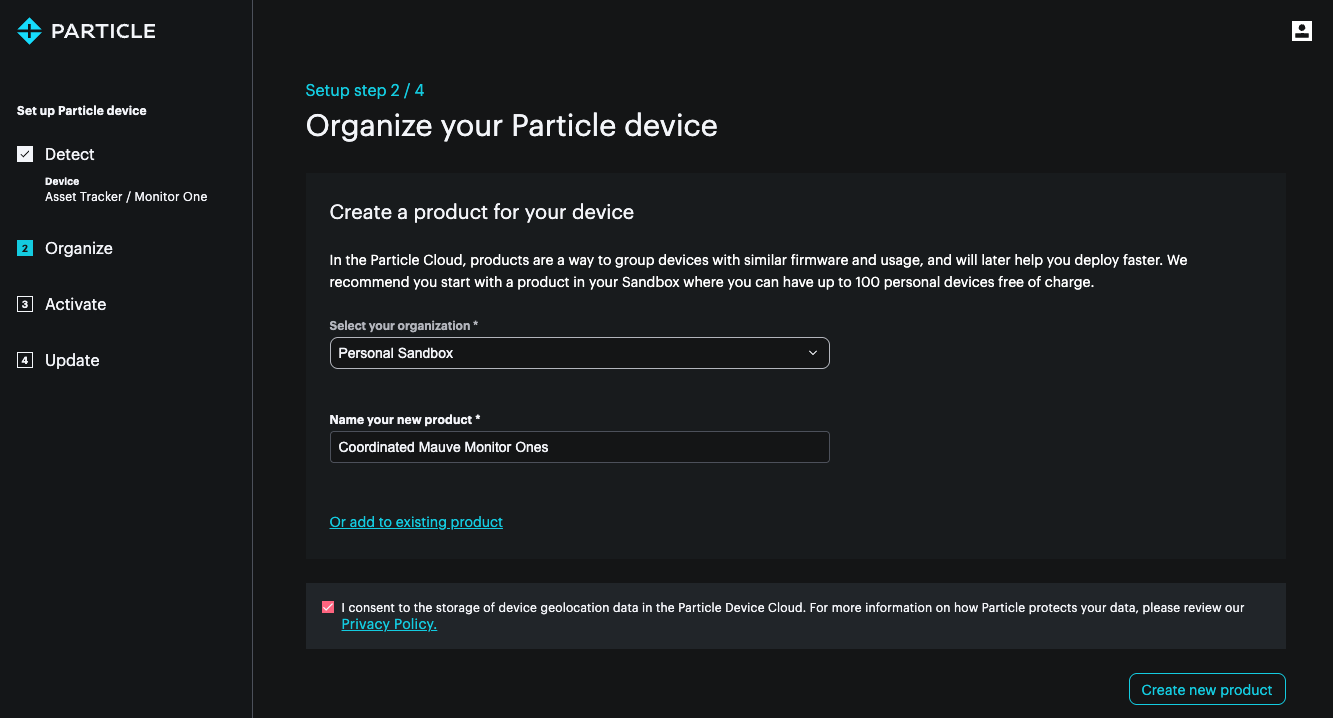
Tracker devices must be in a product to be fully functional. You can create one during setup, or use an existing Tracker product. I created a product with the default random name Coordinated Mauve Monitor Ones. We also recommend enabling location storage, since that is one of the main reasons for using an asset tracking device.
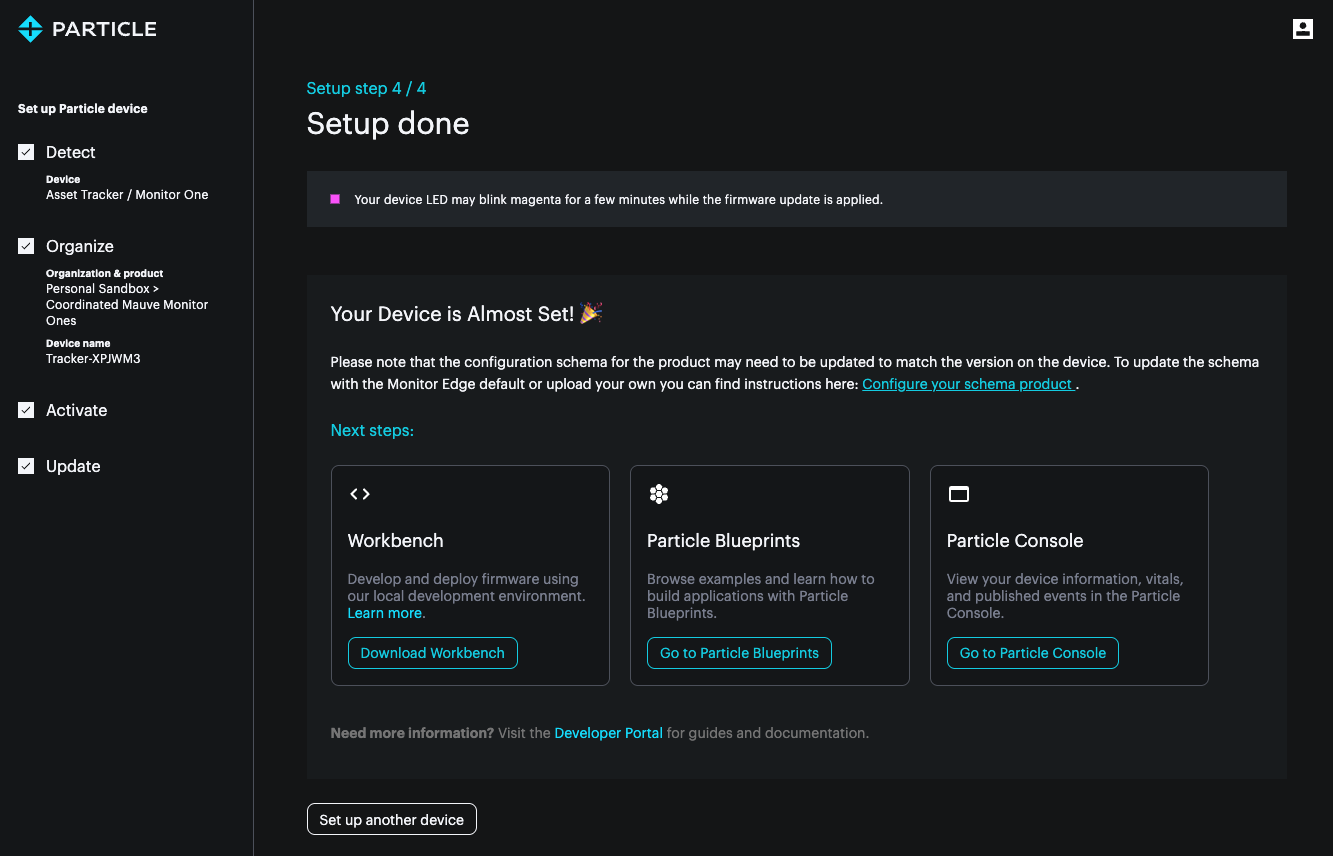
When you reach the last step of setup you can click the button to Go to Console.
Console
The Particle console can be found any time at https://console.particle.io/.
Sandbox
When you open the console you'll see the home view:
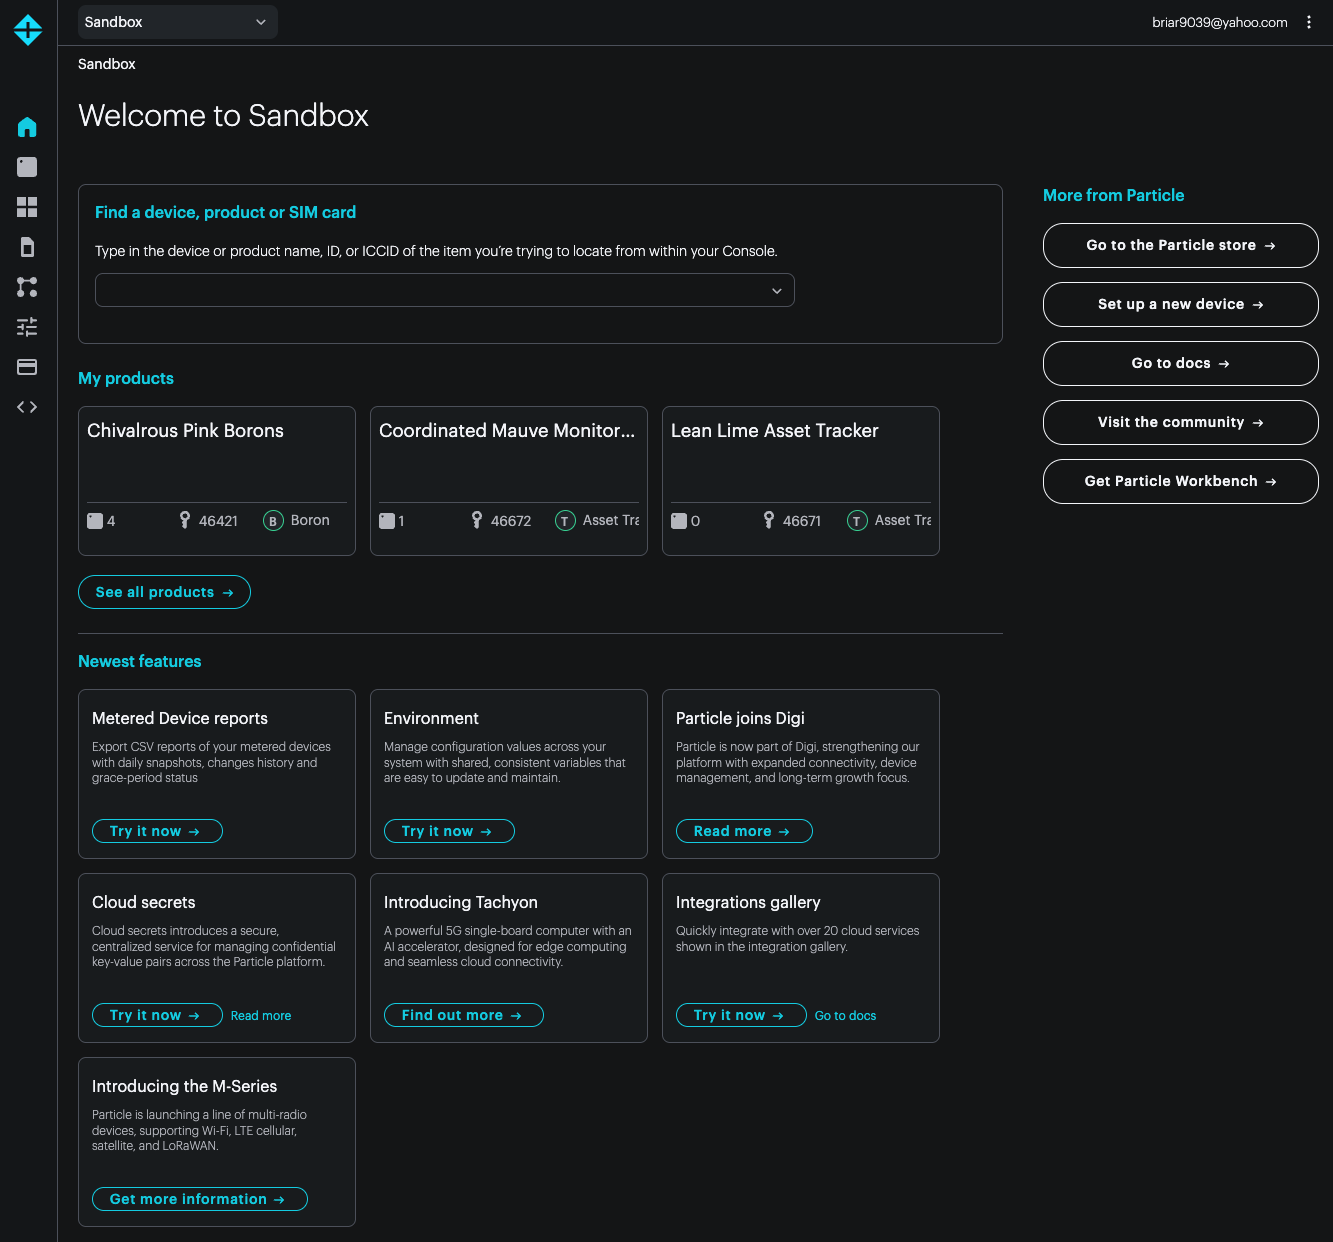
Initially you will be in Sandbox view where you see your personal devices. If your account is associated with your company, the Sandbox popup at the top will allow you to switch into your company's organization to see their devices.
The icons along the left allow you to see your personal devices, SIM cards, integrations, and billing information.
Products
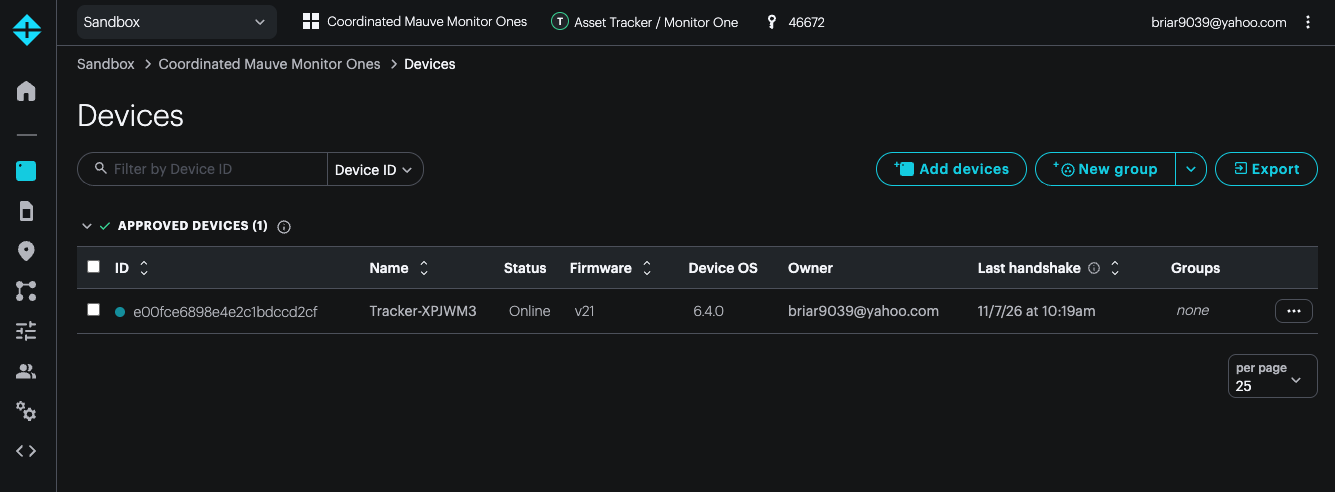
Setup automatically creates a product for your device. I recommend working in product view, even if your goal is not to create a commercial product. A product just keeps the settings and devices organized for a fleet of devices, and there is no fee to create as many products as you need. A fleet can be as small as a single device.
When I set up my device, I used the default, randomly generated product and device names. This is my device list view in the console:
Status LED and device modes
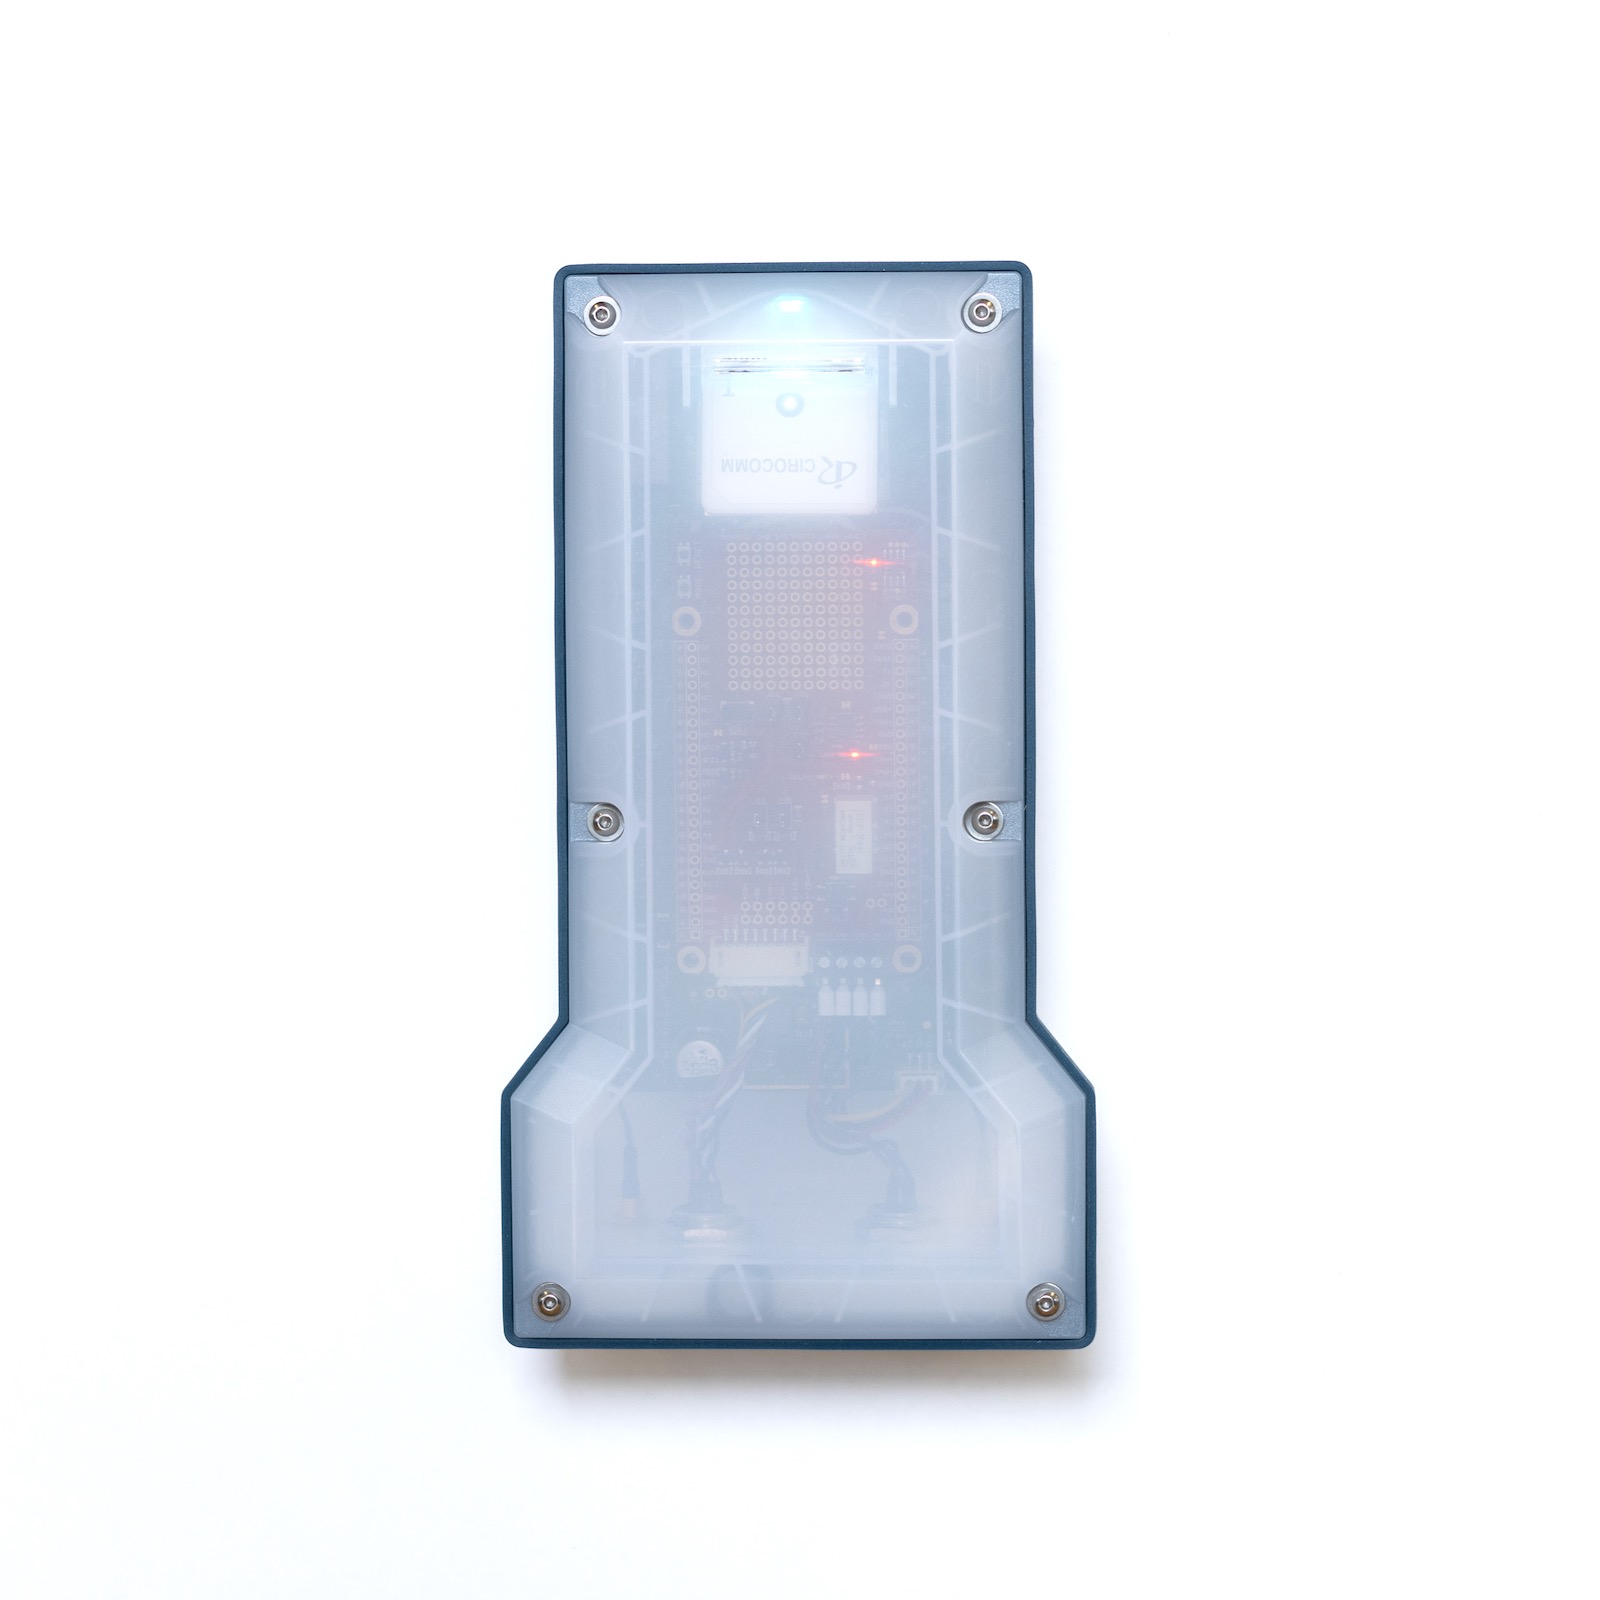
The status LED on the Monitor One at the top of the front cover.
First, a few basic terms:
- Blinking: The LED is blinking on and off. There is also fast blinking.
- Breathing: The LED gently fades on, then fades off, and repeats. This is the normal operating condition.
Additionally, there are a few standard colors.
- Cyan: A light blue color. When your device is breathing cyan, it's operating normally.
- Green: Generally used for connecting to network.
- Blue (dark blue): Certain setup modes. On Wi-Fi devices that do not have Wi-Fi credentials yet, the device will blink dark blue.
- Magenta (red and blue at the same time): Device is being updated, or awaiting updates.
- Yellow: Device is being programmed by USB.
When you first turn on a device, it will generally progress through a series of stages:
- Blink white: Powered on. This might be a single blink, and you might not see it.
- Blinking green: Connecting to the network (cellular or Wi-Fi).
- Blinking cyan: Connecting to the Particle cloud.
- Fast blinking cyan: Last step of connecting to the Particle cloud.
- Breathing cyan: Successfully connected.
You can find more on the Status LED and device modes page.