


 Go to console

 Change theme


 Edit Account
 Logout
Device setup and console - Tracker One
The getting started guide section of the Particle docs contains tutorials and examples for getting started with the Particle Tracker One and the Particle platform.
In this section I'll set up a device and begin exploring the Particle console.
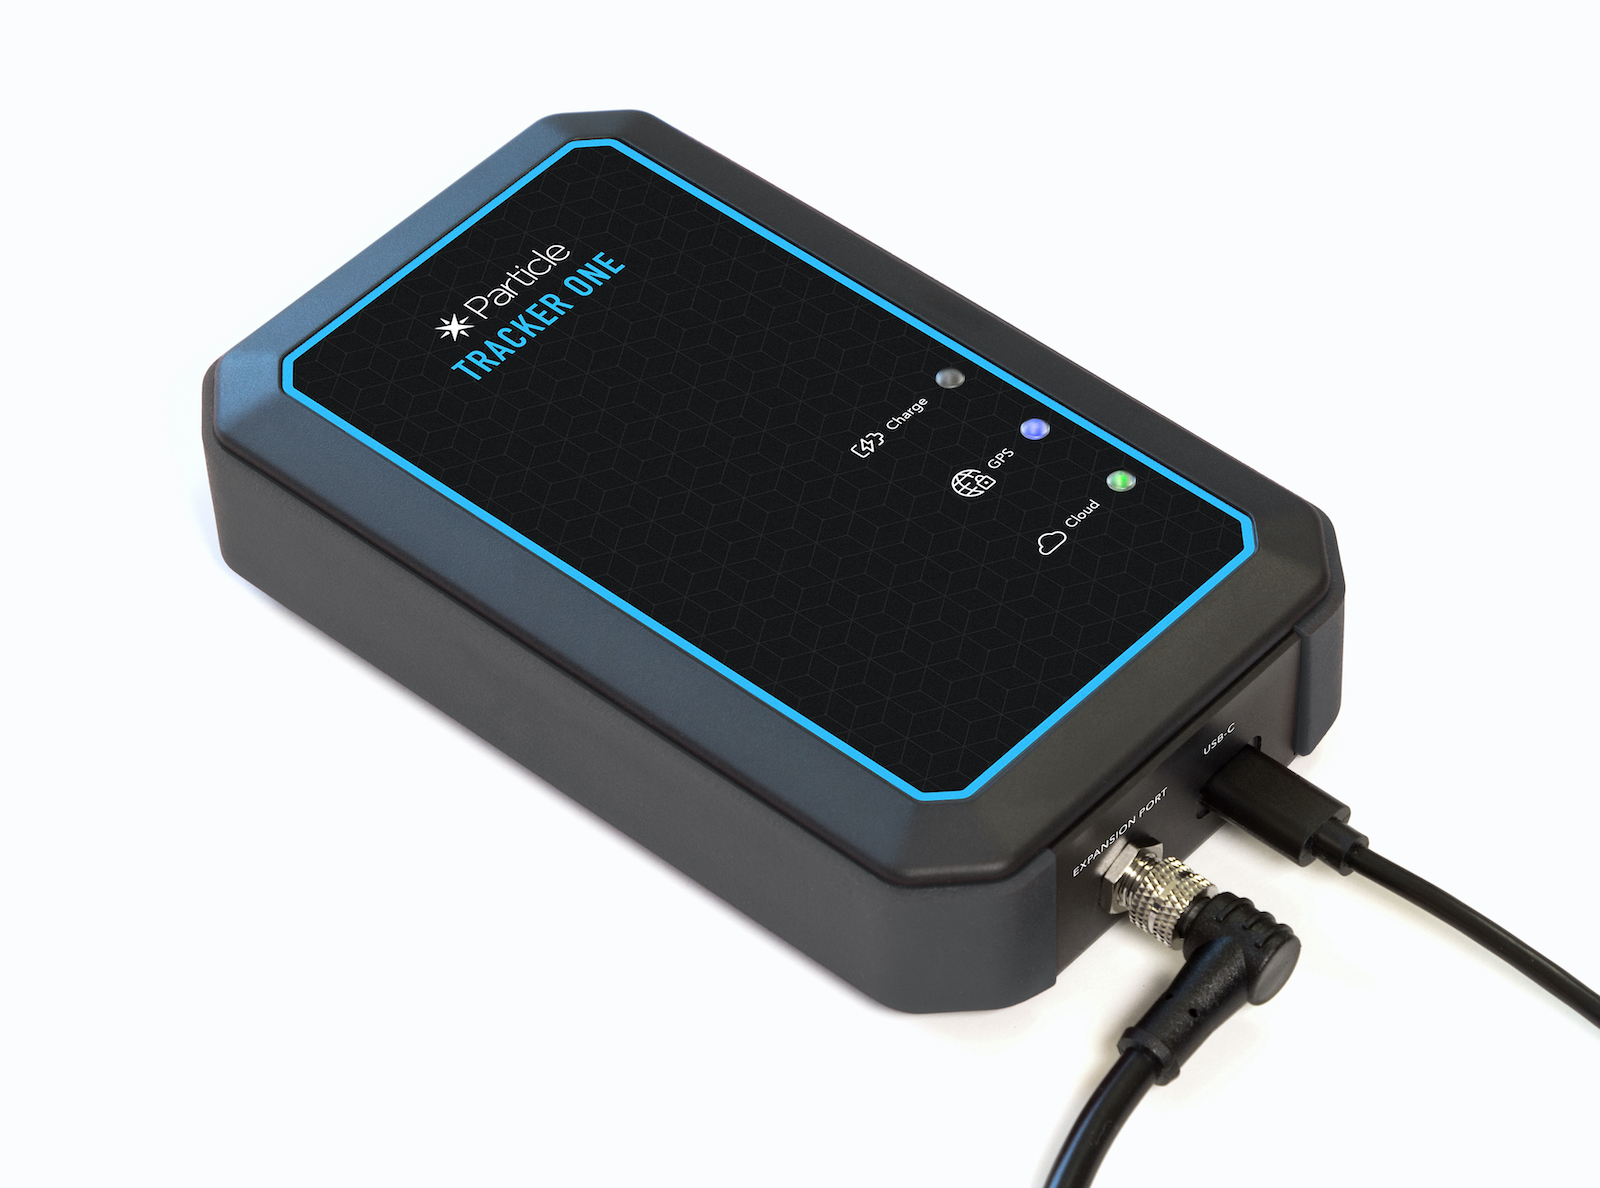
Compatible devices
This page is for the Tracker One.
- For the Monitor One, see Monitor One Guide.
- For the all other Particle devices, see Guide.
Device setup
You will generally set up your device from a computer (Windows, Linux, Mac) connected by USB to your devices. A Chromebook can be used for device setup, but you'll need a full computer to install and use the Particle Workbench development environment.
Simply follow the instructions at: https://setup.particle.io/.
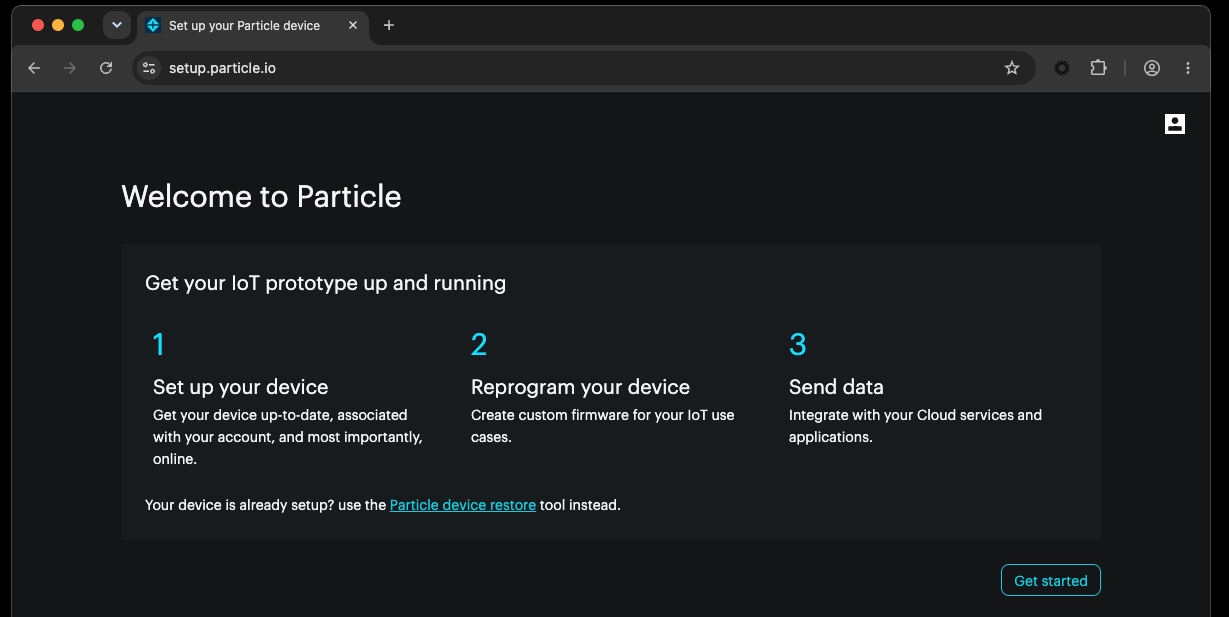
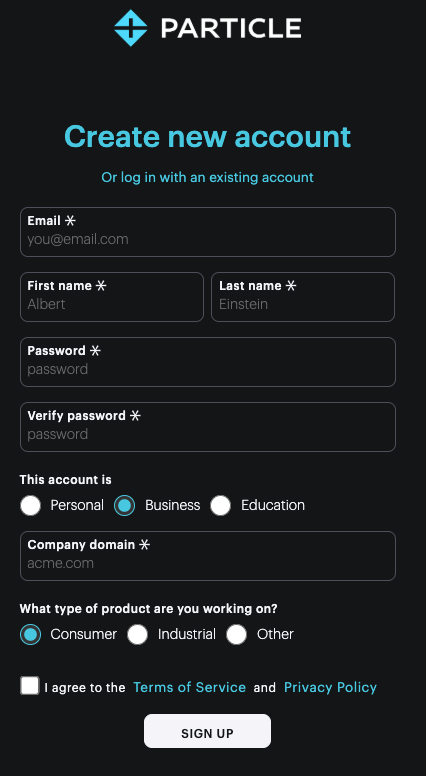
If you do not already have a Particle account you can create one as part of the setup process. You will use this account to access things like the Particle console in the next step. It's quick and there is no fee or credit card required.
Make sure you select Device with USB port for the Tracker One, not the Monitor One option. You will be prompted to set up using Tracker Edge, the standard software for the Tracker One.
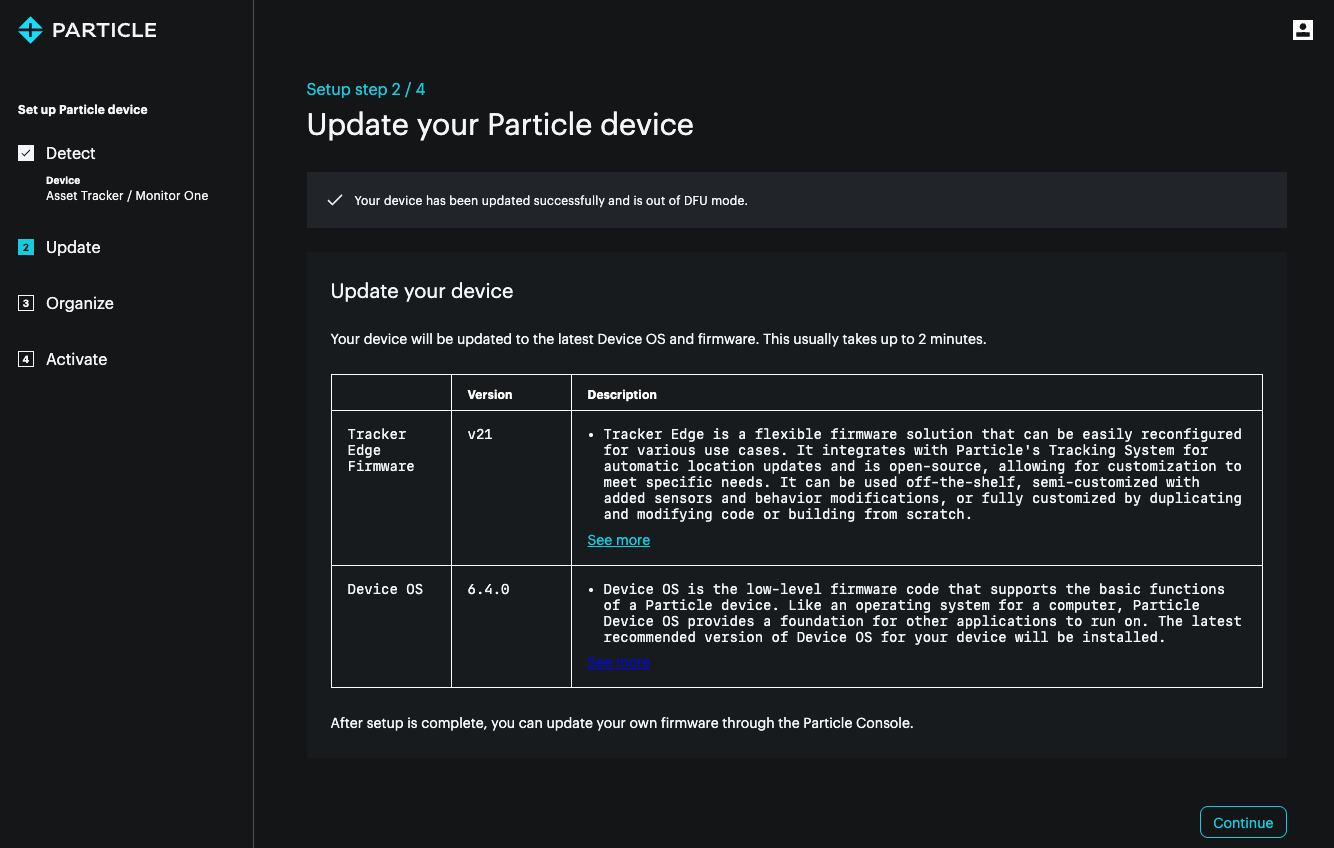
Tracker devices must be in a product to be fully functional. You can create one during setup, or use an existing Tracker product. I created a product with the default random name Lean Lime Asset Tracker. We also recommend enabling location storage, since that is one of the main reasons for using an asset tracking device.
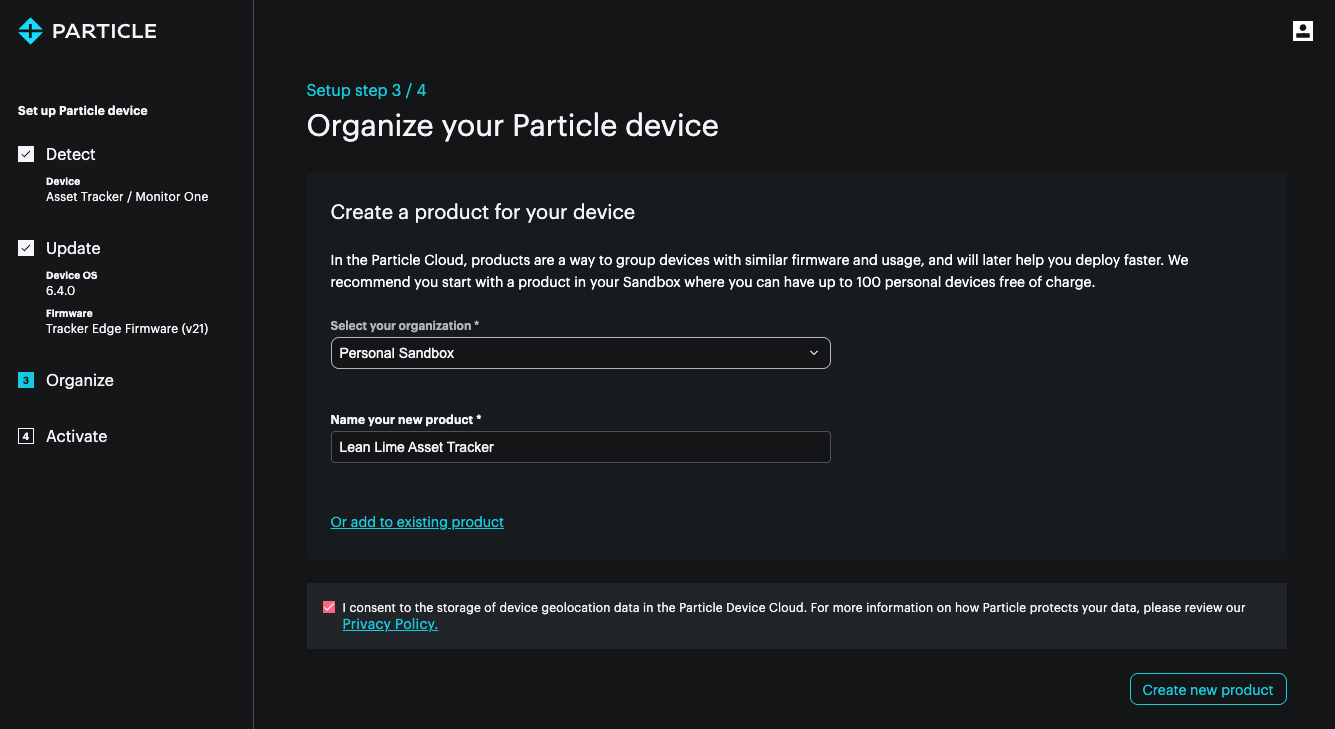
When you reach the last step of setup you can click the button to Go to Console.
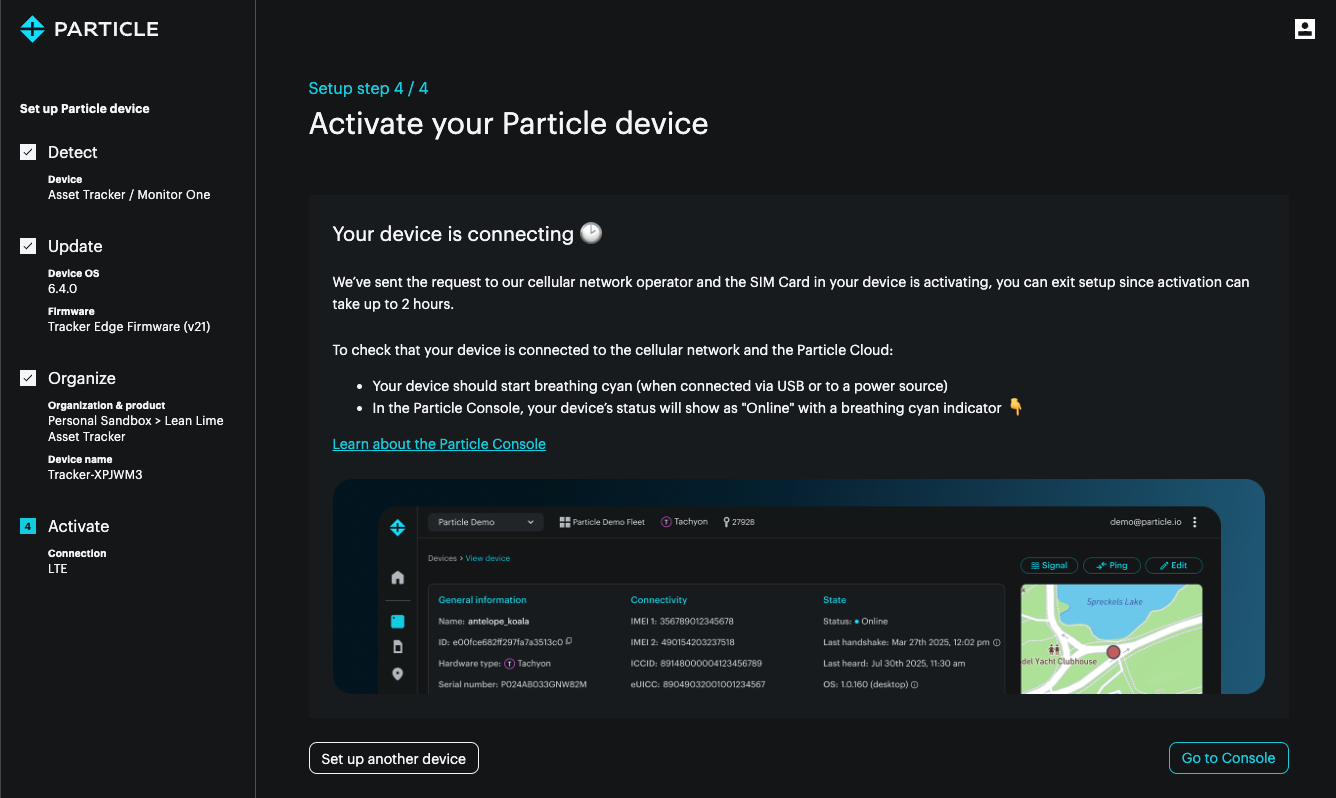
Console
The Particle console can be found any time at https://console.particle.io/.
Sandbox
When you open the console you'll see the home view:
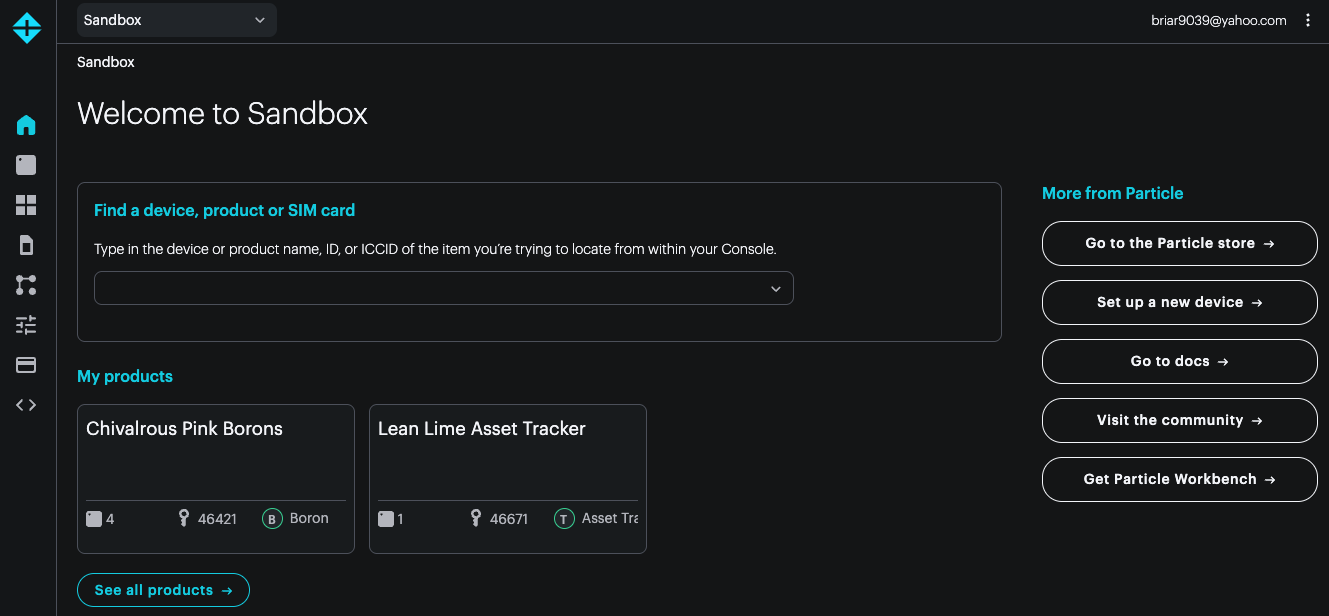
Initially you will be in Sandbox view where you see your personal devices. If your account is associated with your company, the Sandbox popup at the top will allow you to switch into your company's organization to see their devices.
The icons along the left allow you to see your personal devices, SIM cards, integrations, and billing information.
Products
Setup automatically creates a product for your device. I recommend working in product view, even if your goal is not to create a commercial product. A product just keeps the settings and devices organized for a fleet of devices, and there is no fee to create as many products as you need. A fleet can be as small as a single device.
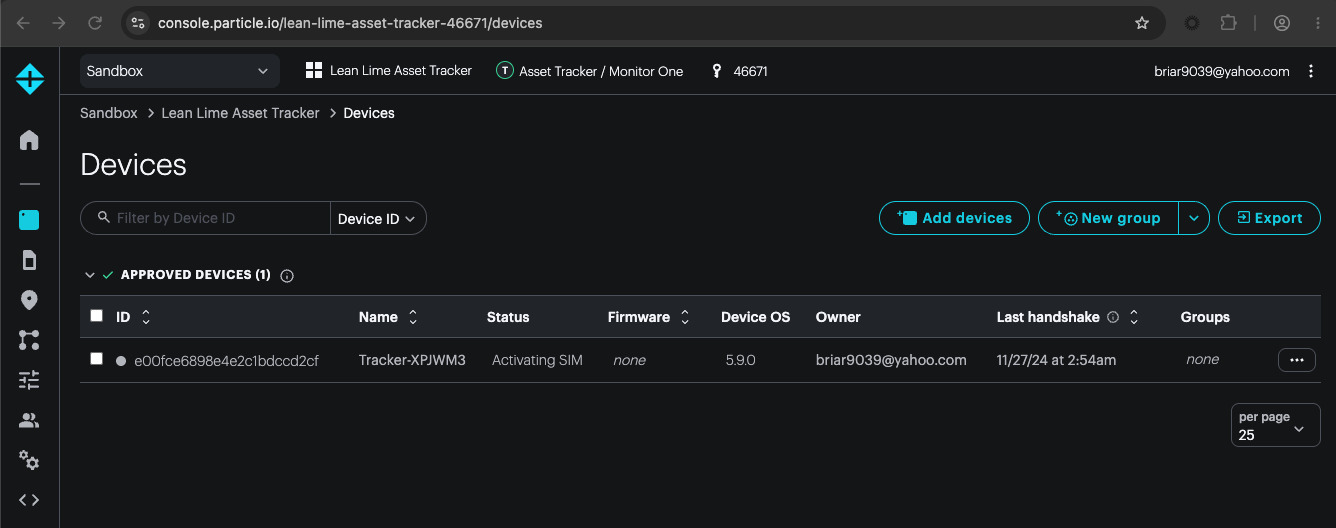
When I set up my device, I used the default, randomly generated product and device names. This is my device list view in the console:
Status LED and device modes
By default, the Tracker One uses a different status LED color code than other Particle devices.
Charge LED (yellow)
The charge LED shows the status of the battery charging circuit.
- Off: No charging or no power
- On: The battery is charging
- Blinking: Charging fault
- Flickering: No battery connected
GNSS LED (blue)
The GNSS LED shows the status of the GNSS receiver.
- Off: GNSS is powered off
- Blinking (1 Hz): Attempting to acquire a satellite fix
- Solid on: GNSS fix acquired
Cloud status LED (RGB)
The cloud status LED shows the cellular and Particle cloud connection status.
- Red breathing: Connecting to the cellular network
- Yellow breathing: Connecting to the cloud (weak signal)
- Green breathing: Connecting to the cloud (good signal)
- Yellow solid: Connected to the cloud (weak signal)
- Green solid: Connected to the cloud (good signal)