


 Go to console

 Change theme


 Edit Account
 Logout
Temperature sensor - Monitor One
This section shows how to use a SHT31 Temperature and humidity sensor cable with the Monitor One to add the sensor data to the location publish.
Device and firmware
Sensor
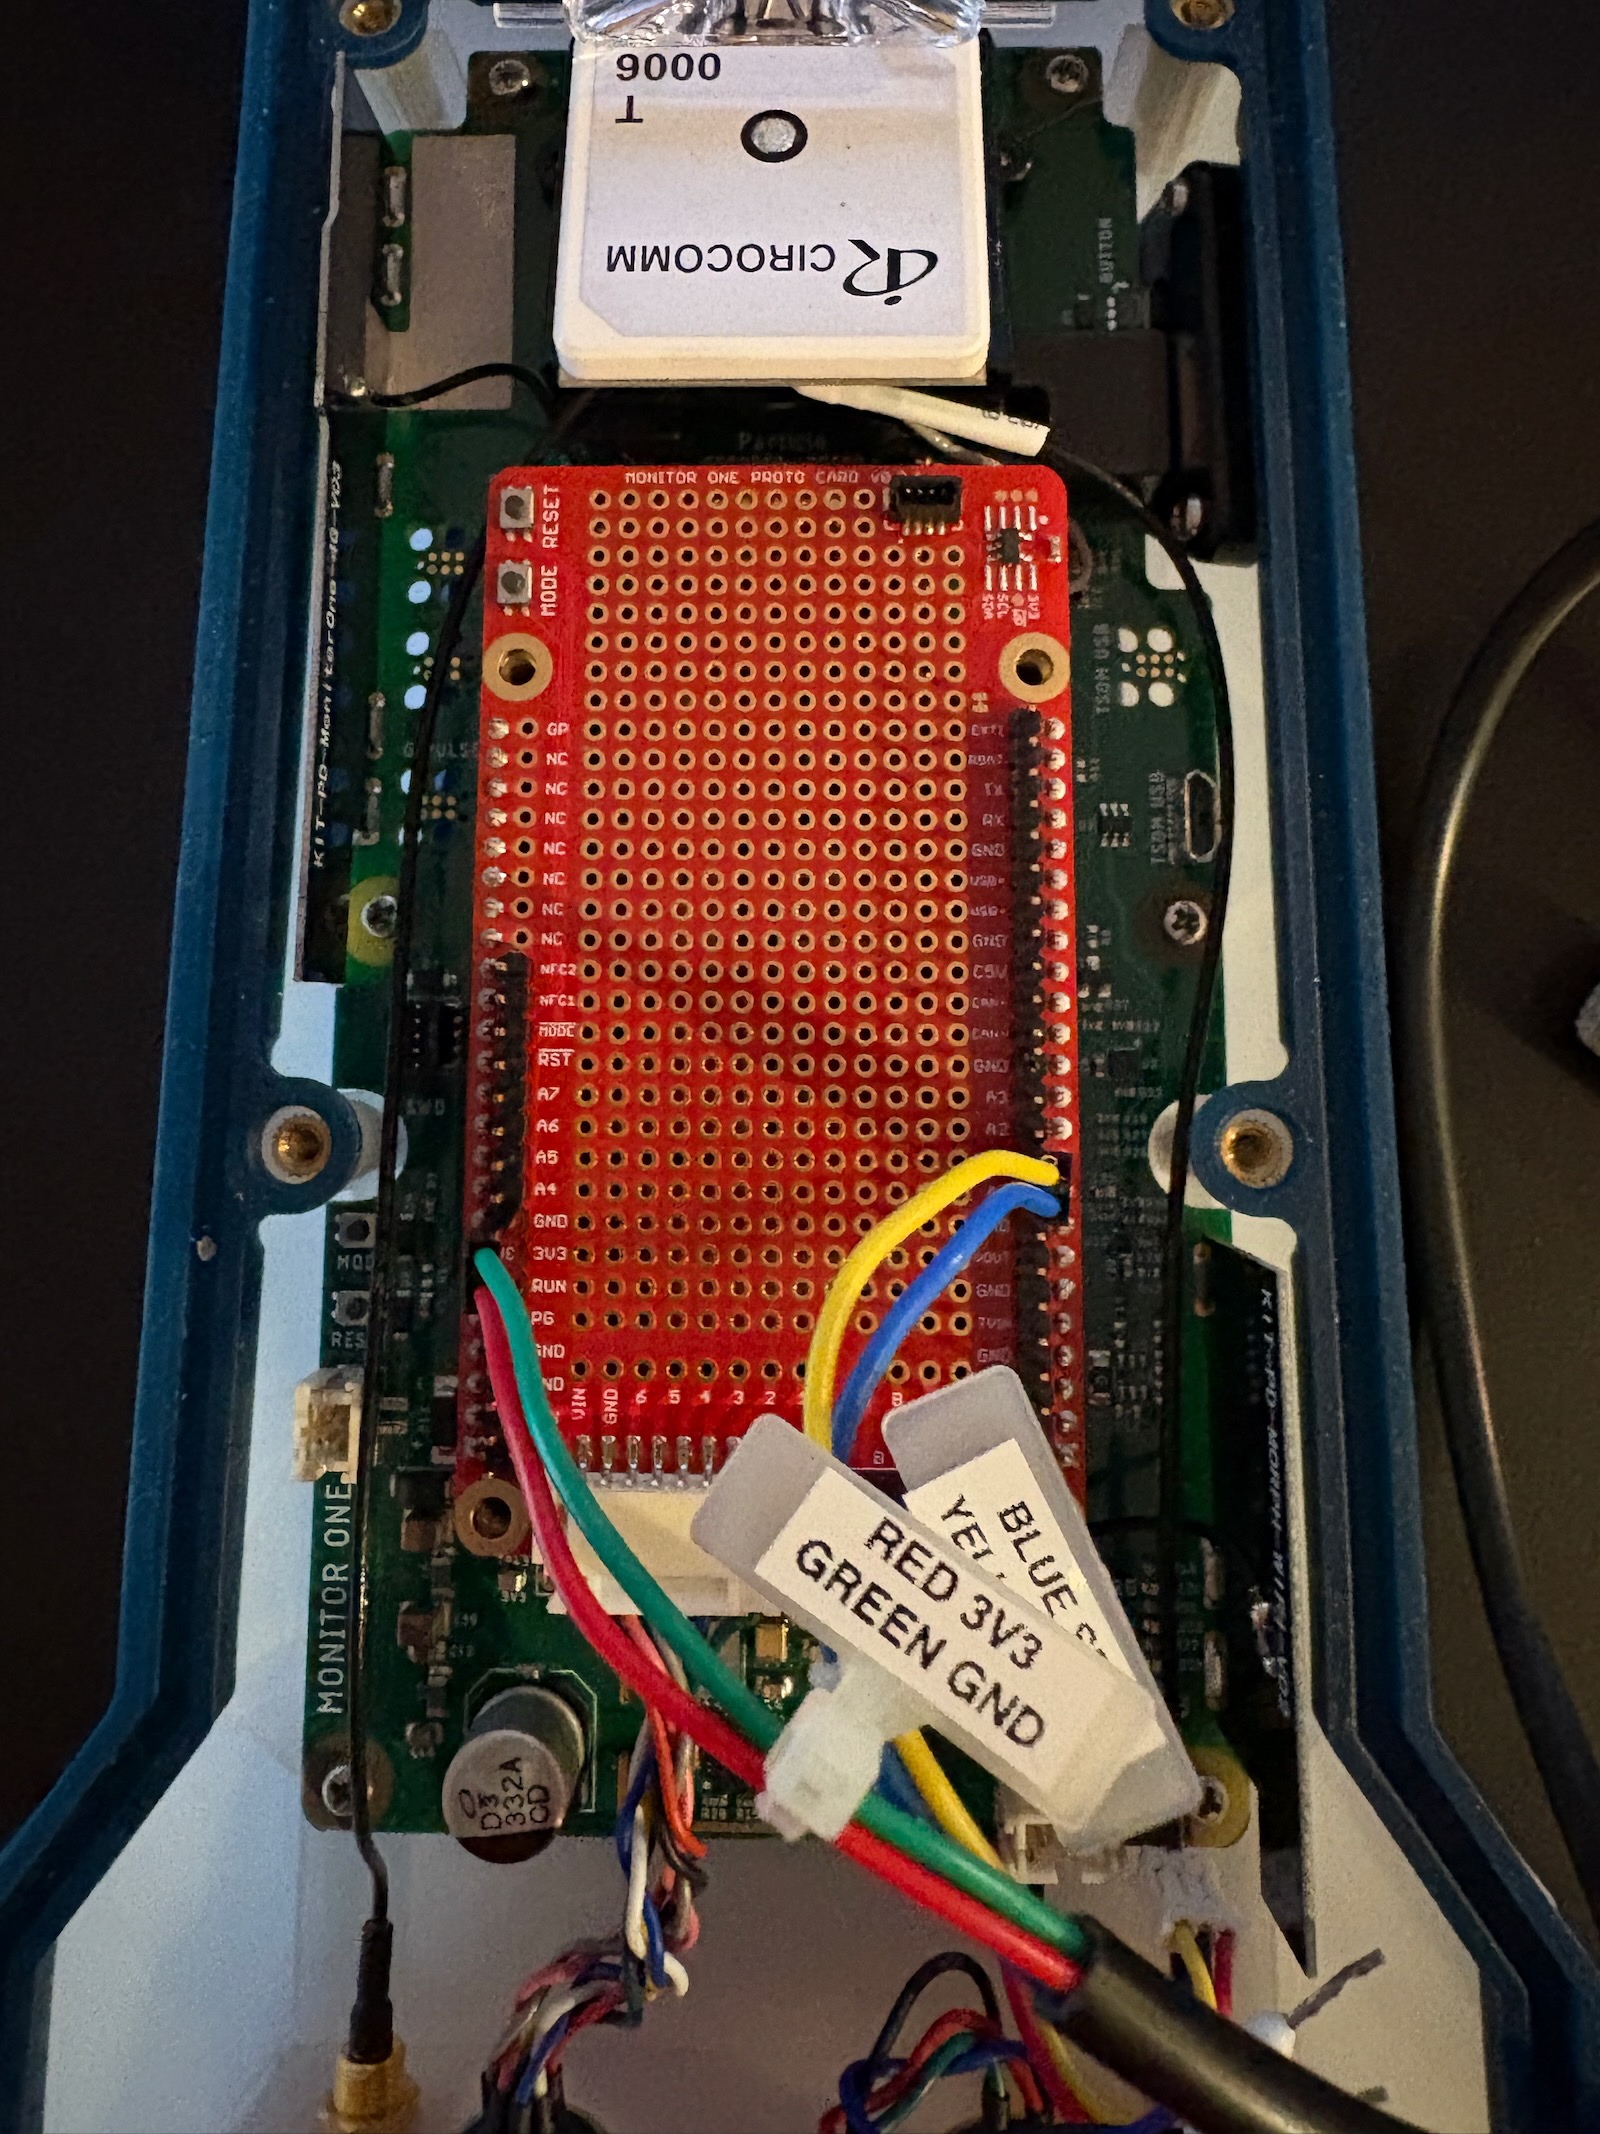
I used an inexpensive SHT31 temperature and humidity sensor. To make it easier to connect, I added female Dupont connectors, one for I2C and one for power. I also soldered male header pins on the prototyping board for the Monitor One.
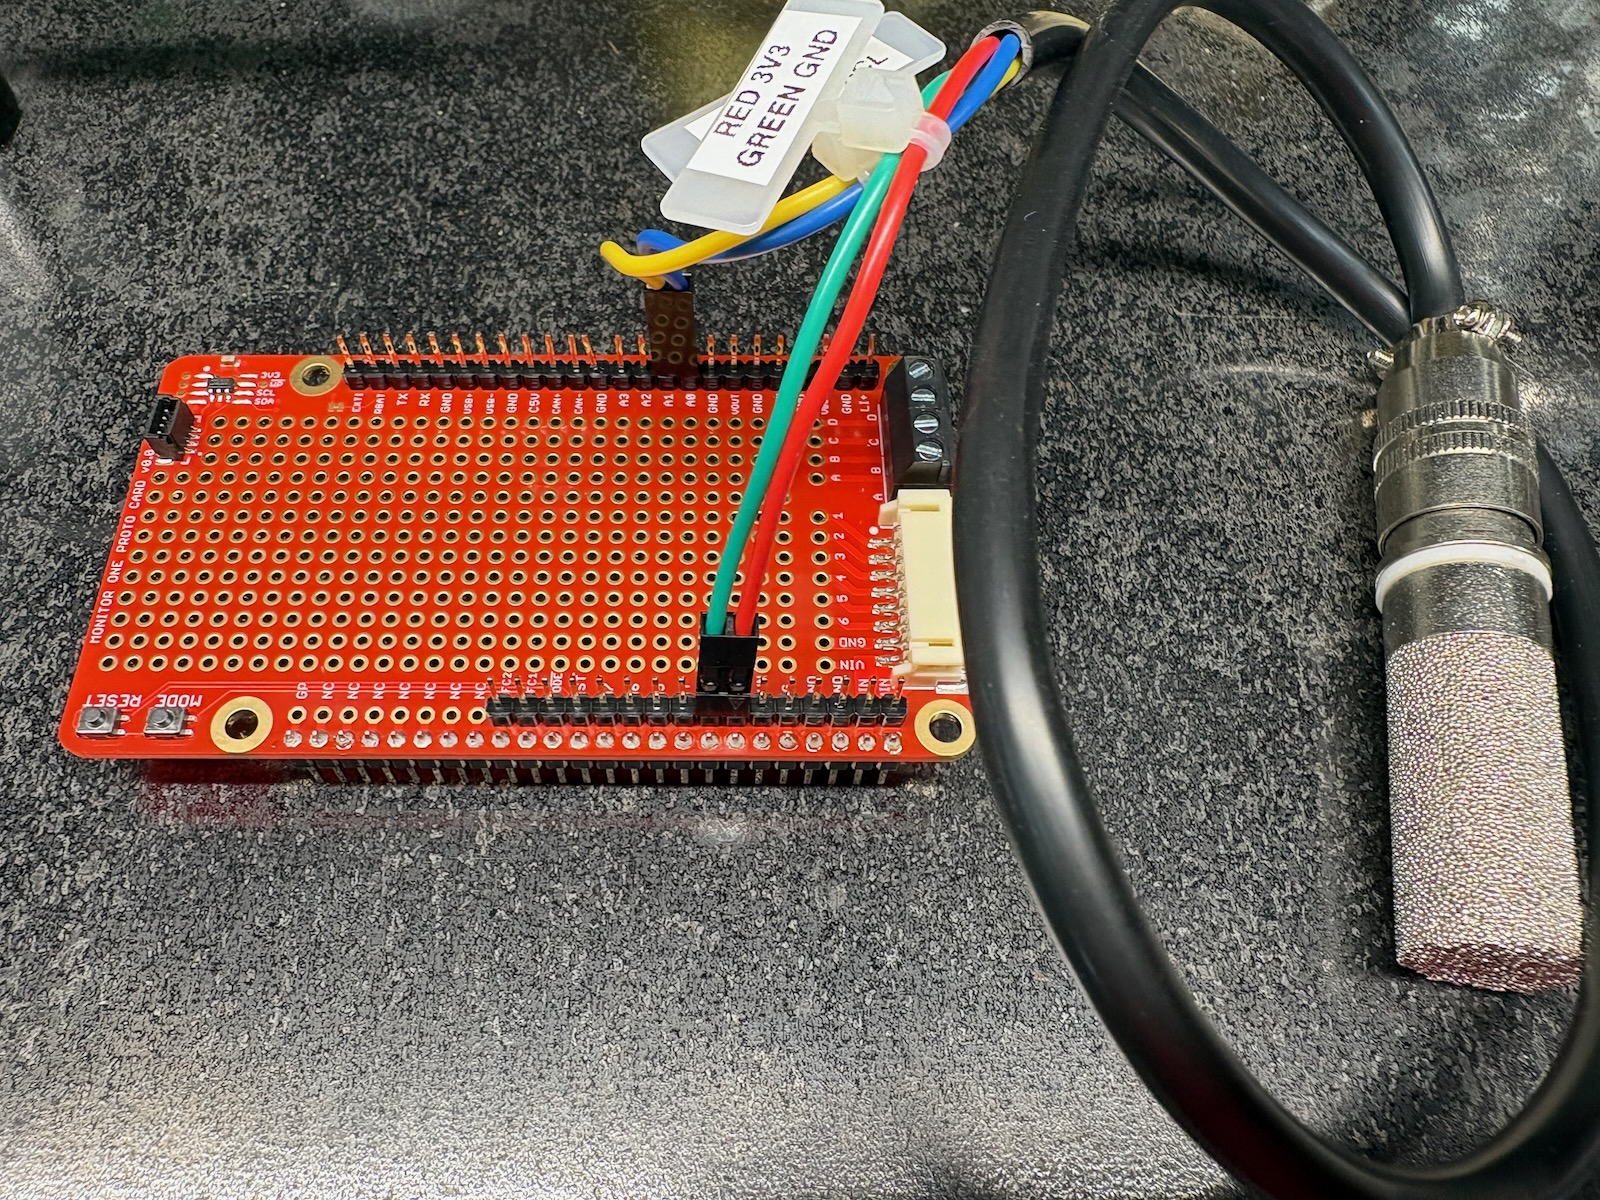
Since this is just for testing, I did not attempt to use the M12 connector and instead just left the cover off the Monitor One.
Start with Monitor Edge
Follow the instructions in Monitor Edge firmware - Monitor One to get the Monitor Edge firmware.
Add the sht3x-i2c library
From the command palette in Workbench, Particle: Install Library then enter sht3x-i2c.
The documentation for the library can be found here.
Customize main.cpp
All of the changes are in main.cpp. For Monitor Edge v3, you can just copy and paste this in, but for newer versions you may need to merge in the changes manually.
<div style="height:500px; overflow:scroll;">
    <pre class="codeboxPre"><code class="codebox lang-cpp" data-content="/assets/files/tracker/TempHum3.cpp"></code></pre>
</div>
Digging in
Add the include file for the temperature sensor.
#include "sht3x-i2c.h" // Include file for temperature sensor
Add an object for the sensor. The Monitor One uses I2C on pins A0 (SDA) and A1 (SCL), but the port is still Wire so you don't need to reconfigure the port like on the Tracker One.
Sht3xi2c sensor(Wire, 0x44);

void myLocationGenerationCallback(JSONWriter &writer, LocationPoint &point, const void *context); // Forward declaration
In setup() initialize the Monitor Edge firmware and add a callback for when the location publishes occur.
void setup()
{
    Edge::instance().init();

    // Register a location callback so we can add temperature and humidity information
    // to location publishes
    Edge::instance().location.regLocGenCallback(myLocationGenerationCallback);

    // Initialize the I2C port
    sensor.begin(CLOCK_SPEED_400KHZ);
}
Add the code to add temperature and humidity values to the loc location event. This is different than the non-Tracker version which publishes a separate event. By leveraging the location event, things like minimum and maximum location event times in configuration are followed, events can be stored when offline, and all of the data is sent in a single event, saving data operations.
// Callback function registered using regLocGenCallback to add additional parameters to the loc event
void myLocationGenerationCallback(JSONWriter &writer, LocationPoint &point, const void *context)
{
    double temp, humid;

    int err = sensor.single_shot(&temp, &humid, SHT31_ACCURACY_MEDIUM);

    if (err == 0)
    {
        writer.name("sh31_temp").value(temp);
        writer.name("sh31_humid").value(humid);

        Log.info("temp=%.2lf hum=%.2lf", temp, humid);
    }
    else {
        Log.info("no sensor err=%d", err);
    }
}
Flashing code
There are two ways you typically compile and flash code:
- Local: compiling on your computer and flashing the device by USB
- Cloud: compiling the code in the Particle cloud and flashing the device OTA (over-the-air)
When using cellular devices, you can save on cellular data by flashing locally.
Open the command palette (Ctrl + Shift + P or Command + Shift + P) and select Particle: Flash application (local).
A Terminal pane at the bottom of the window will appear with the build progress. It will sit in this state for a few minutes, but it will be much faster for subsequent builds.
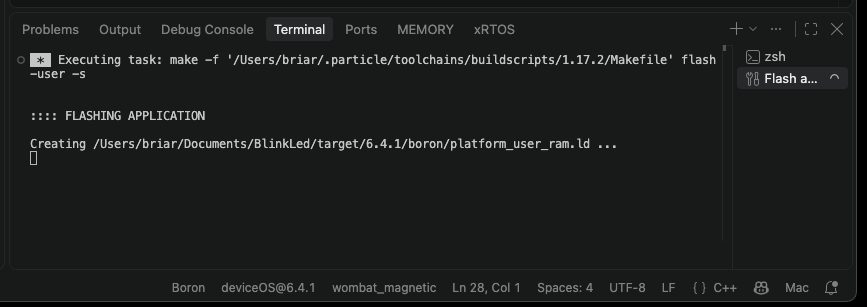
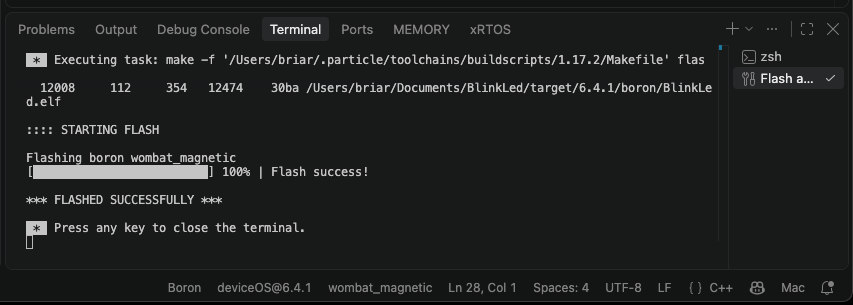
When the build is done, a message similar to this will display:
Events in the console
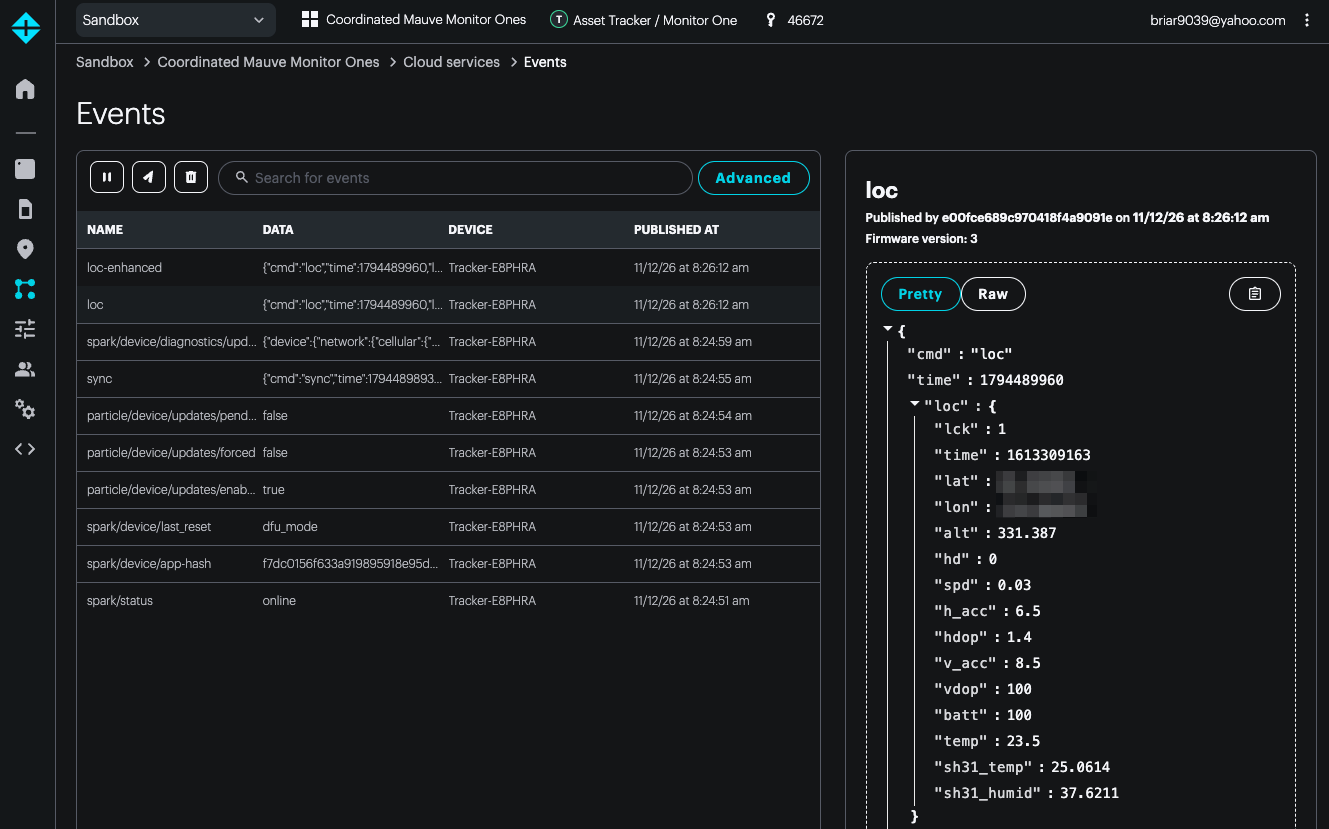
Opening the product, then the device will eventually show the location event. Since the events panel does not show historical events, and by default it will only send once per hour, it may be hard to see this.
If you click on the loc event row, it will show you greater details, including the sh31_temp and sh31_humid values that were added.
Adjusting the publish period
The publish period is set in the Tracker configuration.
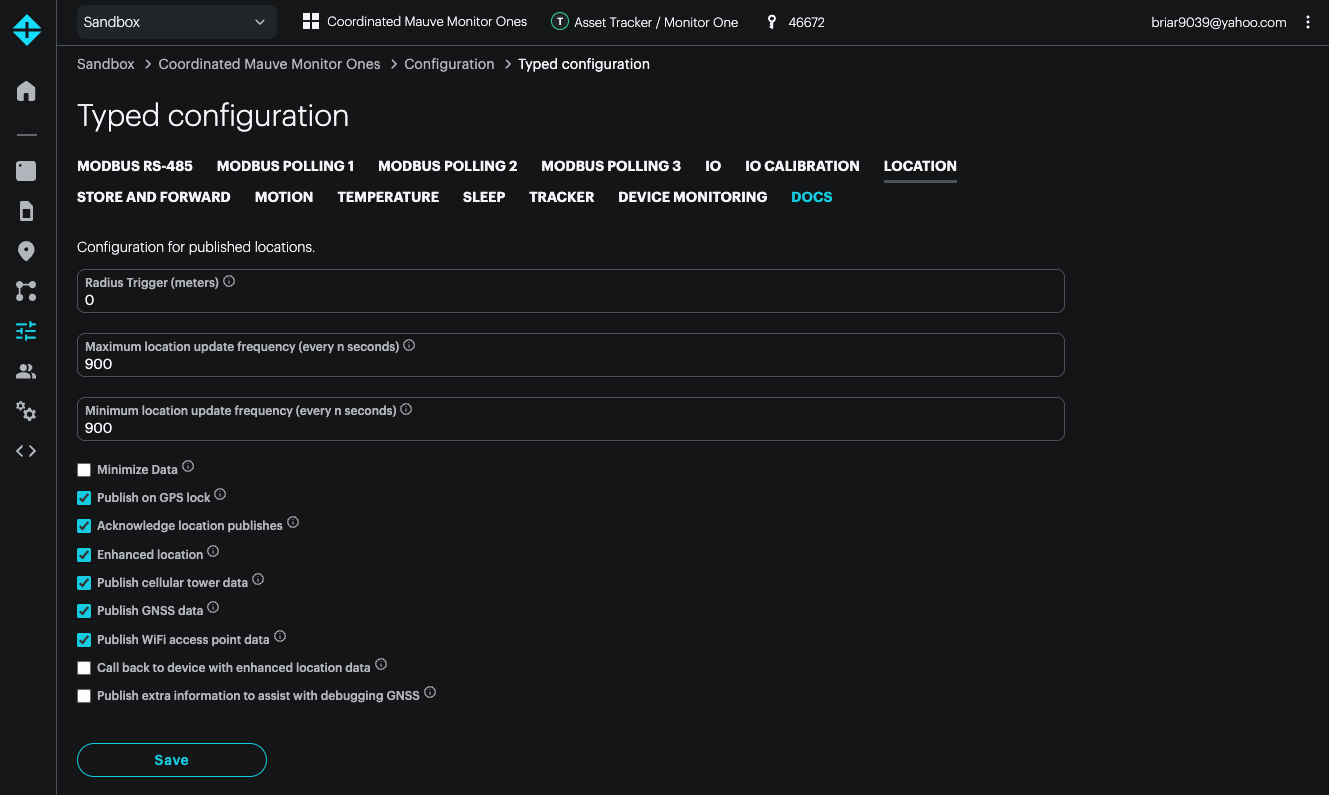
Open the product, then in the left navigation bar, Configuration then Typed Configuration. Open the Location pane if not already selected.
To set the publish period when the device is not moving, set the Minimum location update frequency. The default is 3600 (1 hour). You can set it to a lower value, but be aware of the number of data operations you will use if the limit is very low. A safe value is 900 (15 minutes).
For more information, see Location settings for more information.