Ledger sensor
This example stores sensor data from a device to a ledger in the cloud. This allows the latest sensor value to be retrieved even if the device is offline. This is a common use-case of device to cloud ledgers.
| Method | Description |
|---|---|
| Publish | Device sends value to cloud, but value is not saved in the cloud. |
| Variable | Cloud can query the value if the device is online. |
| Ledger | Device sends value to cloud, saves value in ledger so it can be accessed offline. |
Sandbox product
In order to use Ledger, you will need to:
- Create a product for testing in your developer sandbox. There is no additional charge for this.
- Add one or more devices to the product.
Ledger can only be used with devices in products; it cannot be used with individual developer devices.
Create a ledger
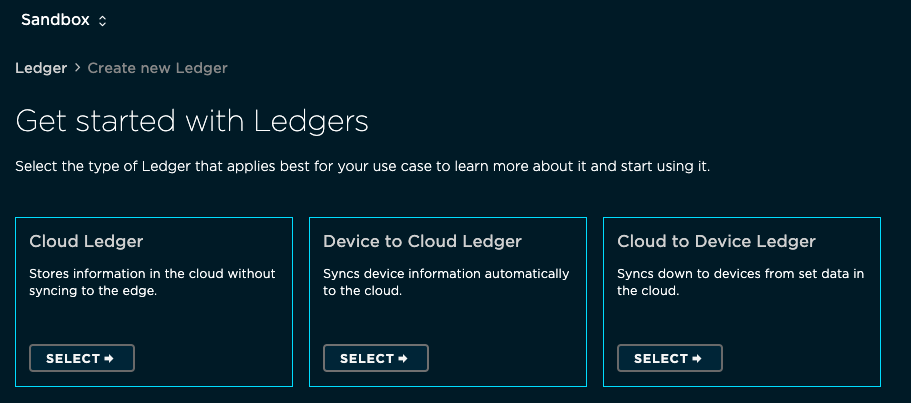
Create a new Device to Cloud ledger for your sensor data. Go to the Particle console and select the Ledger icon in your developer sandbox.

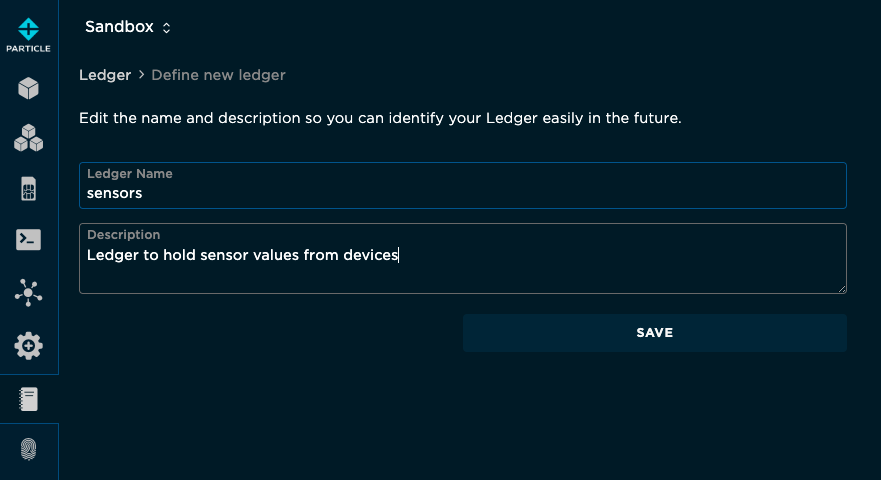
Create a new device to cloud ledger named sensor. You may need to rename it if sensors is already in use; if you do, you will need to update the device firmware so the names match.

This will create a new device to cloud ledger, which are always device-scoped.

You must create the ledger in the cloud before you can use it from device firmware.
Device firmware
This is the test device firmware. It requires Device OS 6.1.0 or later.
Walking through the code:
You will typically create a new Ledger object as a global variable.
Ledger sensors;
This code keep track of how often to check the (fake) sensor. In this case, every 5 minutes.
const std::chrono::milliseconds sensorCheckPeriod = 5min;
unsigned long sensorCheckLast = 0;
int sensorValue = 0;
In the setup() function you call Particle.ledger() to indicate that you want to work with the ledger. You don't specify anything other than the name, which must be unique within your product, owner, and organization. If you changed the name when creating the ledger, be sure to change it here as well.
void setup() {
    sensors = Particle.ledger("sensors");
}
This is the code to save the data to the ledger:
// Save the value to the ledger
Variant data;
data.set("sensor", readSensor()); // readSensor() returns an int
if (Time.isValid()) {
    data.set("time", Time.format(TIME_FORMAT_ISO8601_FULL)); // Time.format returns a String
}
sensors.set(data);
Log.info("set ledger %s", data.toJSON().c_str());
The data is structured, you can include things common in JSON like:
- Values of different types (integer, floating point, string, boolean)
- Arrays of values
- Objects containing other values, arrays, and objects
The code adds an int (integer number) value from readSensor().
If the current time is available, adds it as a string in ISO8601 format.
It then logs the data to the USB serial console. Note that Log.info is limited to around 100 characters, so if your data is long it will be truncated in the log, but will be correct in the ledger.
This example replaces the ledger data for this device on every update. It's also possible to merge only newly changed data into the existing ledger.
This sample app just uses a random value instead of reading an actual sensor. In a real application you'd replace the contents of readSensor() with code to actually read a sensor.
int readSensor() {
    // In a real application, you'd read the sensor here, but we'll just set a random 12-bit value
    int sensorValue = rand() % 4096;

    return sensorValue;
}
Logs
The firmware will print debugging information to the USB serial console. The first time the device requests a ledger there will be logging messages after cloud connecting, but subsequent connections may not have these messages.
0000021540 [system] INFO: Cloud connected
0000021626 [system.ledger] INFO: Requesting ledger info
0000021787 [system.ledger] INFO: Received ledger info
Every 5 minutes it will update the ledger value in the cloud from the logging message in our code.
0000020116 [app] INFO: set ledger {"sensor":2688,"time":"2024-01-17T11:22:43Z"}
0000320113 [app] INFO: set ledger {"sensor":3516,"time":"2024-01-17T11:27:43Z"}
Viewing the ledger
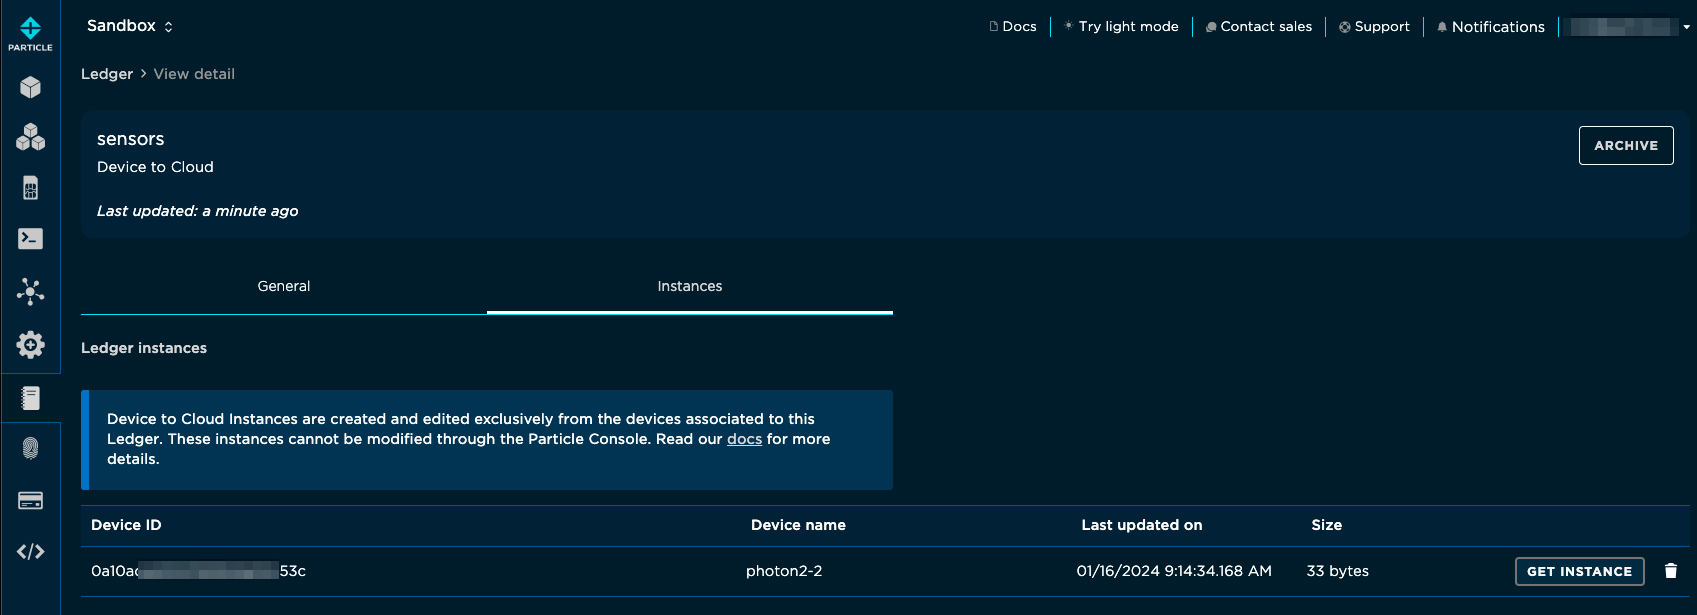
Once the device has successfully sent data to the cloud once a new instance will be listed in the ledger. Each instance corresponds to a single device.

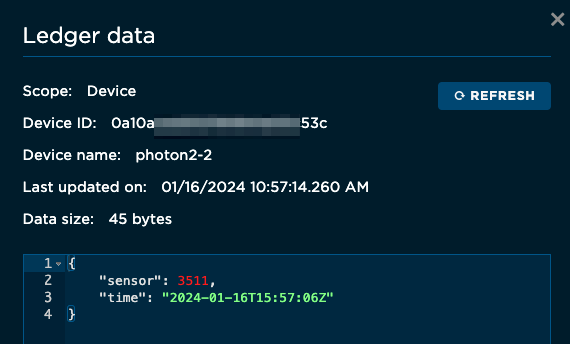
Using Get Instance allows to you examine the data that was synchronized from the device.

Cleanup
Ledger information is kept on the device even after you remove the firmware that uses Ledger. To clean up this data see the documentation for Ledger::removeAll() in the Device OS firmware API reference.
Next steps
In this simple demo, we're viewing the data in the console, but you might want to do additional processing using Logic.
You could also read the data using the Particle Cloud API from a web page or external application.
For an example of a cloud to device Ledger and reading data from a Ledger, see the Ledger Configuration example.
