
IFTTT
The IFTTT (If This Then That) to Particle service is no longer available.
You can, however, still use IFTTT by using Webhooks. This document shows how.
New event published
If you are using an IFTTT Applet triggered by a Particle event, you can replace it as follows or use the same steps to setup a new Applet:
Select your applet
- Open your applet and delete the Particle integration in the IF THIS setion
- OR Create a new applet in IFTTT
- Select "Add" in the IF THIS
- Search the integrations for the Webhooks service:
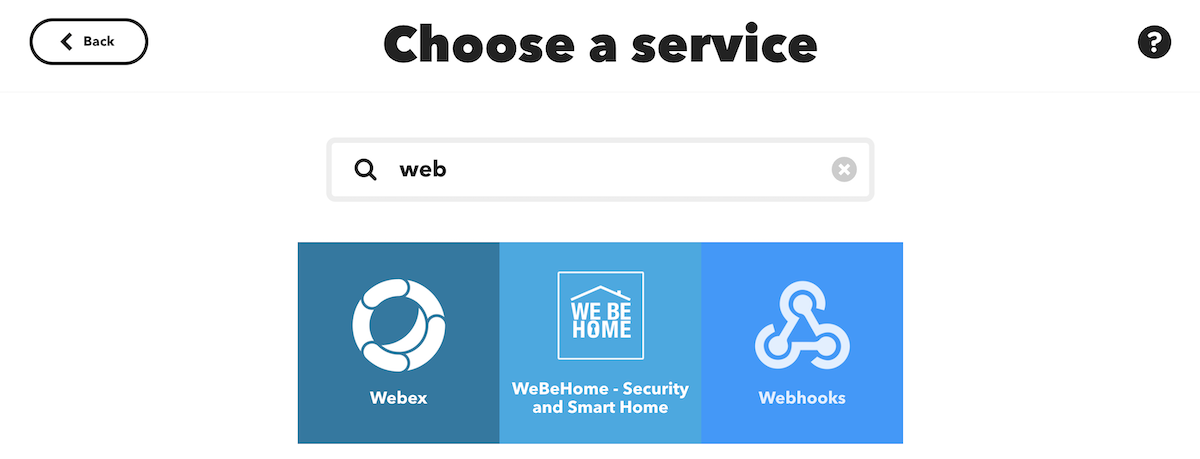
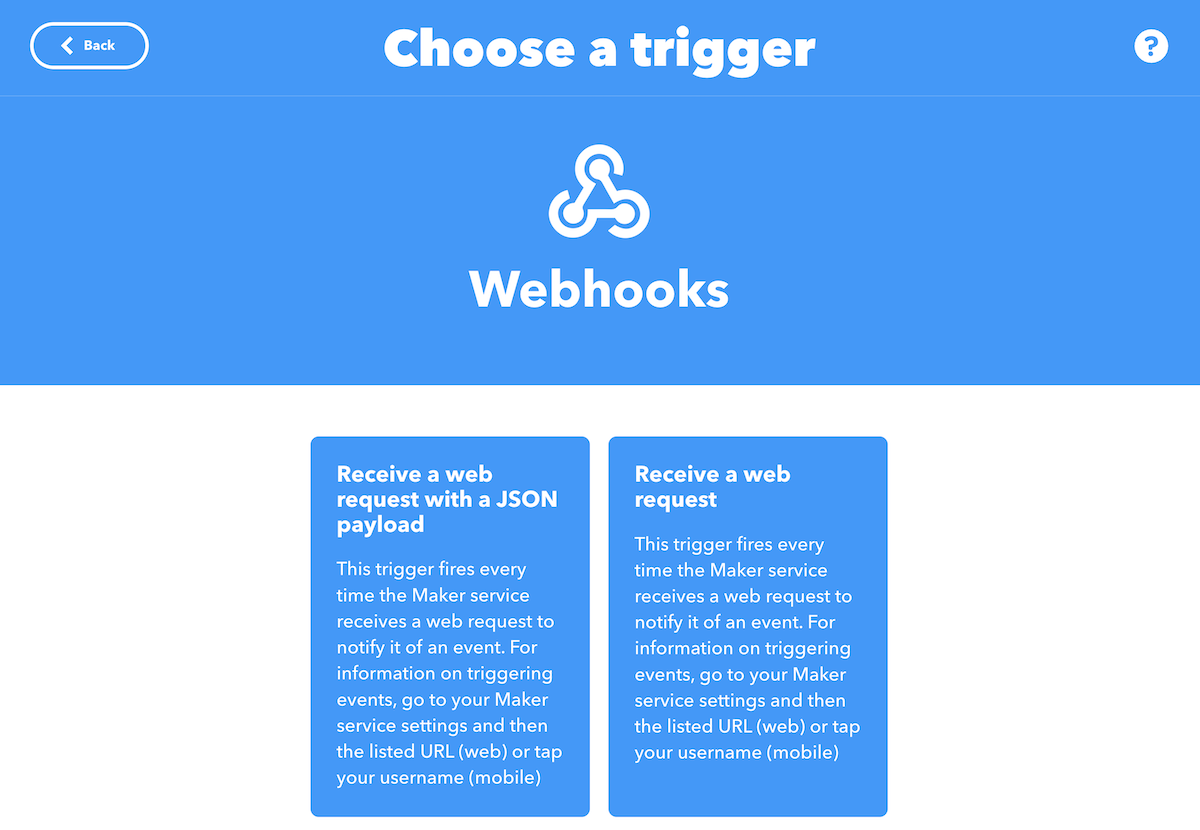
- Then select Receive a web request with a JSON payload
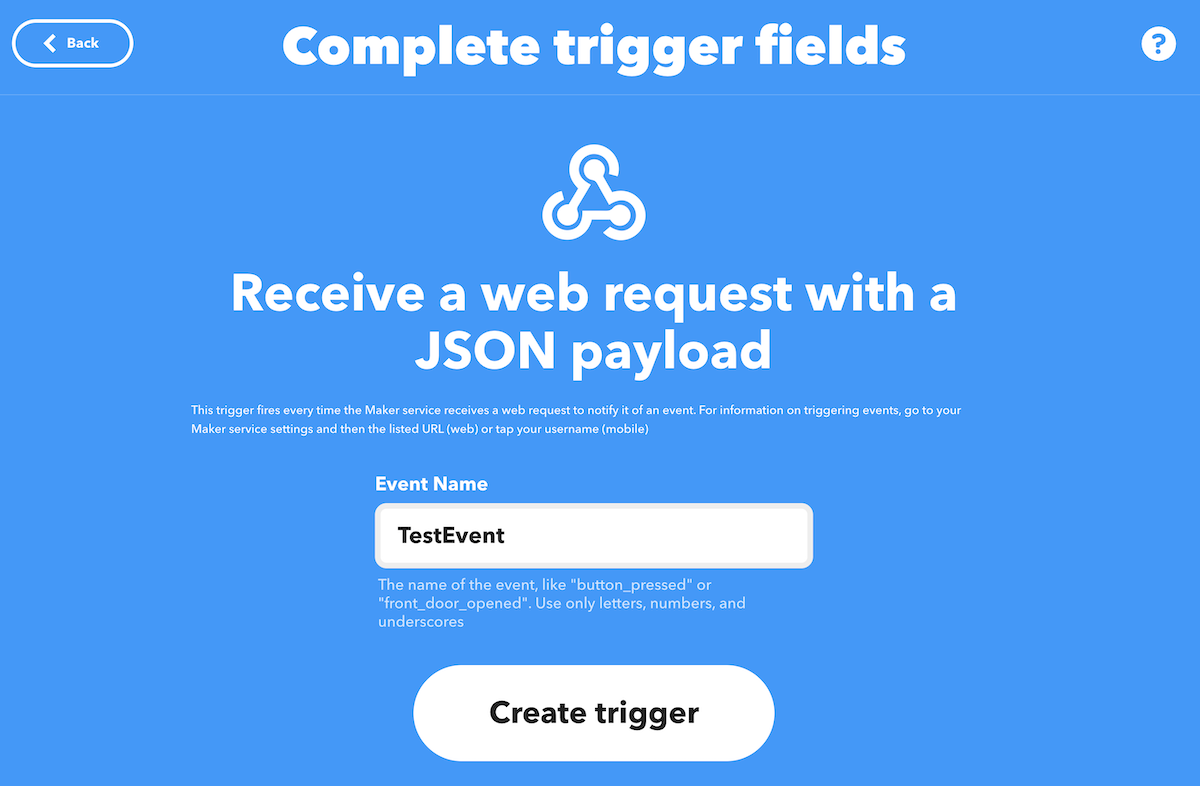
- Name your event. This is the name in the IFTTT system, and can only consist of letters, numbers, and underscores. IFTTT event names must match exactly. The name of your Particle event is mapped into the IFTTT event name in your webhook configuration in a later step, but you may find it less confusing to use the same name for both.
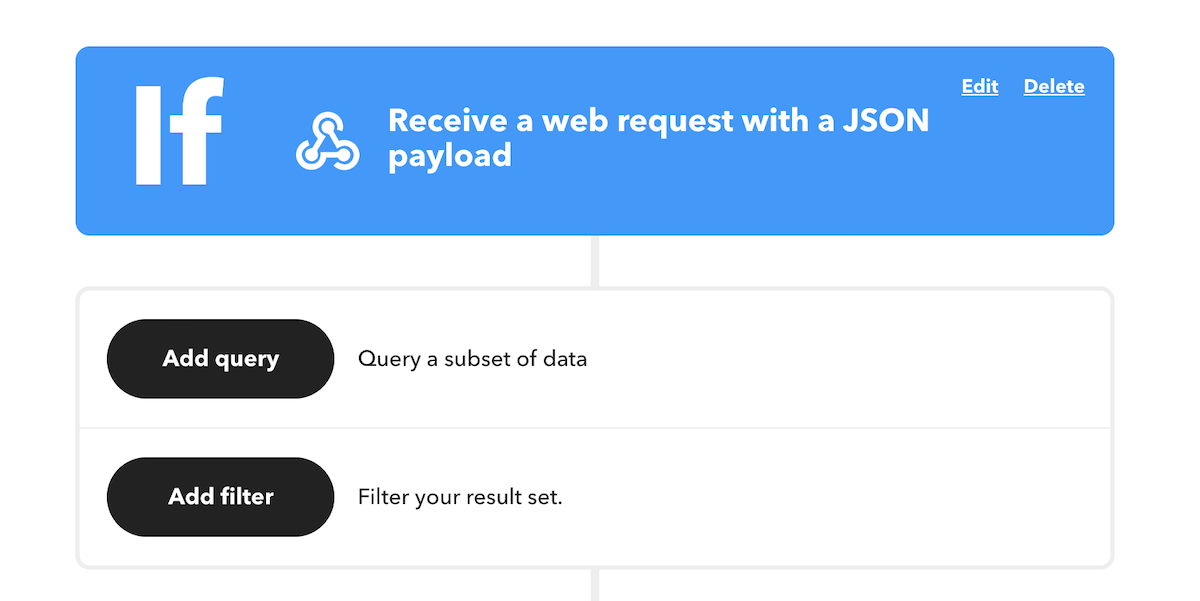
- Select an action. For example, you could use the Notifications action to send an event to the IFTTT mobile app for iOS or Android.
- Go through the rest of the steps to create applet.
Add filters (optional)
- If you want to restrict the applet to run only if the event data contains certain data, add a filter. This requires IFTTT Pro.
Get your IFTTT maker app URL and key
- Go to https://ifttt.com/maker_webhooks/settings.
- It will show the the IFTTT API key. It’s the part after use/ in the URL field.
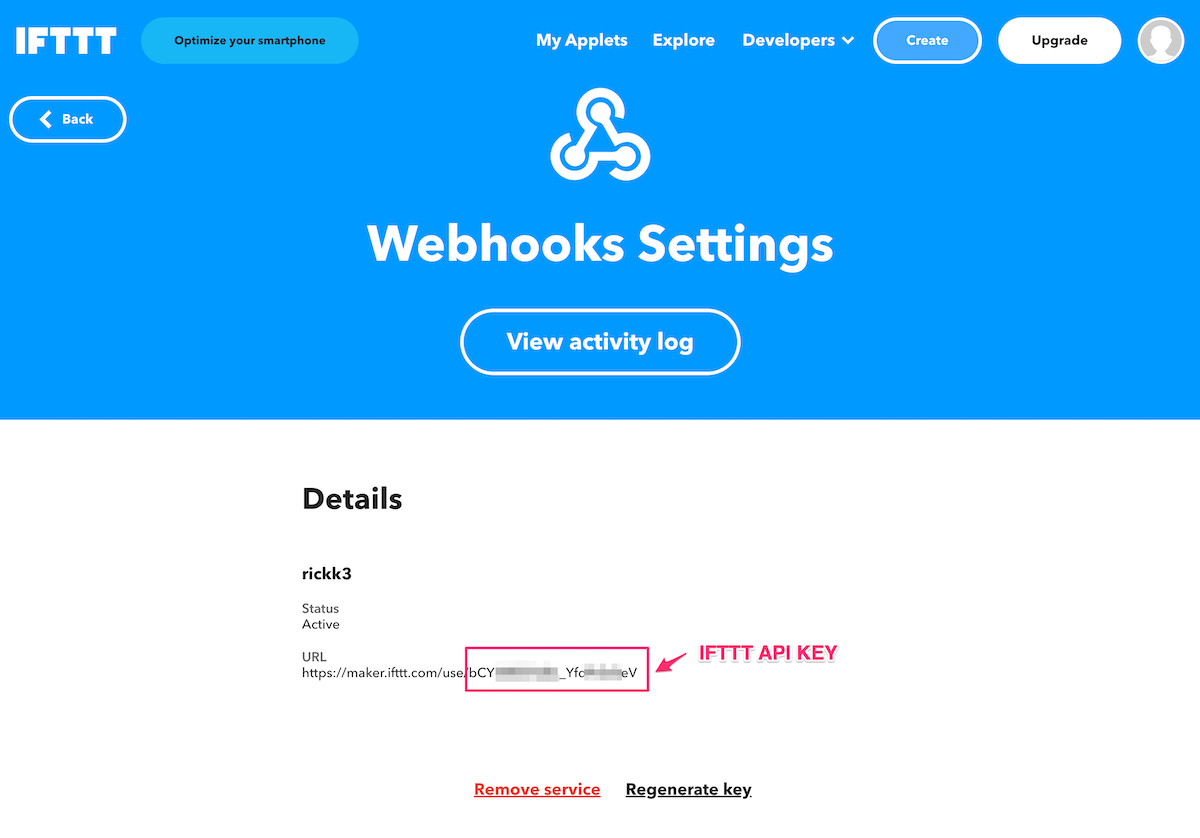
- Construct the Maker Event trigger URL. It follows this pattern:
https://maker.ifttt.com/trigger/TestEvent/json/with/key/bCYXXXXXXXX_YfdXXXXXeV
- Replace TestEvent with the name of your IFTTT event, which may be different than your Particle event name.
- Replace bCYXXXXXXXX_YfdXXXXXeV with your secret IFTTT API key pictured above.
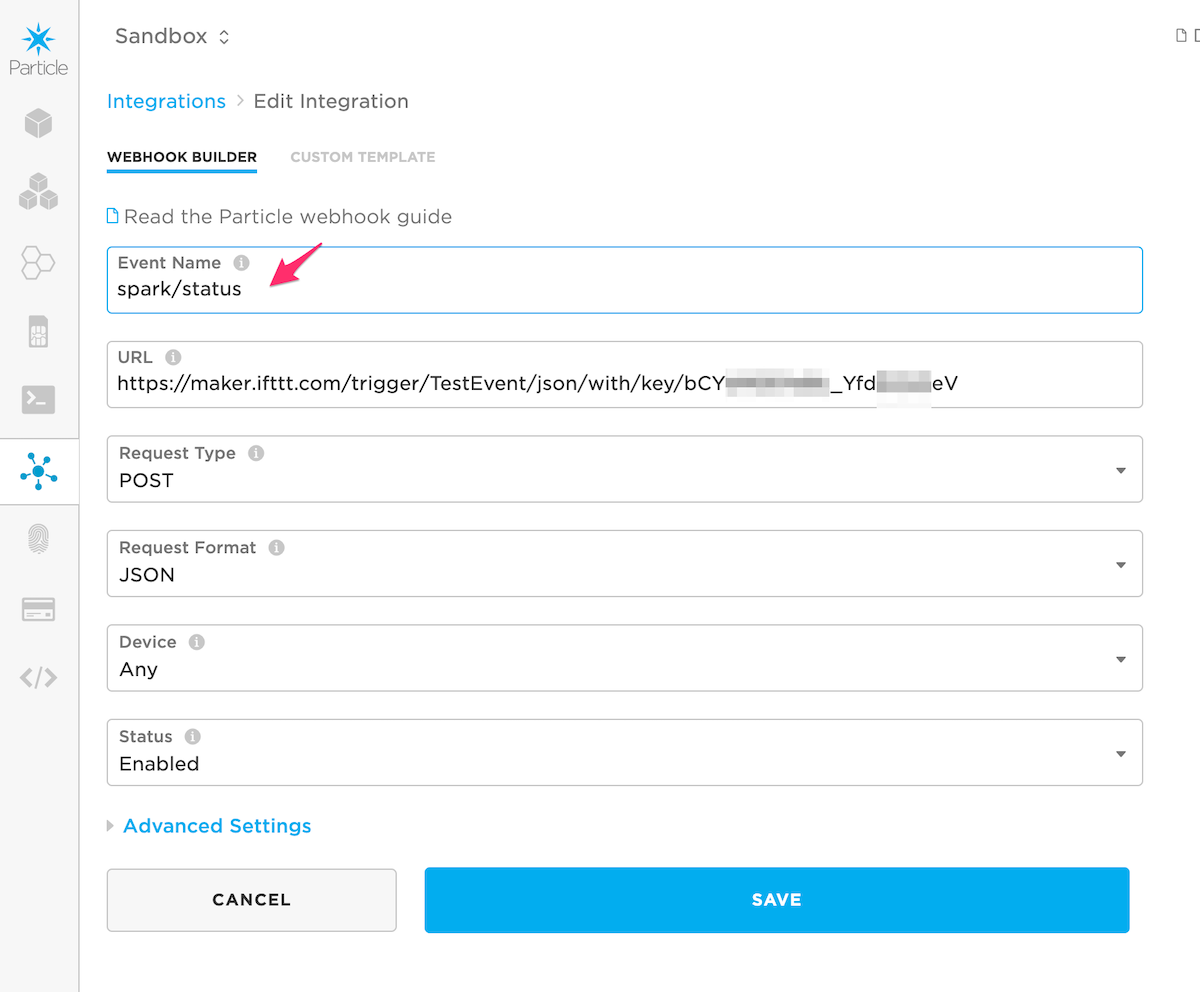
Create a Particle webhook
- Go to the Particle console, Integrations, New Integration, then Webhook.
- For Event Name enter the Particle event name trigger. This is the event sent by the device.
- In the URL field, enter the URL you constructed in the previous step.
- Set the Request Type to POST (this should be the default)
- Set the Request Format to JSON. You do need to change this!
- The other fields should be the default values.

- After using Create Webhook you can use the Test button to test it.
- The Particle CLI
particle publishcommand is also good for testing. - Of course you’ll normally generate events from a Particle device using
Particle.publish()in your source code. - You can also monitor the status from the IFTTT side by viewing your applet

Monitor a variable
This feature polled a variable on the device once a minute. We do not recommend using this option as it doesn’t scale well. Polling a variable will use 45,000 data operations per device per month. This will likely exceed the limits of the free plan with more than a few devices.
Instead of polling a function, you should have your device publish an event to trigger an IFTTT applet via a webhook.
Monitor a function result
This feature call a function on a device once a minute. We do not recommend using this option as it doesn’t scale well. Polling a function will use 45,000 data operations per device per month. This will likely exceed the limits of the free plan with more than a few devices.
Instead of polling a function, you should have your device publish an event to trigger an IFTTT applet via a webhook.
Monitor your device status
Monitoring your device status works the same way as New event published except you need to create a new webhook for status events.
- Set the Event Name field to spark/status.
- This event is generated for both online and offline events.
Calling the Particle API as an IFTTT service
In order to publish an event or call a function there are some steps in common:
Get a Particle access token
In order to access the Particle API on your behalf, you’ll need to create a Particle API access token. For developer accounts, the easiest way is to use the Particle CLI command:
particle token create --never-expires
The --never-expires option creates a token that does not expire. If you do not use this option you will need to update the access token every 90 days.
Create an IFTTT service
- After creating the trigger for a new IFTTT applet you select the service to call.
- Use the Webhooks service:
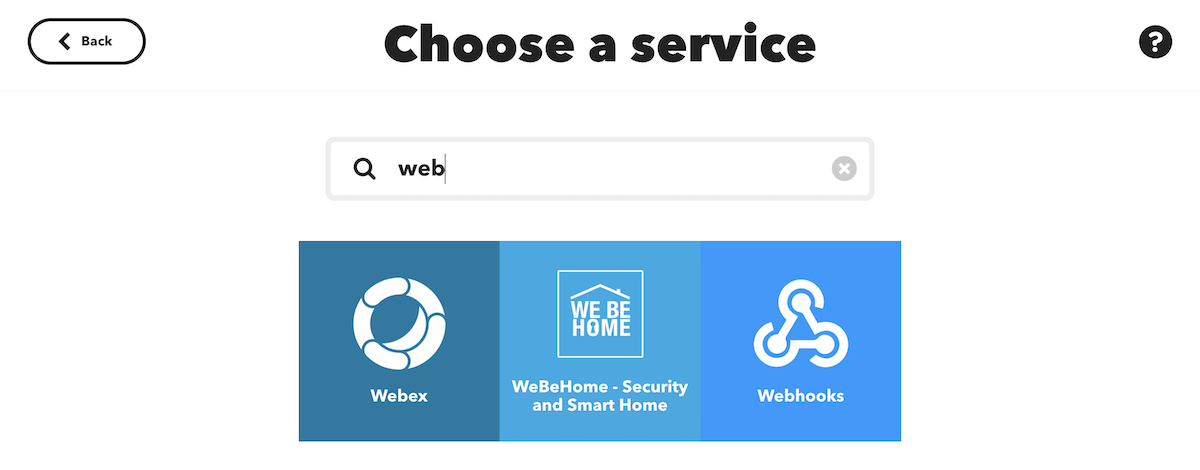
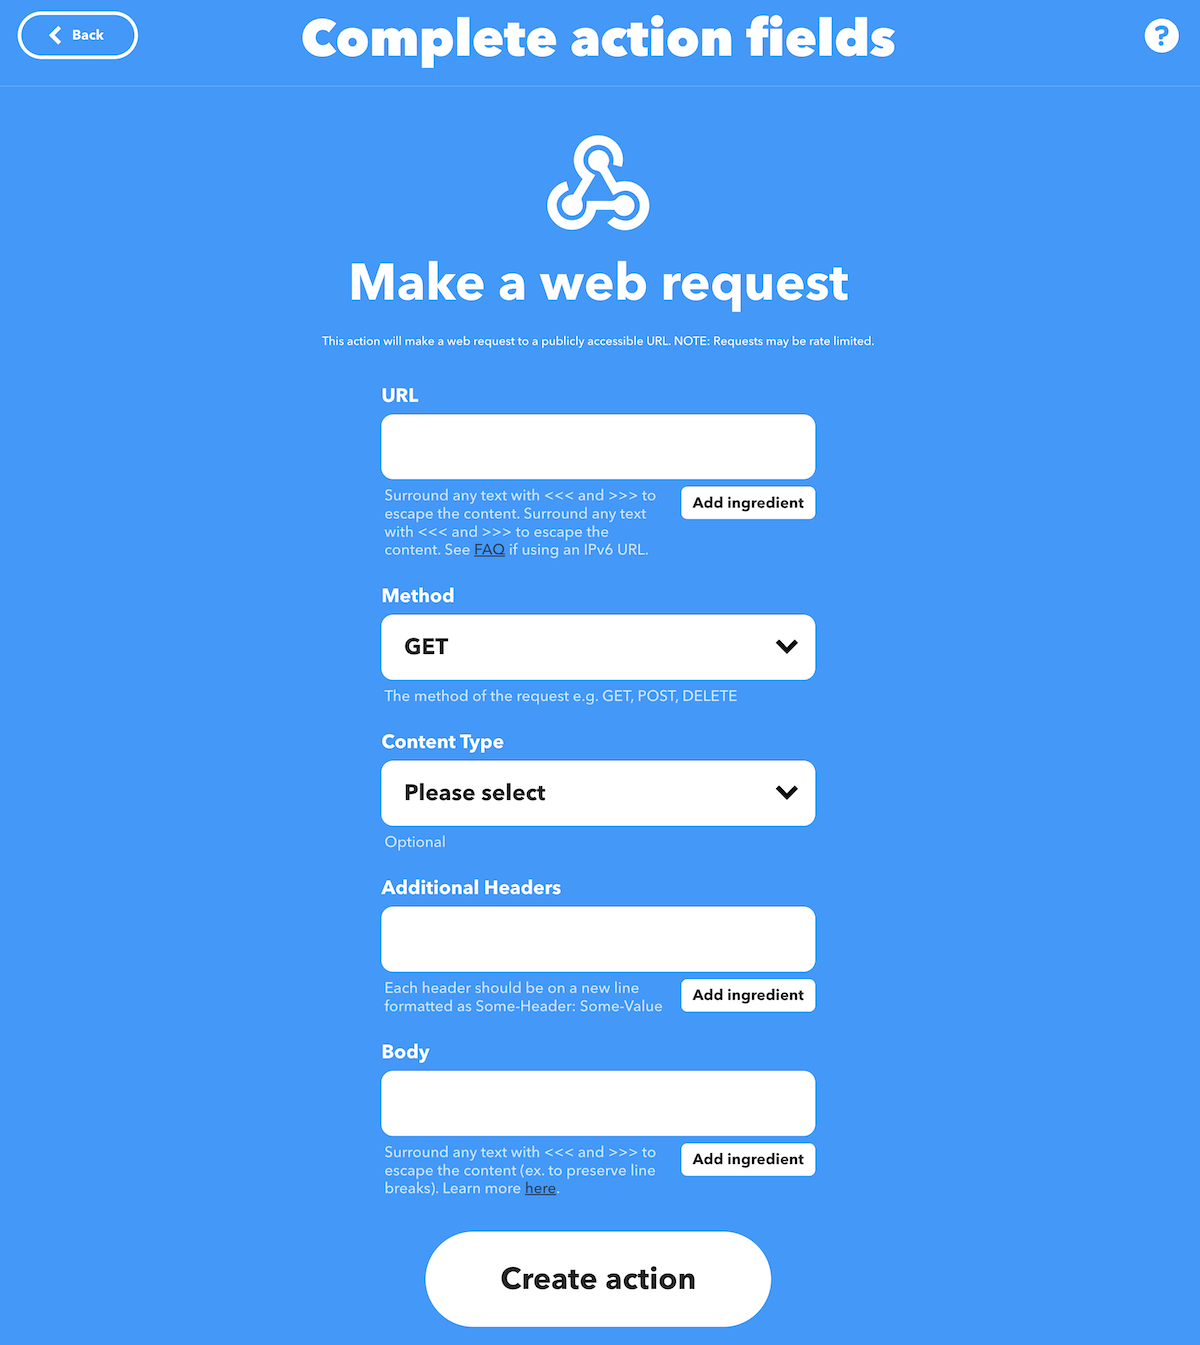
- There is only one option, Make a web request.
- The action fields will depend on whether you want to publish and event or call a function.
Publish an event
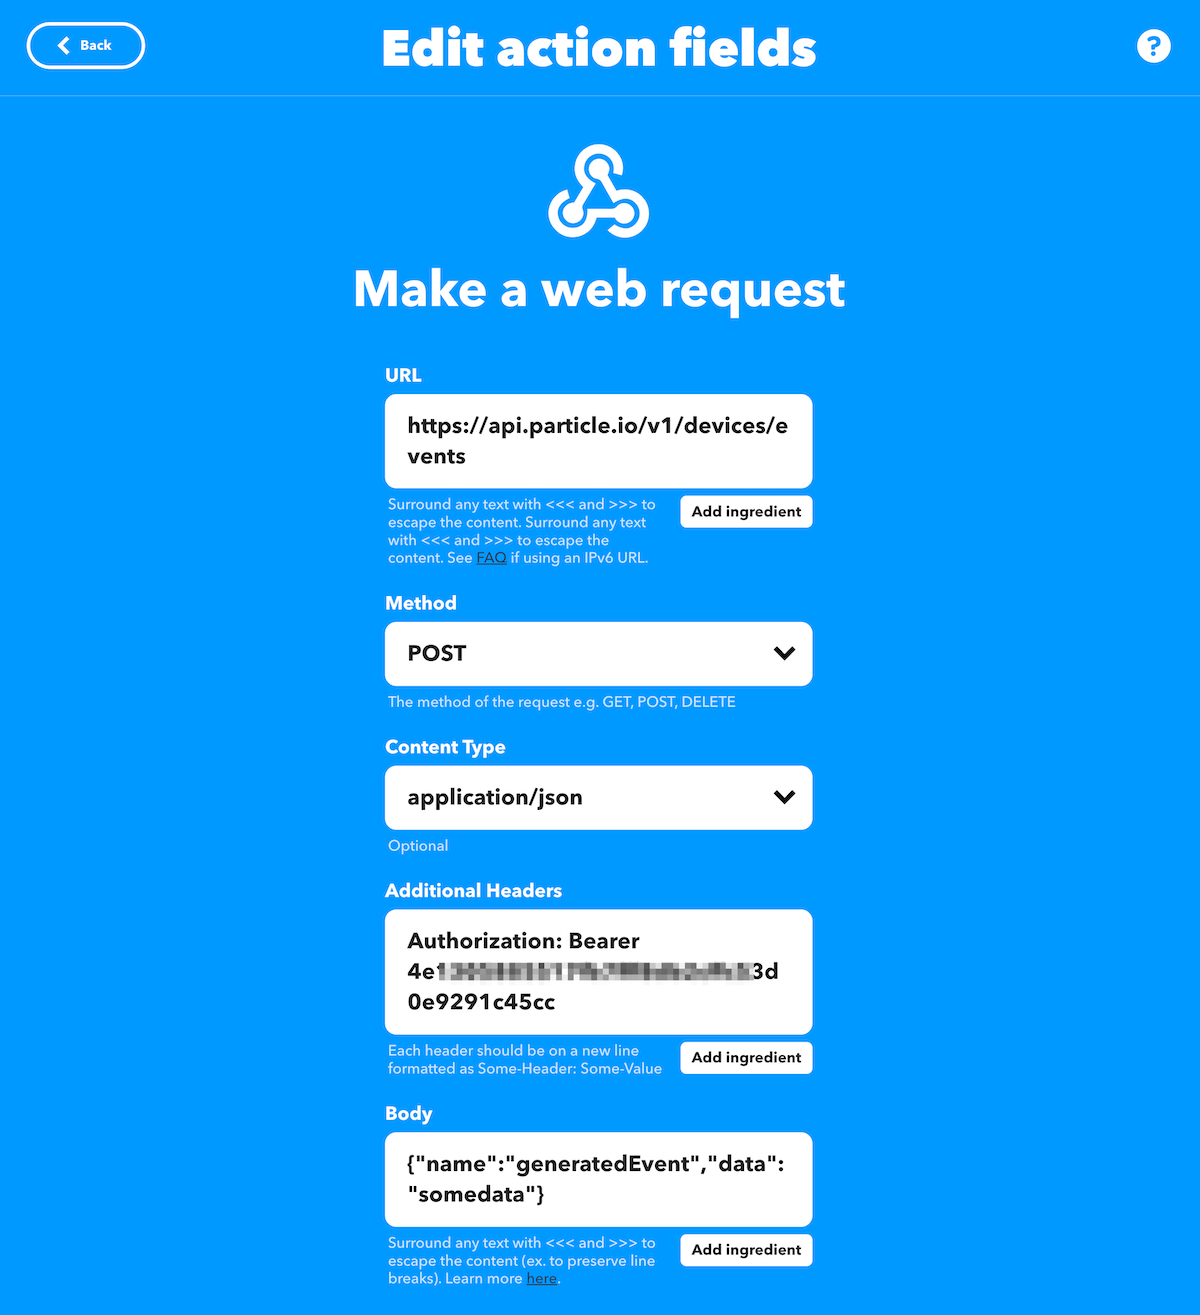
- To publish an event as an action, set the following action fields:
- In URL, enter the following URL:
https://api.particle.io/v1/devices/events
- For Method select POST (this is not the default).
- For Content-Type select application/json (this is not the default).
- For Additional Headers, enter something like this. It’s the string “Authorization: Bearer” a space, and the access token you created above.
Authorization: Bearer 4e130XXXXXXXXXXXXXXXXXXXXXXXXXXXXXXX45cc
- For the Body enter something like this. “name” is the name of the Particle event to publish. “data” is any data you want to send. This field is JSON formatted, so you’ll need to escape any special JSON characters in the field.
{"name":"generatedEvent","data":"somedata"}
- It should look something like this:
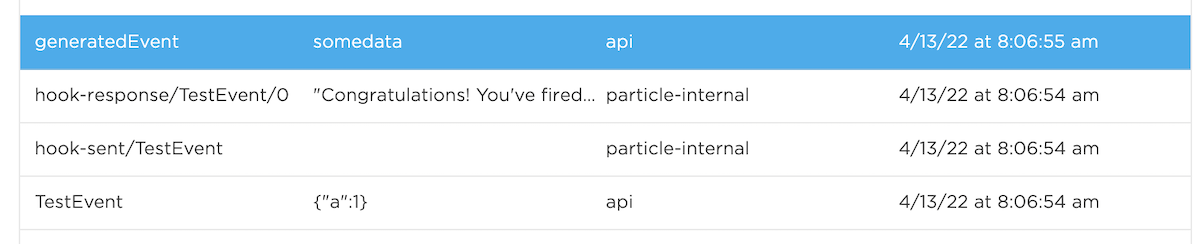
- If you’re watching the Event tab in the Particle console and generate the event, you should see something like this:
Call a function
- In order you call a function you need to know the Device ID (24-character hexadecimal) for the device you want to call. This is available in the Devices tab of the Particle console.
- You’ll also need to know the name of the function to call (case-sensitive) and the access token, described above.
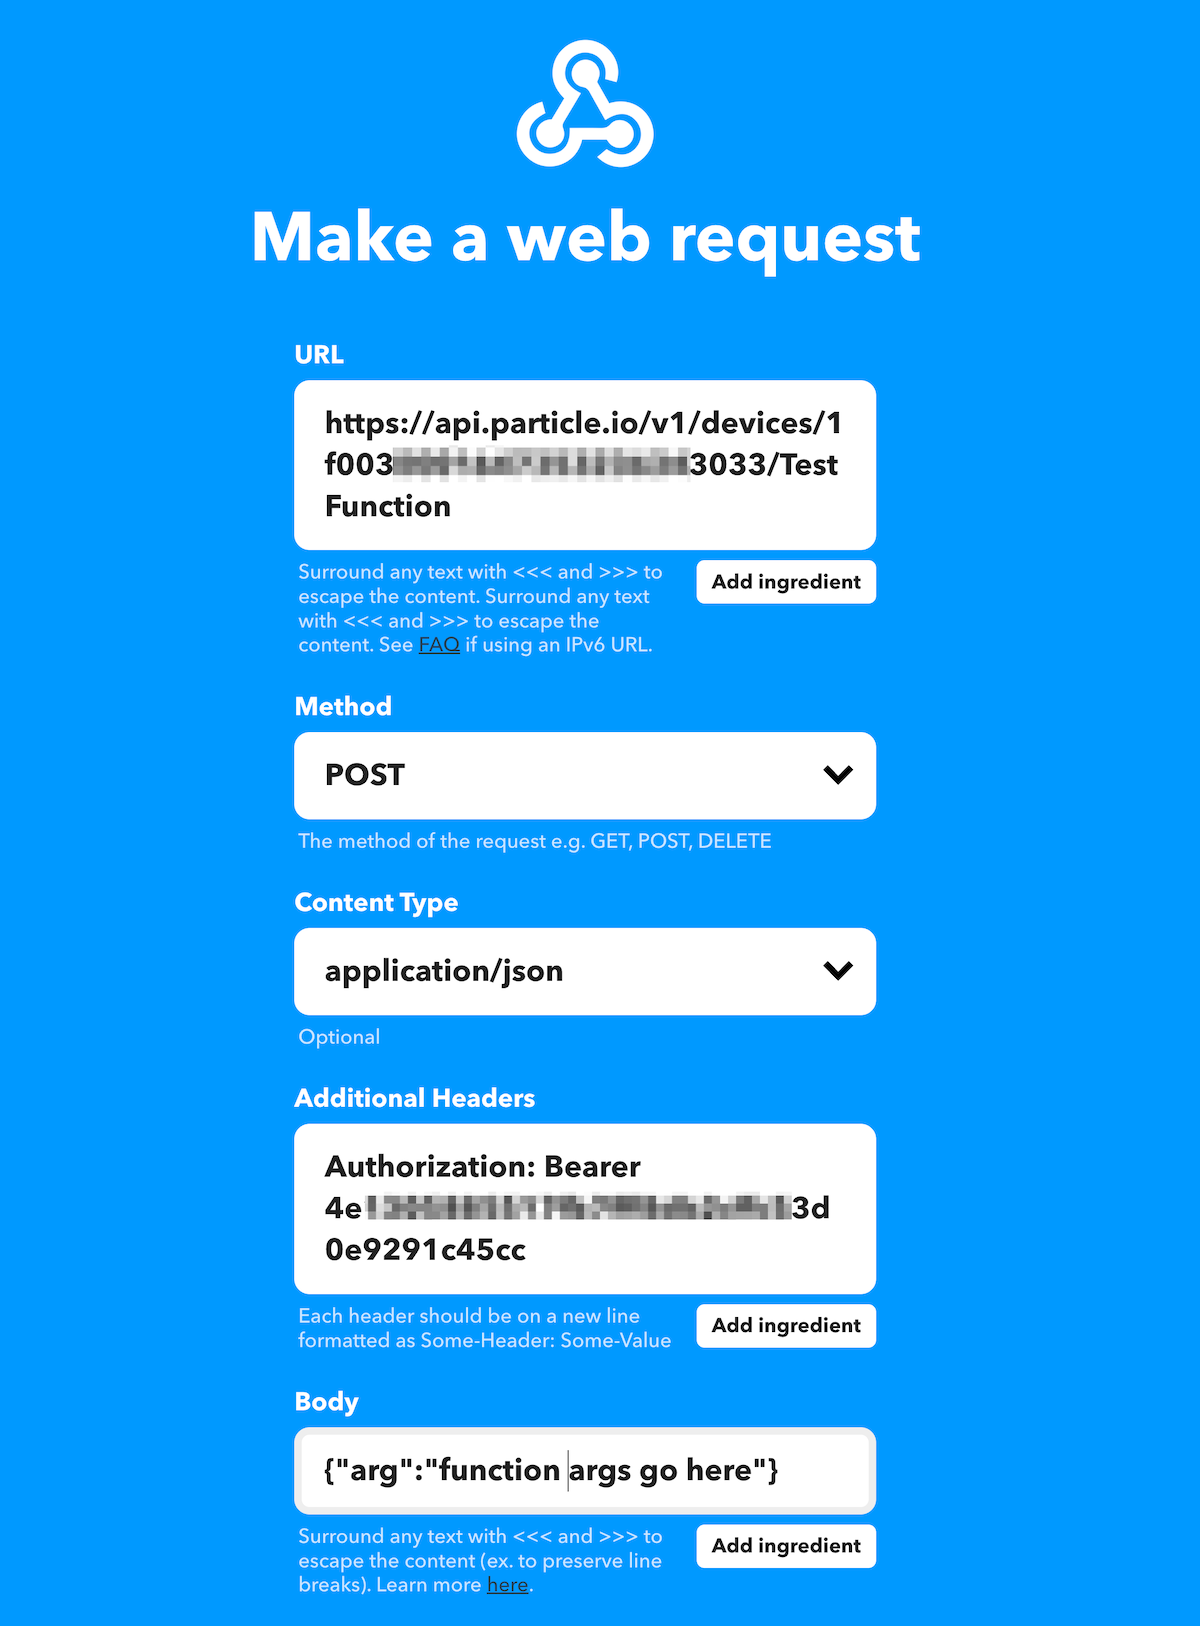
- In the URL field, construct a URL of the form: https://api.particle.io/v1/devices/
/ . For example:
https://api.particle.io/v1/devices/1f003fffffffffffffff3033/TestFunction
- In the Method field select POST (this is not the default).
- In the Content Type field select application/json (this is not the default).
- For Additional Headers, enter something like this. It’s the string “Authorization: Bearer” a space, and the access token you created above.
Authorization: Bearer 4e130XXXXXXXXXXXXXXXXXXXXXXXXXXXXXXX45cc
- For the Body enter something like this. “arg” is the data you want to send as the function argument. This field is JSON formatted, so you’ll need to escape any special JSON characters in the field.
{"arg":"function args go here"}
- It should look something like this:
Sample device firmware:
#include "Particle.h"

#ifndef SYSTEM_VERSION_v620
SYSTEM_THREAD(ENABLED); // System thread defaults to on in 6.2.0 and later and this line is not required
#endif
SerialLogHandler logHandler;

int functionHandler(String cmd);

void setup() {
    Particle.function("testFunction", functionHandler);
}

void loop() {

}

int functionHandler(String cmd) {
    Log.info("function handler %s", cmd.c_str());
    return 0;
}
Serial monitor output:
0000483144 [app] INFO: function handler function args go here
Other API calls
You can use this technique to make most Particle API calls! See the Particle Cloud API reference for more information.