Zapier
A lot of our customers are using low-code platforms to stitch together their Particle connected devices and other external services to automate and expedite their workflows. There are many platforms well suited for this type of work. Here’s an example of connecting your Particle device using Zapier.
Triggering a zap from a Particle event
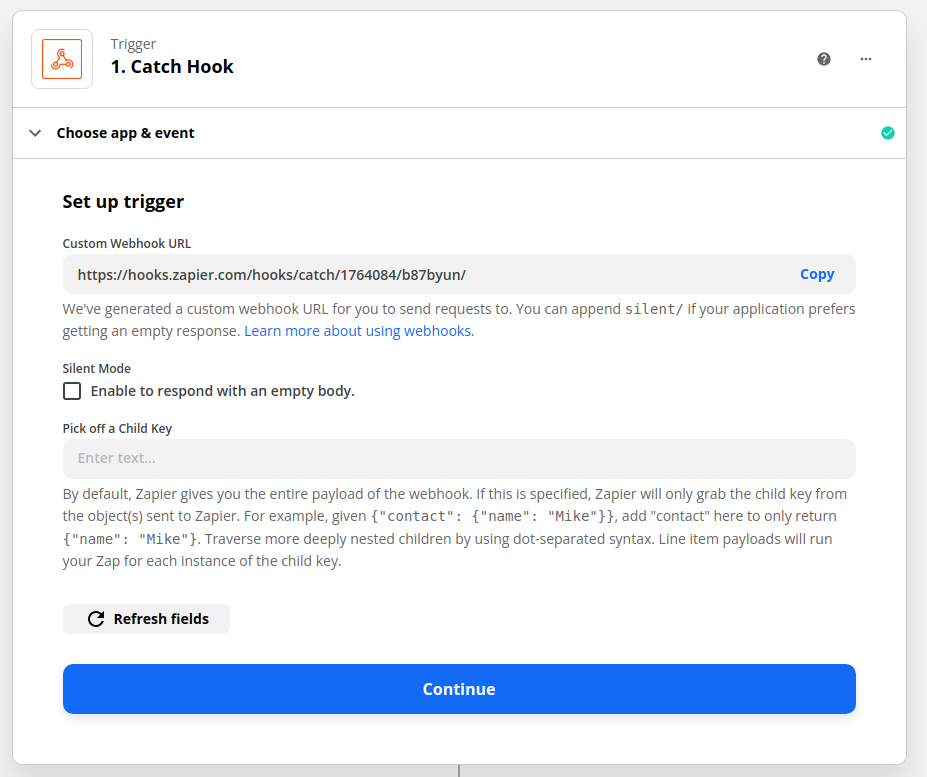
Use the Webhook in Catch Hook mode to create a webhook endpoint that will allow your Zap to trigger instantly when your Particle device publishes an event.
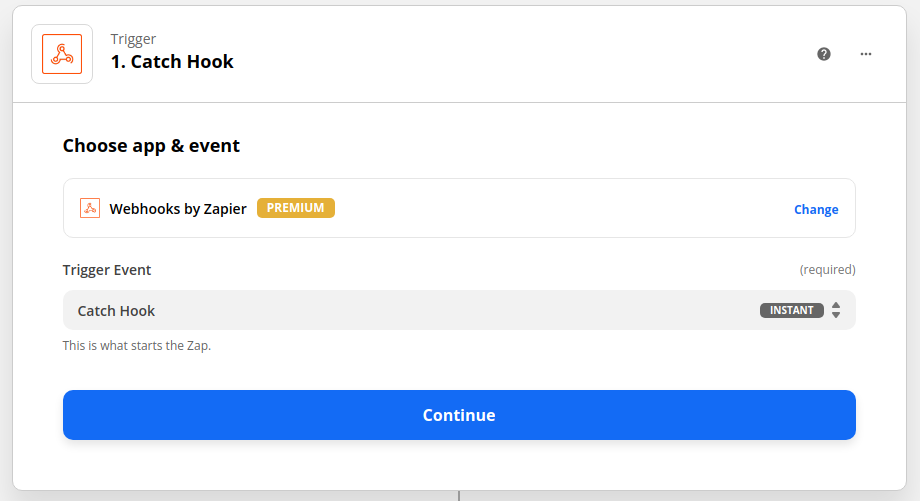
Copy the trigger URL.
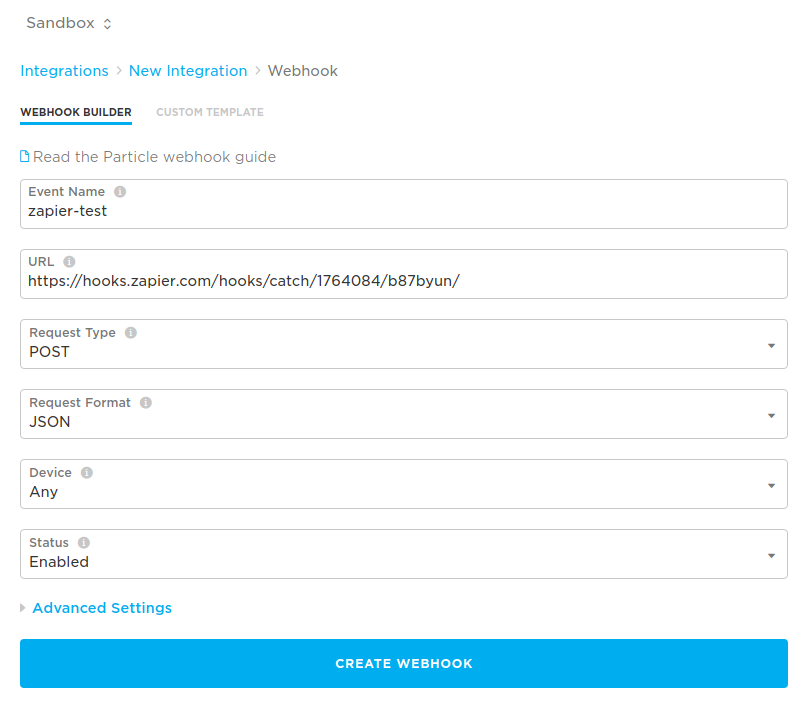
Paste the trigger URL into the Console webhook editor and enter the event name your device publishes. Be sure to select JSON format as the request type.
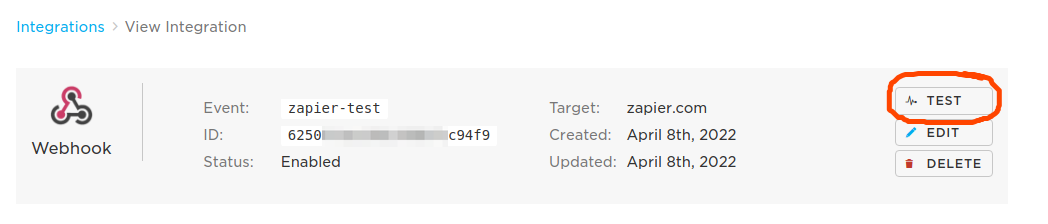
After creating the webhook, get your device to publish an event or simply press the Test button from the Console webhook page.
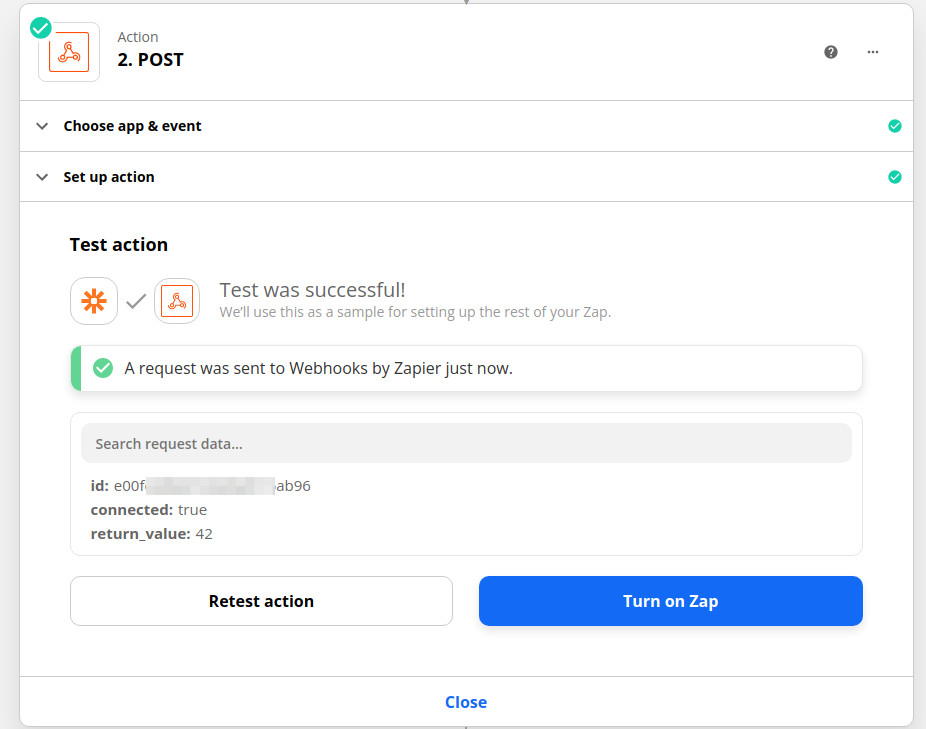
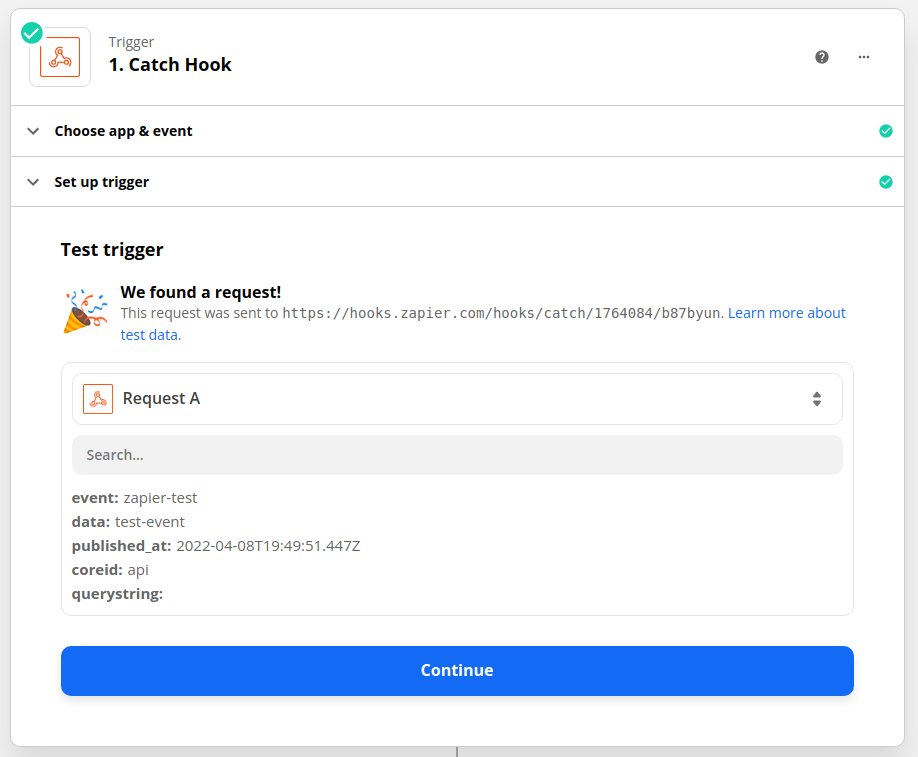
Back on the Zapier page, click the Test and Continue button and you should receive a success message! If not, go back to your device and make sure it is publishing the event.
Calling a Particle API endpoint from a Zap
There are many Particle API endpoints that might be useful to call from a Zap, for example, automatically renaming a device when a line in a spreadsheet changes.
We’ll use the example to call a function on your device.
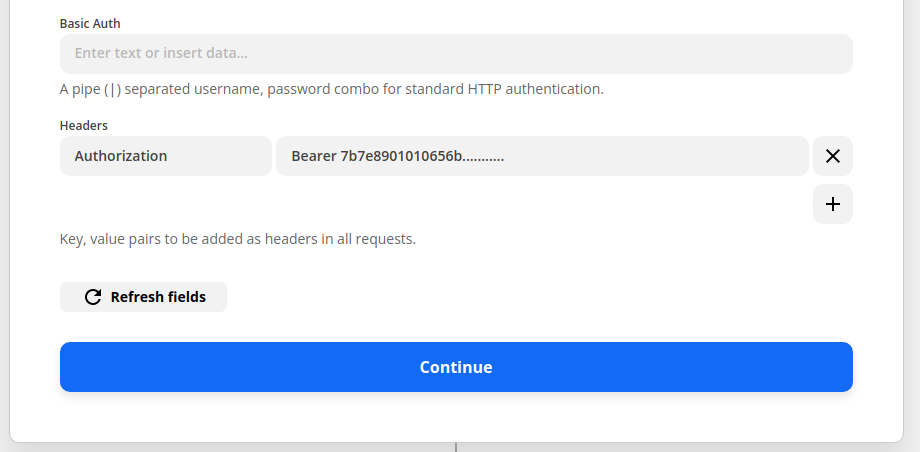
To call any of the API endpoints, you’ll need an API access token. Install the Particle Command Line Interface if you have not already done so, then run particle login and particle token create --never-expires. It’s important to create a non-expiring token so that your integration doesn’t stop working after a few months.
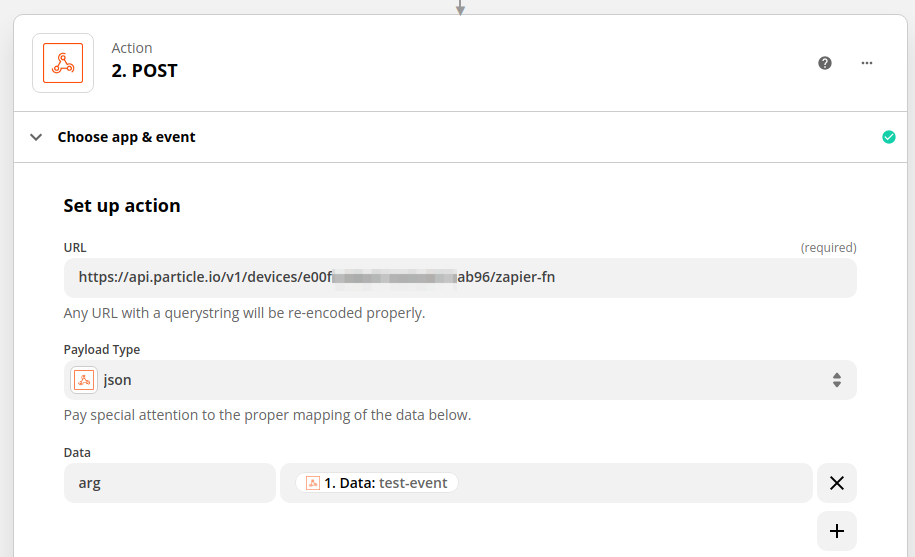
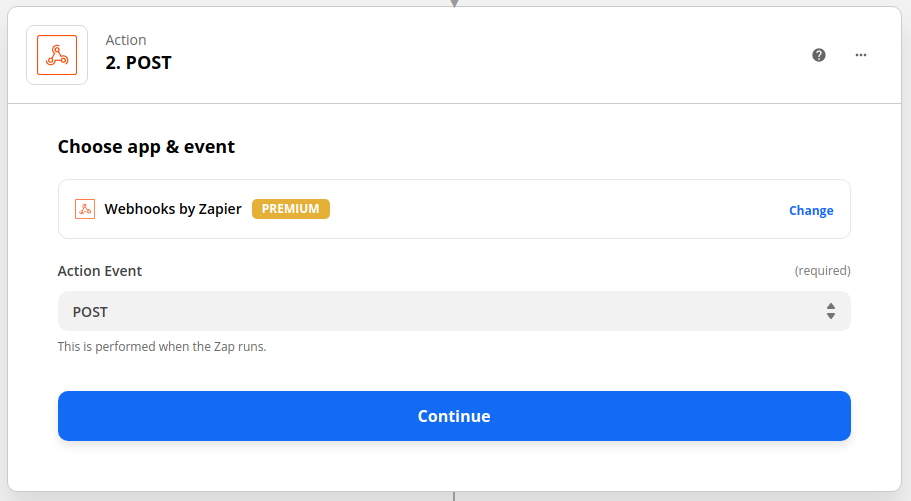
Back in Zapier, start by adding a Webhook action. Pick the Action Event that corresponds to the HTTP method of the API endpoint you want to call. The call function endpoint uses POST.
Include the device ID and the function to call as part of the URL. The function argument can be specified in the arg data and could contain values from an earlier part of your Zap.