Quick start: B-Series SoM
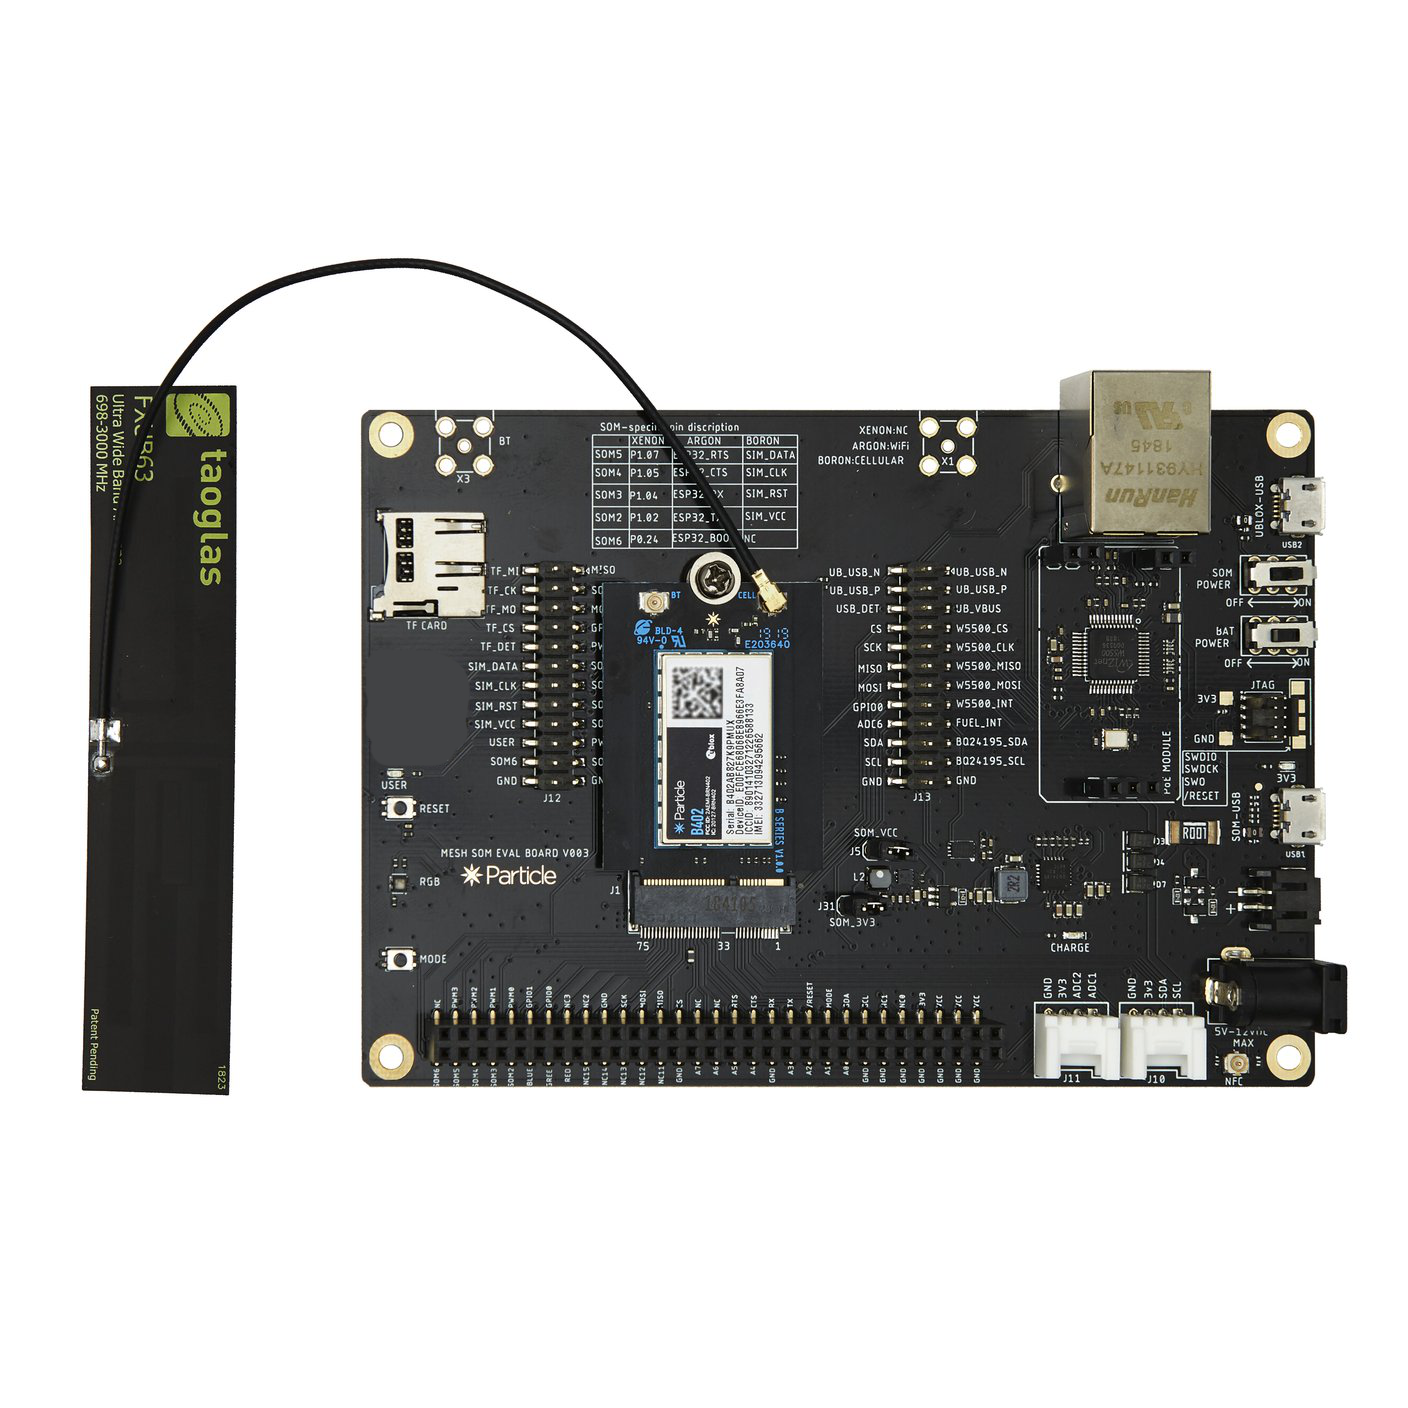
The Particle B-Series M.2 SoM is a cellular and Bluetooth development module designed for building connected products. This Quick start uses the SoM Evaluation Board to help get started easily. You will typically create your own base board with a M.2 socket on it to hold the SoM, but the SoM Evaluation Board is good for getting started.
To set up the device you'll need an Android or iOS mobile phone and a connection to the internet, or a computer with a USB connection.
The B-Series SoM comes with:
- M.2 SoM Module
- Bluetooth Antenna (2.4 GHz)
- Cellular antenna
The SoM evaluation board comes with:
- Evaluation board
- Hold-down screw for M.2 SoM
1. Connect the antennas to the SoM
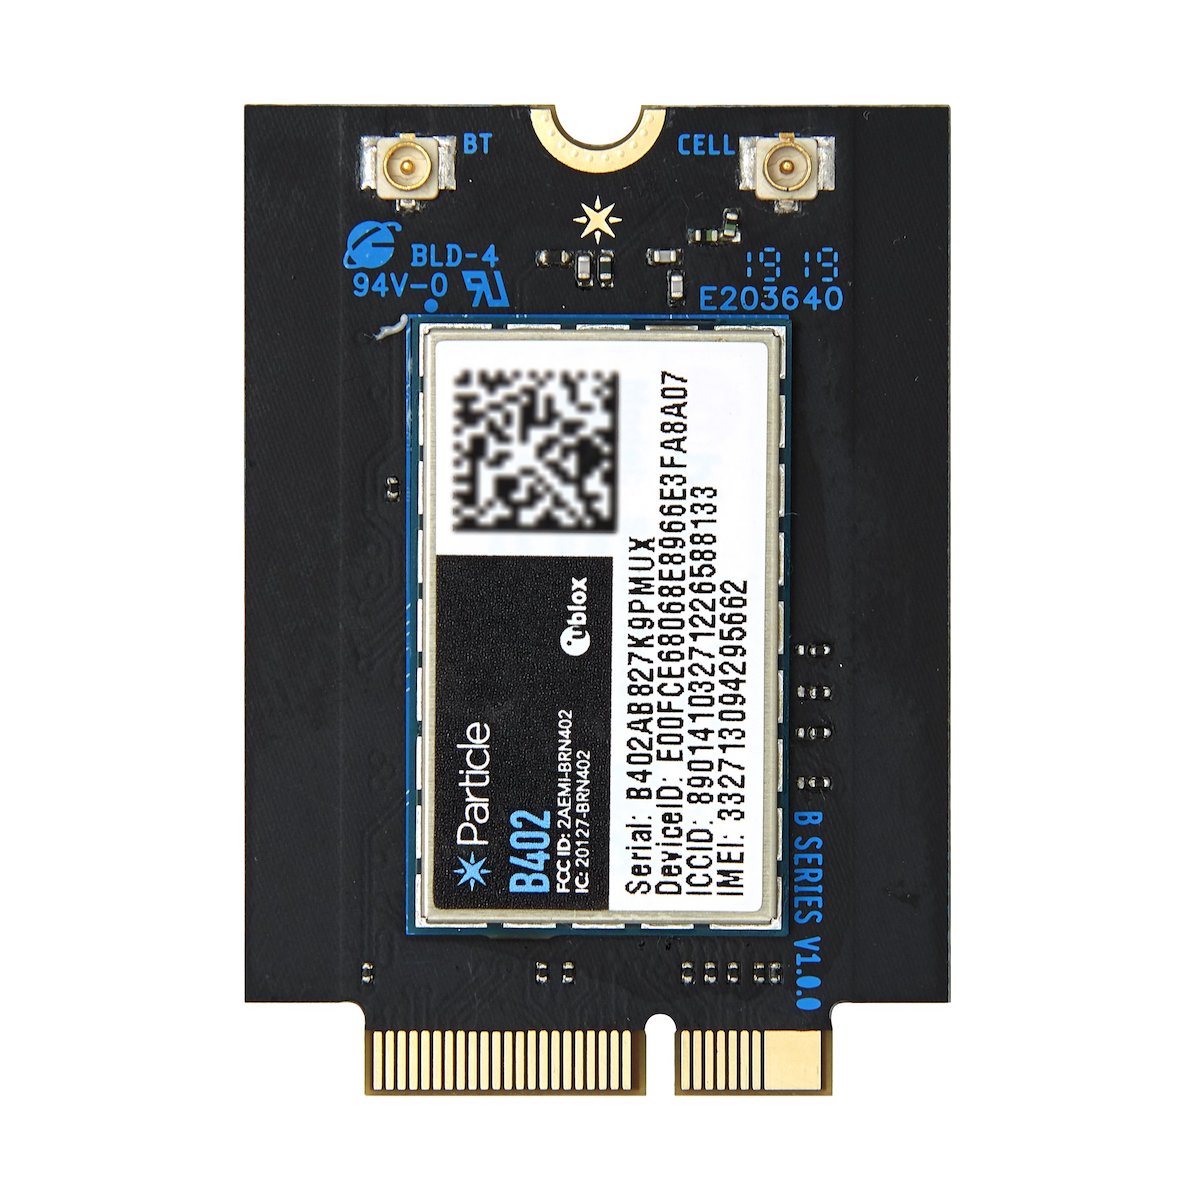
- If you are going to use mobile app setup or want to use Bluetooth LE (BLE) you should attach the 2.4 GHz antenna to the BT connector on the SoM. If you are only going to use USB setup you do not need to do this. Note that there is no Bluetooth antenna on the SoM itself, unlike the Boron.
- Attach the cellular antenna to the CELL connector on the SoM.
2. Set up the Evaluation Board
Insert the SoM into M.2 socket (22) on the Evaluation Board. It will spring back up if you let go of it, but should not require force beyond the spring-like force to press down. If it seems like it does not want to go down, let it back up and make sure it's fully inserted into the socket. Use the hold-down screw to keep the SoM in place.
Connect a USB cable from your computer or power adapter to the SoM USB connector (3). There are two USB connectors on the SoM Evaluation Board, make sure you use the correct one.
Make sure the SoM Power switch (6) is turned on.
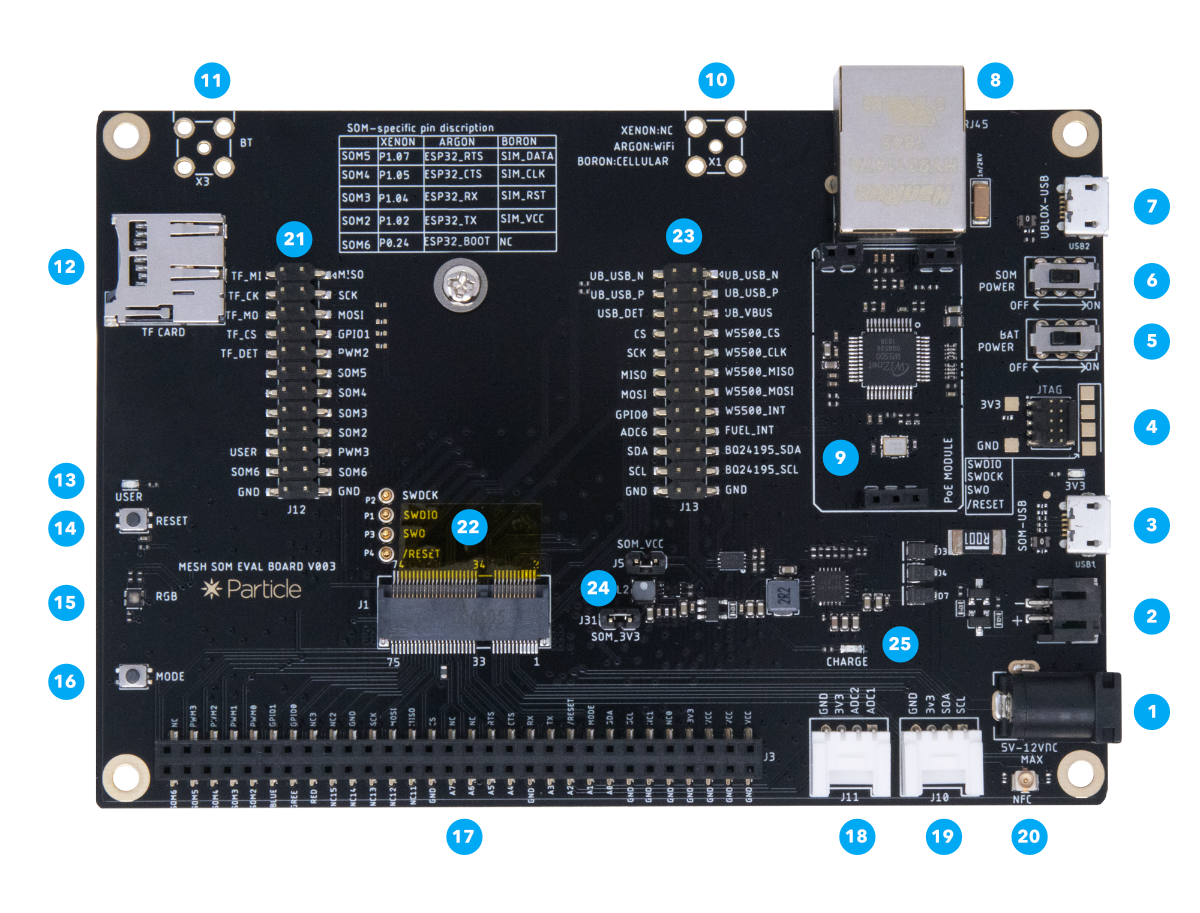
| Num | ID | Description |
|---|---|---|
| 1 | External Power | 5-12 VDC. Minimum power requirements are 5VDC @500mA (when using the LiPo battery) or 5VDC @2000mA (without LiPo battery). |
| 2 | LiPo Battery connector | Plug in the LiPo battery here. |
| 3 | SoM USB port | This is the module's main USB port that connects to the microcontroller. |
| 4 | JTAG connector | This can plug directly into the Particle debugger ribbon cable. |
| 5 | Battery switch | Controls power between the LiPo connector and the charge controller. |
| 6 | SoM power switch | Controls 3V3 power to the SoM |
| 7 | u-blox USB port | This USB port connects directly to the u-blox module for firmware updates. |
| 8 | Ethernet connector | RJ45 connector for twisted pair Ethernet, 10 or 100 Mbit/sec. |
| 9 | PoE connector | Connect for the Particle PoE adapter for power-over-Ethernet. |
| 10 | Cellular antenna | Connector for an external SMA connected cellular antenna. |
| 11 | Bluetooth antenna | Connector for an external SMA connected antenna for Bluetooth networking. |
| 12 | TF/SD Card | MicroSD card slot. |
| 13 | User LED | Blue LED connected to pin D7. |
| 14 | Reset Button | This is same as the RESET button on the Boron. |
| 15 | RGB LED | System status indicator RGB LED. |
| 16 | Mode Button | This is the same as the MODE button on the Boron. |
| 17 | Expansion Connector | Allows easy access to SoM IO pins. |
| 18 | Grove Analog Port | Connects to Seeed Studio Grove analog and digital boards. |
| 19 | Grove I2C Port | Connects to Seeed Studio Grove I2C boards. |
| 20 | NFC Antenna | U.FL connector for an NFC antenna (optional). |
| 21 | Jumpers J12 | Enable or disable various features on the evaluation board. |
| 22 | SoM connector | M.2 connector for the B-Series SoM. |
| 23 | Jumpers J13 | Enable or disable various features on the evaluation board. |
| 24 | Power Jumpers | Enable or disable power from the evaluation board. |
| 25 | Charge LED | Indicate LiPo is charging. |
3. Setup using the mobile apps (Method 1)
If you'd like to use the mobile app setup process, follow the instructions in this section. If you want to use USB and command line setup instead, skip to section 4. In the future the Particle mobile apps for iOS and Android will be deprecated so you should plan on using Method 2 in the future.
To begin setting up your B-Series SoM, click the button below and follow the onscreen instructions. When you've completed set up, continue to Step #4.
NOTES:
1.) If you have already set up your B-Series SoM, skip to Step #5.
2.) We recommend setting up the Argon as stanadalone device, not as a part of a mesh network. See mesh deprecation for more information.
4. Setup using USB (Method 2)
Instead of using the mobile apps, you can set up your B-Series SoM using USB. With the SoM Evaluation Board connected by USB to your computer:
If you have not installed the Particle CLI, do so now.
The status LED should be blinking dark blue. If not, hold down the MODE button until it is.
From a Command Prompt or Terminal window, issue the command:
particle identify
Note the ICCID returned, you will need it in the next step.
Activate the SIM by going to Particle Setup and selecting the SIM card only option. You'll need the ICCID from the previous step.
From a Command Prompt or Terminal window, issue the command:
particle update
After that completes:
particle usb setup-done
Your B-Series SoM should now be fully set up.
5. Open the Web IDE
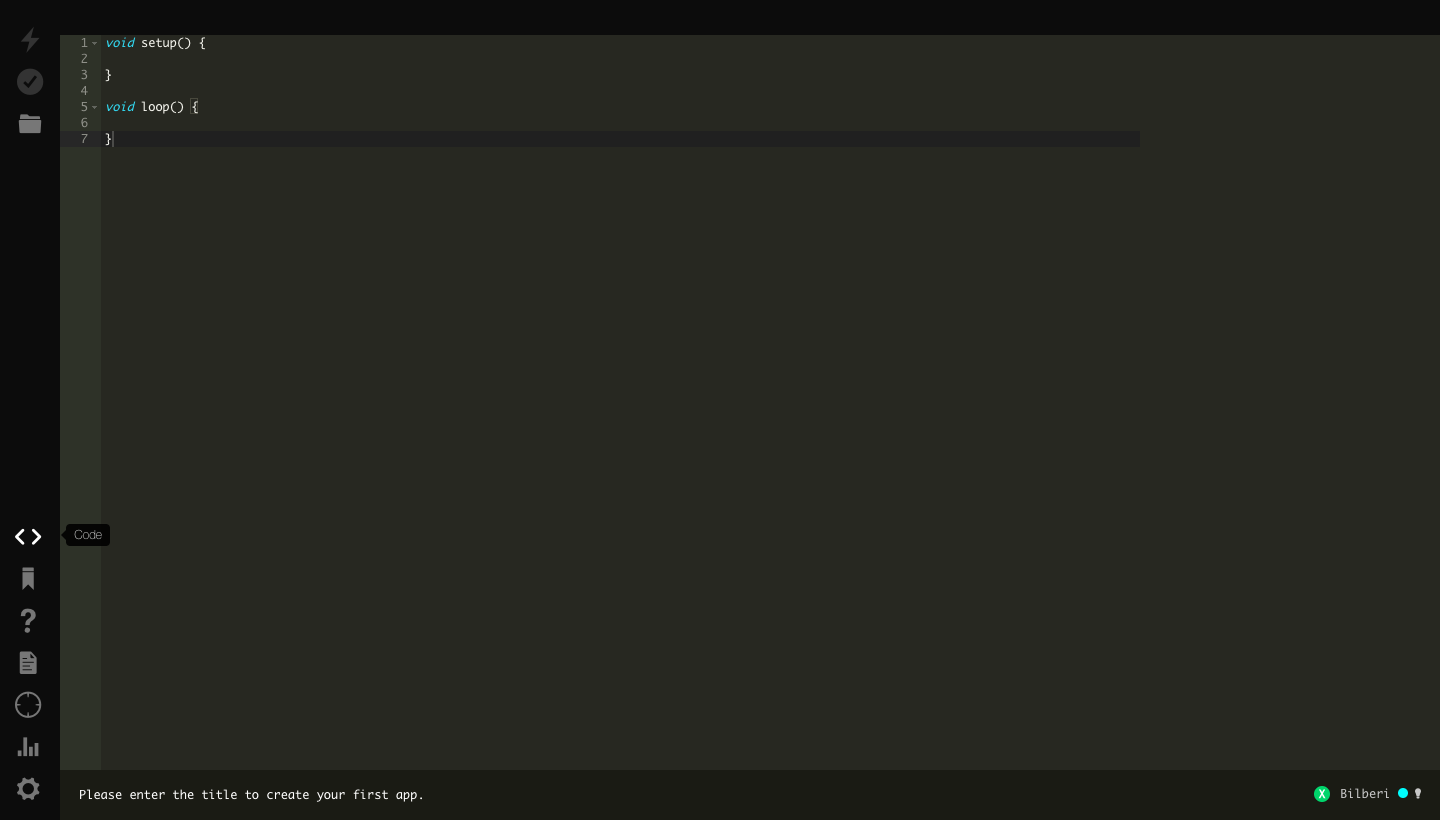
To program your Boron, open a new browser tab and go to the Web IDE.
NOTE:
The Web IDE is one of the ways you can write, compile, and deploy code to your Particle devices.
If you're looking for a more traditional embedded development experience, be sure to learn about Particle Workbench, a full toolchain integration with Microsoft Visual Studio Code.
6. Load the Blink example
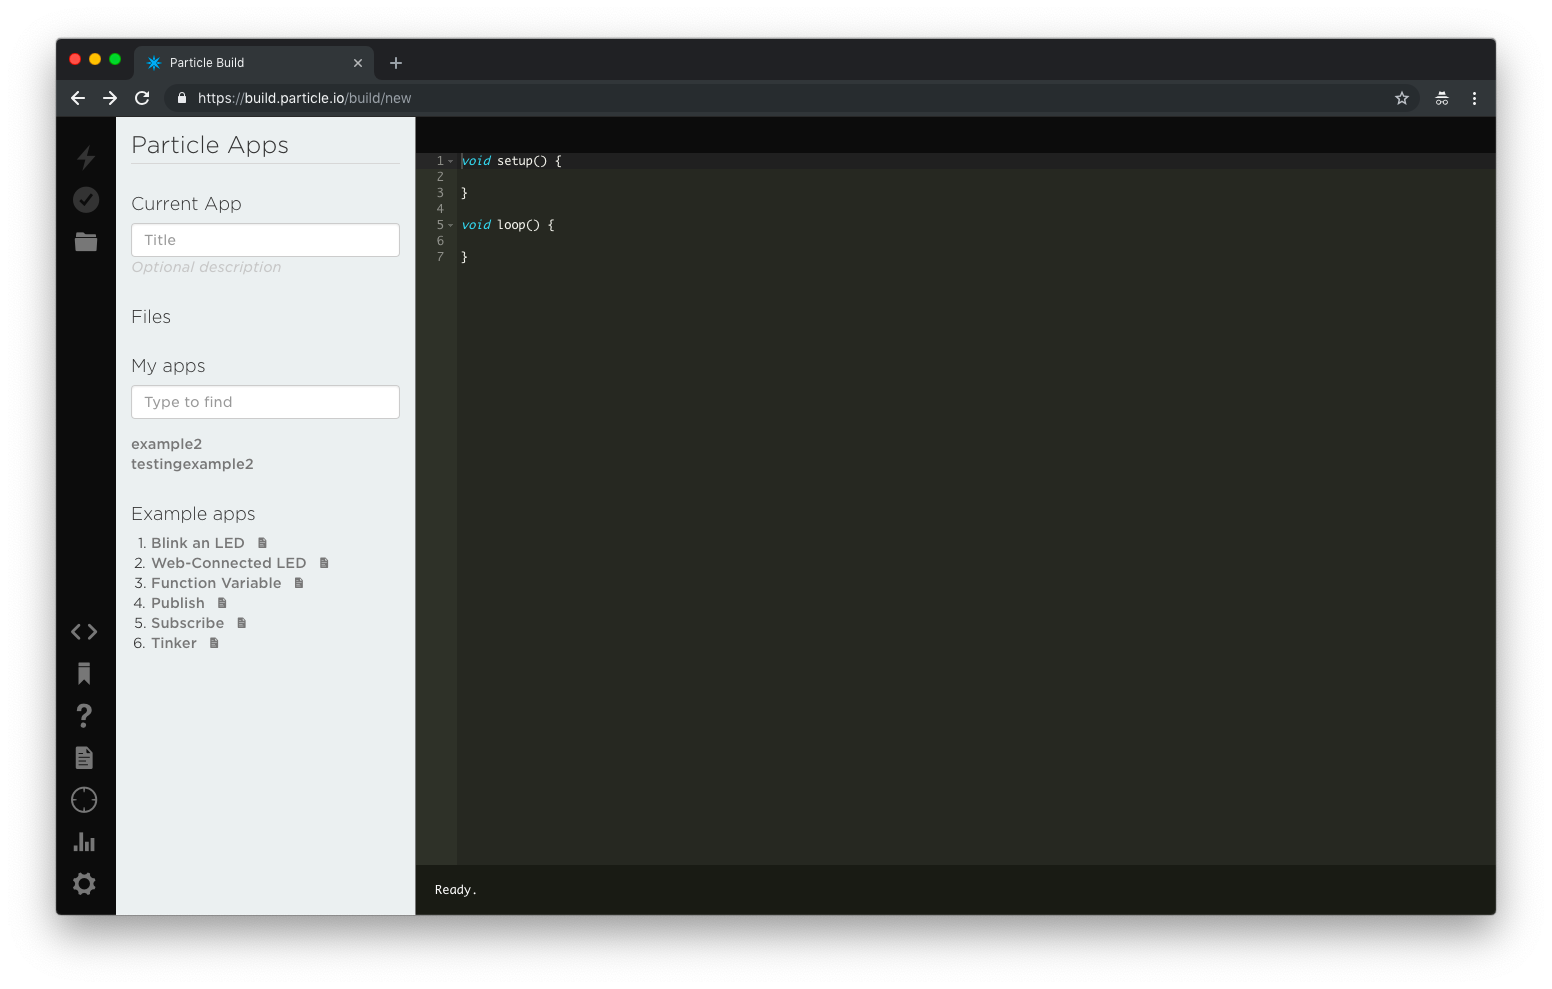
Click on Blink an LED on the left side of the page. As soon as you click the Blink and LED code will load and fill the screen as shown below.
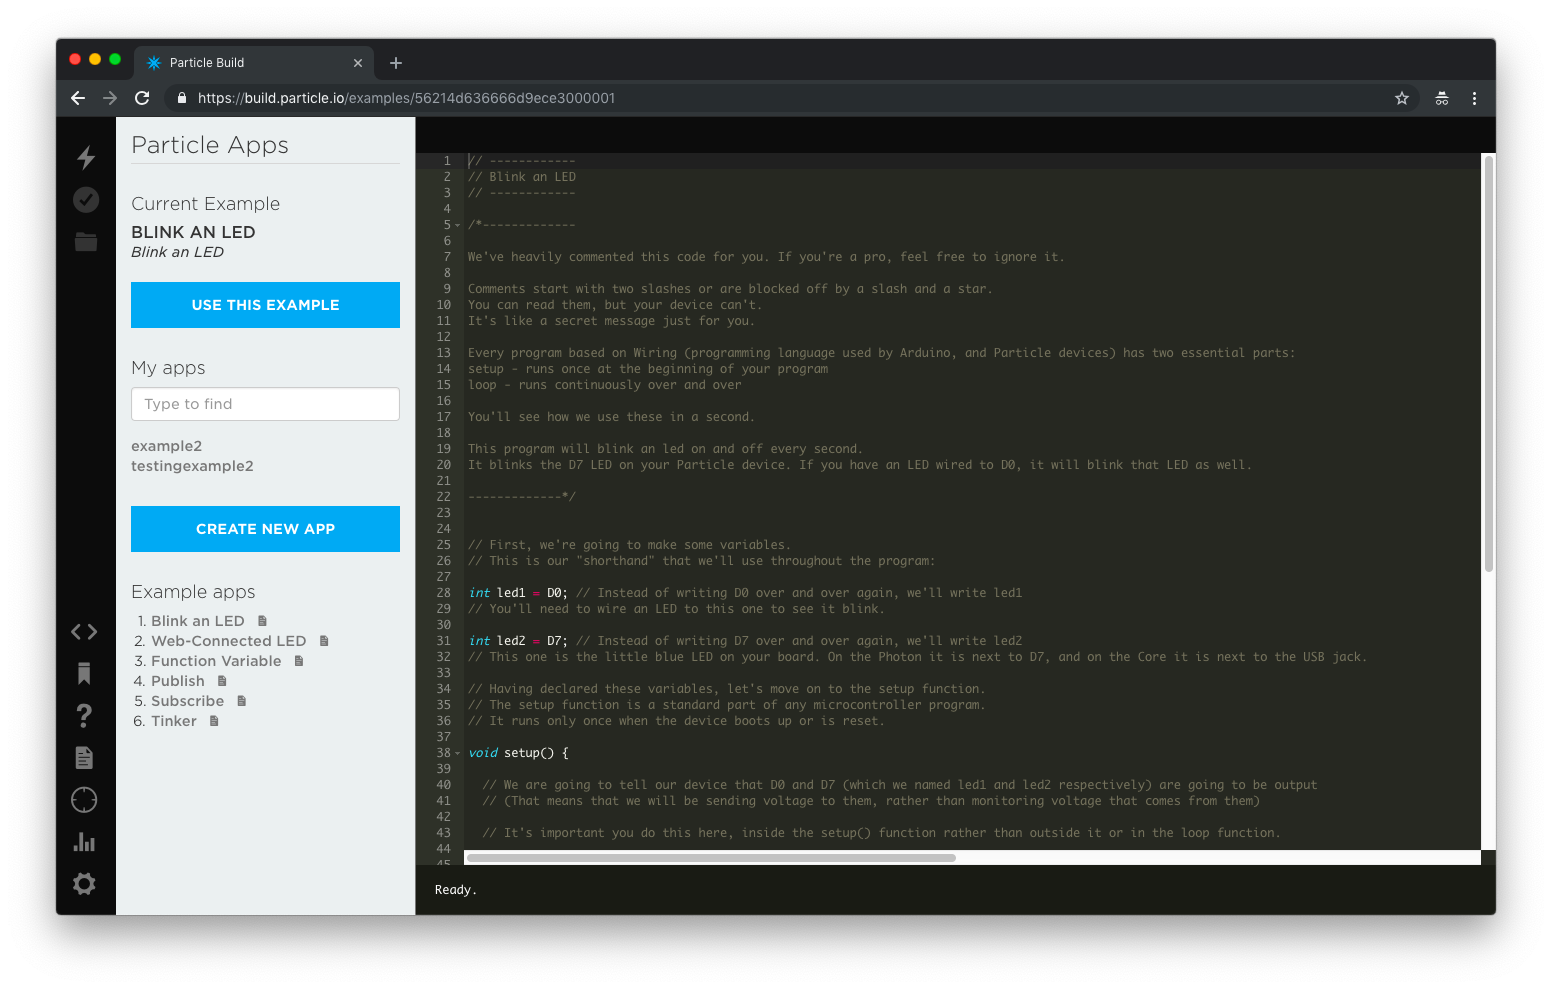
The code is heavily commented to help you understand the general structure of the sketch: the first part of the code declares two variables, the setup() function configures two pins as outputs, and finally the loop() which turns the onboard LED on, then off, then loops continuously.
7. Target your device
The Web IDE can be used with multiple devices. As such, when you go to compile source code, it's a good idea to verify that the device you are intending to program has a gold star to the left of its name in the Devices tab (circle with 4 lines).
8. Compile your code & flash
Click the lightning bolt icon on the top left of your screen to flash your code to your device.
As soon as you click, the Particle Device cloud will compile the program source code to a binary file and send it over-the-air (OTA) to your B-Series SoM.
