
Quick start: Boron
The Particle Boron is a cellular and Bluetooth development kit designed for building connected projects and products. To set up the device you'll need an Android or iOS mobile phone and a connection to the internet.
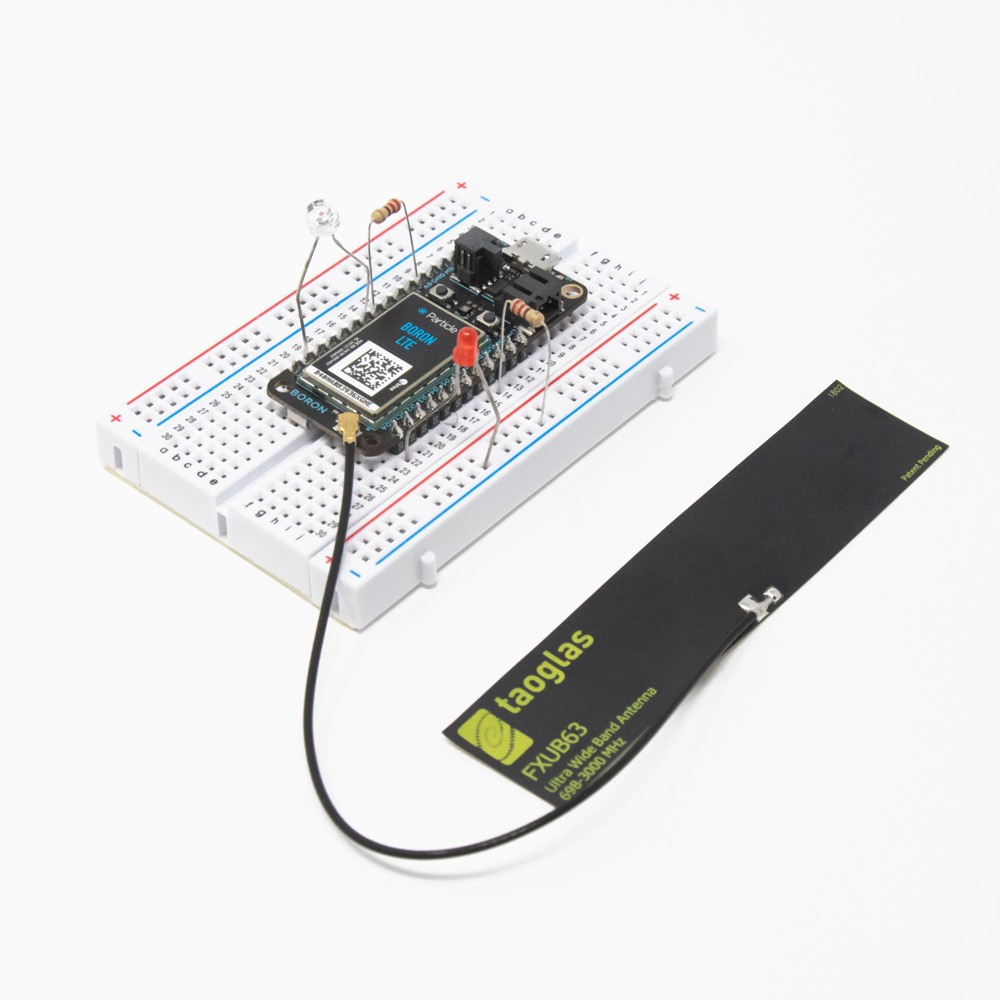
The Boron kit comes with the following things:
- Boron development kit
- Starter Project
- One micro-USB cable
- One mini breadboard
- Electronic components
- Two resistors (220 ohm)
- One light-emitting diode (LED)
- One phototransistor
1. Set up your Boron
For a short (~4 min) overview of what the Boron setup process looks like, watch the video below.
Once you're ready to proceed, use the online setup application to configure your new Boron. The process includes the following.
- Registration of your device with your Particle account
- Connection of your device to the Particle Device Cloud
Once you've completed the setup you will be able to program your device and send over-the-air (OTA) updates to it.
To begin setting up your Boron, click the button below and follow the onscreen instructions. When you've completed set up, continue to Step #2.
NOTES:
1.) If you have already set up your Boron, skip to Step #2.
2.) We recommend setting up the Boron as stanadalone device, not as a part of a mesh network. See mesh deprecation for more information.
2. Open the Web IDE
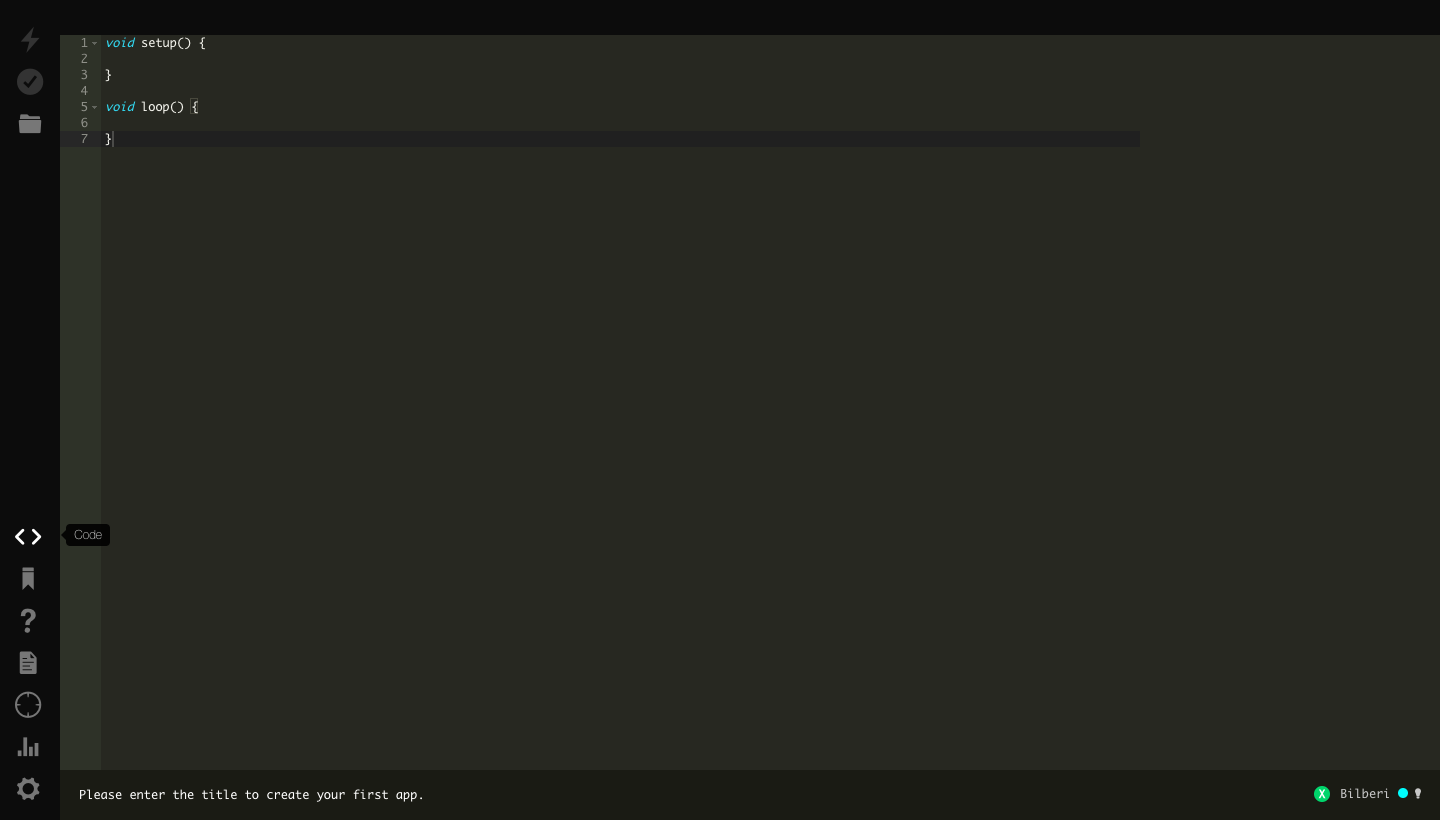
To program your Boron, open a new browser tab and go to the Web IDE.
NOTE:
The Web IDE is one of the ways you can write, compile, and deploy code to your Particle devices.
If you're looking for a more traditional embedded development experience, be sure to learn about Particle Workbench, a full toolchain integration with Microsoft Visual Studio Code.
3. Load the Blink example
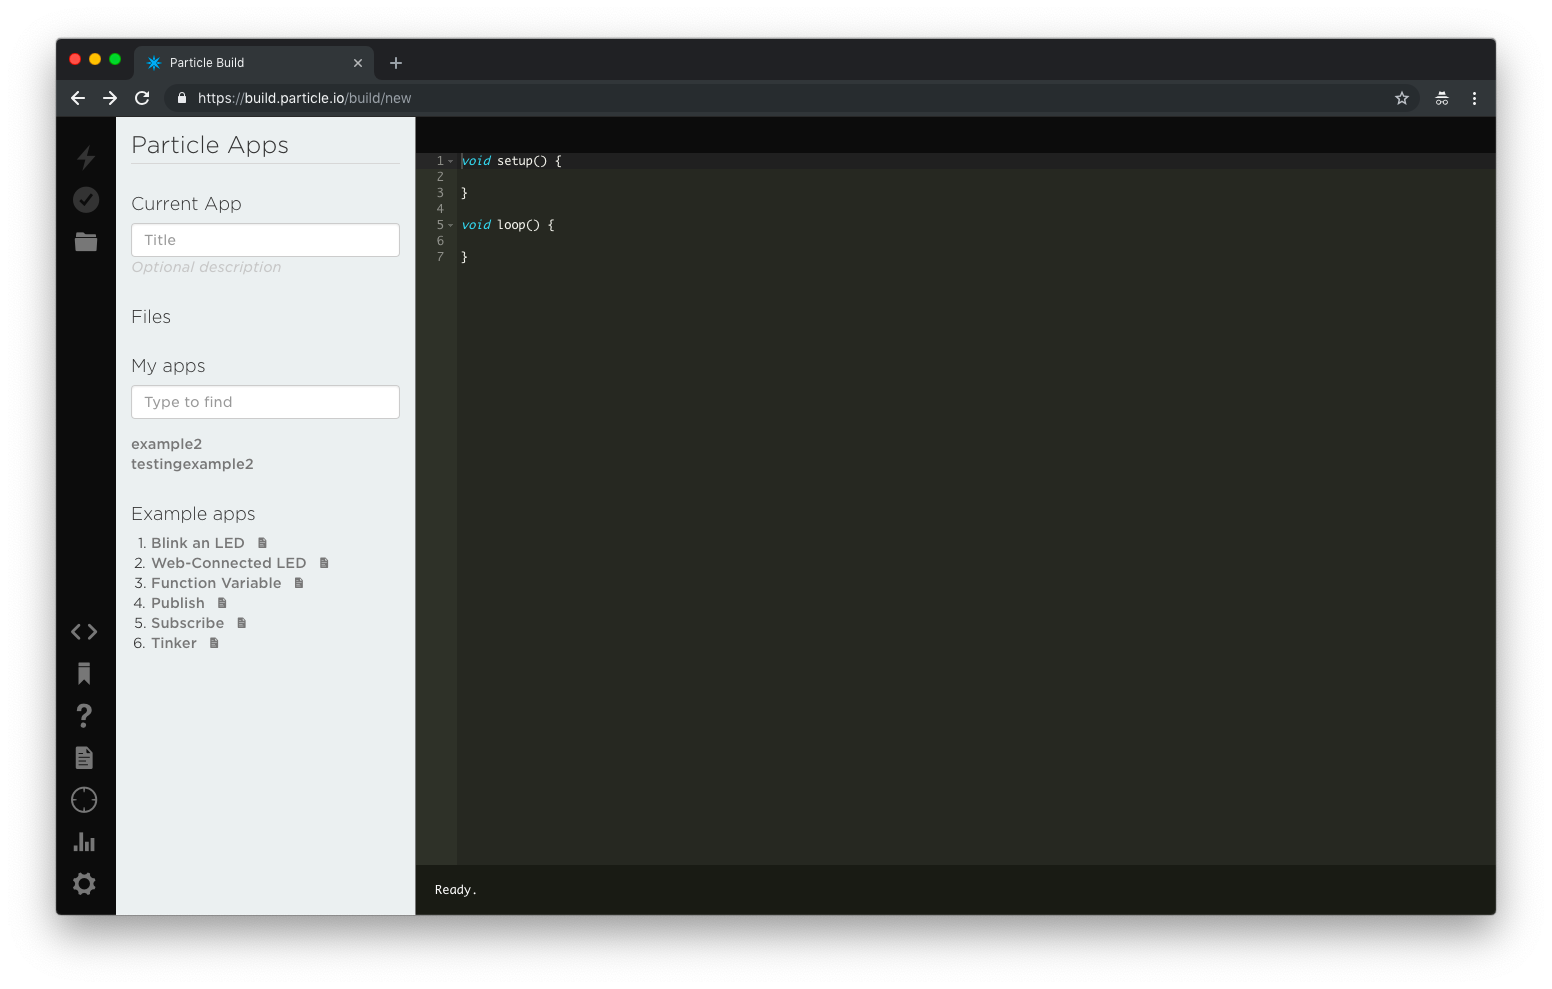
Click on Blink an LED on the left side of the page. As soon as you click the Blink and LED code will load and fill the screen as shown below.
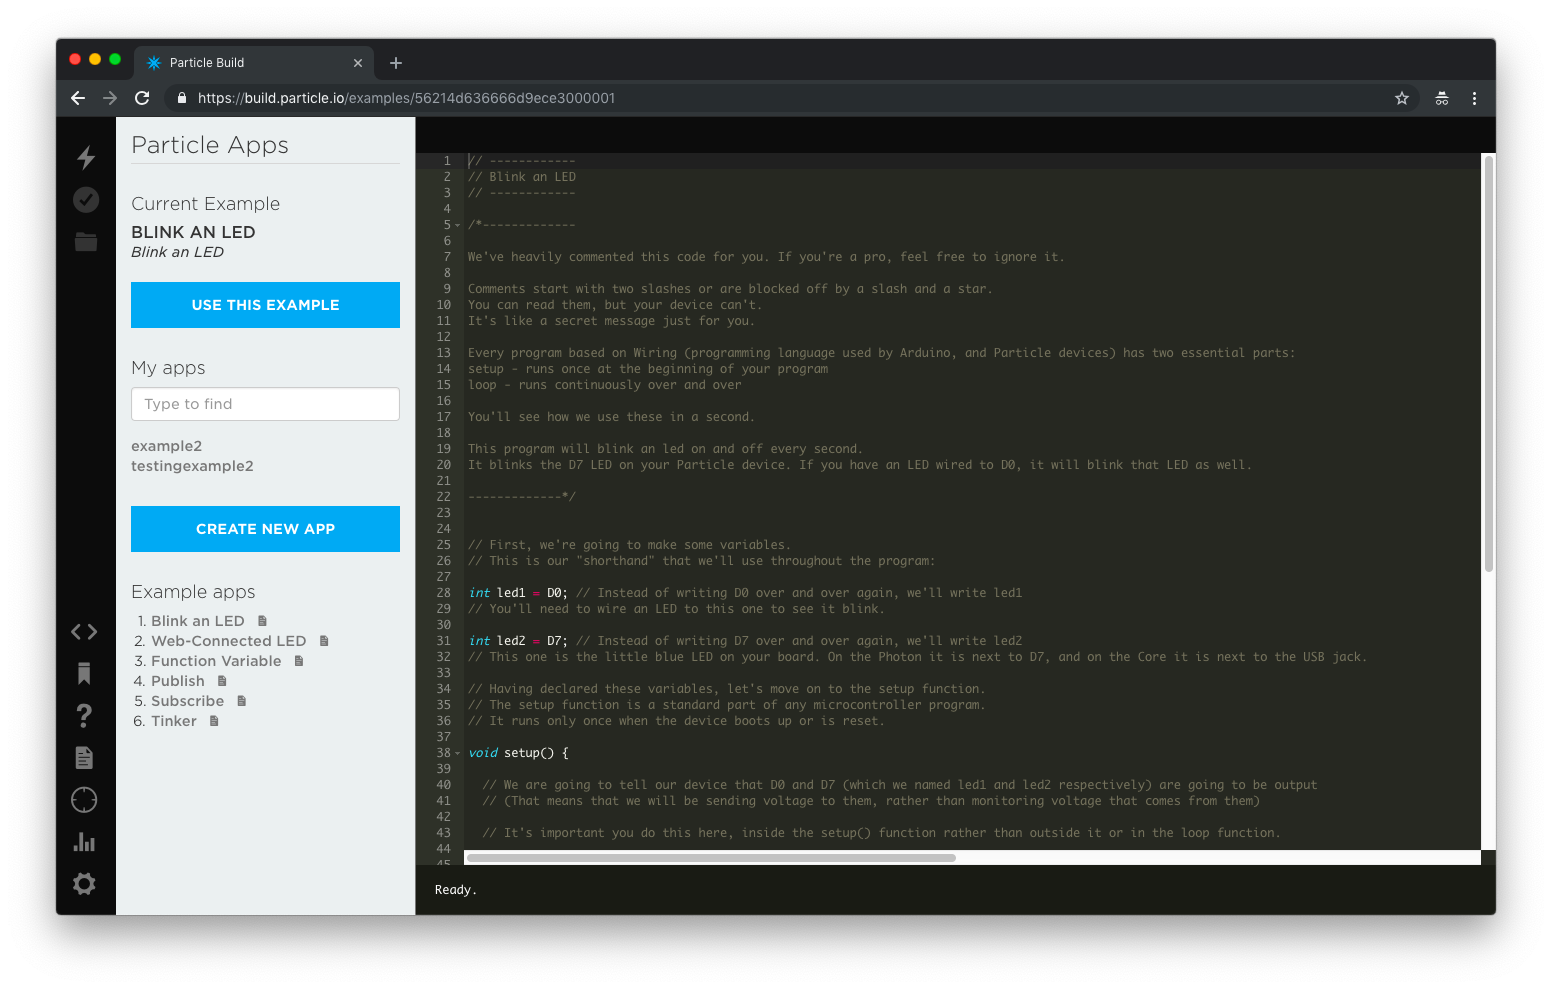
The code is heavily commented to help you understand the general structure of the sketch: the first part of the code declares two variables, the setup() function configures two pins as outputs, and finally the loop() which turns the onboard LED on, then off, then loops continuously.
4. Target your device
The Web IDE can be used with multiple devices. As such, when you go to compile source code, it's a good idea to verify that the device you are intending to program has a gold star to the left of its name in the Devices tab (circle with 4 lines).
5. Compile your code & flash
Click the lightning bolt icon on the top left of your screen to flash your code to your device.
As soon as you click, the Particle Device cloud will compile the program source code to a binary file and send it over-the-air (OTA) to your Boron.
For more hardware examples to try, visit the hardware examples.