
What's in the box
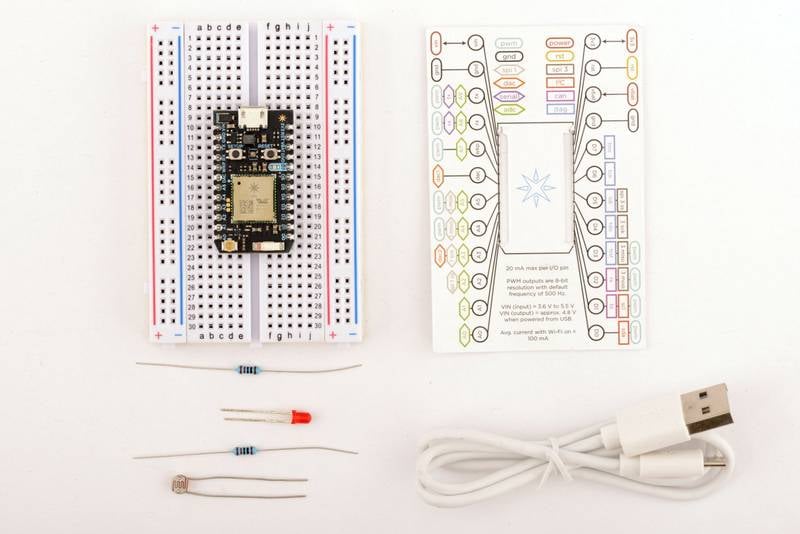
Your new Photon! Note that many components pictured will only be included if you purchased a Photon Kit.
Congratulations on being the owner of a brand new Particle Device! Go ahead and open the box. You can see the different kit addons and check out the Photon datasheet if you like!
If you have an Internet Button, read through this section to get started and connect your device, then hop over to the Internet Button tutorial for more detailed info.
Let's quickly go over what you see.
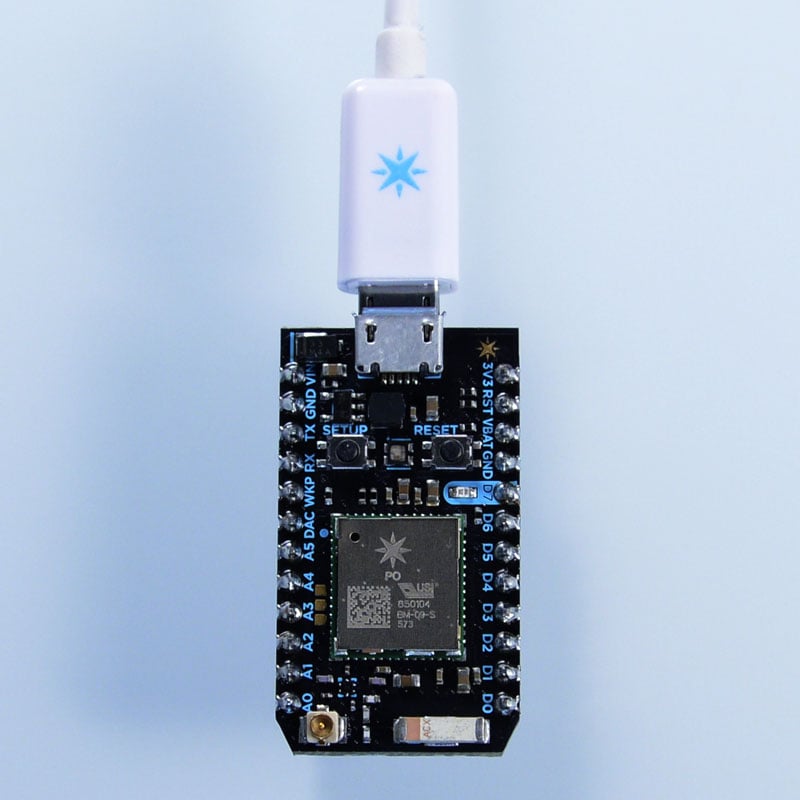
What's on it?
The Wi-Fi module
This is probably why you bought your device-- the Wi-Fi module allows your Photon to communicate with the internet. It connects your device to the internet in the same way that your smartphone might connect to a wifi network. Do not press down on the Photon's module. Doing so triggers a reset and is generally not good for the Photon.
The microcontroller
The microcontroller is the brain of your device. It runs your software and tells your prototype what to do. Unlike your computer, it can only run one application (often called firmware or an embedded application). This application can be simple (just a few lines of code), or very complex, depending on what you want to do. The microcontroller interacts with the outside world using pins.
The pins
Pins are the input and output parts of the microcontroller that are exposed on the sides of your device. GPIO pins can be hooked to sensors or buttons to listen to the world, or they can be hooked to lights and buzzers to act upon the world. There are also pins to allow you to power your device, or power motors and outputs outside of your device. There are pins for Serial/UART communication, and a pin for resetting your device.
Buttons & LEDs
There are several awesome buttons and LEDs on your Photon to make it easier to use.
The SETUP button is on the left and the RESET button is on the right. You can use these buttons to help you set your device's mode. The RGB LED is in the center of your Photon, above the module. The color of the RGB LED tells you what mode your Photon is currently in. The D7 LED is next to the D7 pin on your Photon, on the upper right quadrant. This LED will turn on when the D7 pin is set to HIGH.
- Hardware
- Your Particle device, brand new and out of the box!
- USB to micro USB cable
- Power source for USB cable (such as your computer, USB battery, or power brick)
- Your iPhone or Android or Windows smartphone
- Wi-Fi Settings
- 2.4GHz capable router
- Channels 1-11
- WPA/WPA2 encryption
- On a broadcast SSID network
- Not behind a hard firewall or Enterprise network
- Note: We do not recommend using WEP Wi-Fi settings, for security reasons.
- Experience
- None! This is your first project.
Connect your Photon
In this example, we will connect your device to the internet for the very first time. Then, we will blink the D7 LED on your device by using your smartphone.
Step 1: Power On Your Device
Plug the USB cable into your power source. (Your computer works perfectly for this purpose.) Your Particle device does not need your computer to connect to wifi. You could just as easily power your device with a power brick, a battery shield, or another power source wired to the VIN pin.
As soon as it is plugged in, the RGB LED on your device should begin blinking blue.
If your device is not blinking blue, hold down the SETUP button.
Step 2: Connect your Photon to the Internet using the setup web application
- Go to setup.particle.io
- Click on Setup a Photon
- After clicking on NEXT, you should be presented with a file (photonsetup.html)
- Open the file
For more hardware examples to try, visit the hardware examples.