
Gen 3 accessories
These accessories are for the Particle Gen 3 devices: Argon and Boron in the Adafruit Feather form-factor.
Grove starter kit
The Grove starter kit is designed to make your first exploration into the world of sensing and actuating a breeze. The kit comes with seven different components that work out-of-the-box with Particle Gen 3 hardware and let you focus on learning the basics. Working with Starter Kit requires no soldering and minimal wiring. Simply connect the kit’s Grove Shield (the new co-developed FeatherWing adapter from Particle and SeeedStudio) to your Particle Gen 3 board and use the included cables to connect the adapter and the sensors and actuators that you want to use. It’s a plug-and-play experience.
Kit contents
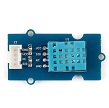
- 1x Grove Shield for Particle Gen 3 devices
- 1x Button
- 1x Rotary Angle Sensor
- 1x Ultrasonic Ranger
- 1x Temp&Humi Sensor
- 1x Light Sensor v1.2
- 1x Chainable RGB LED
- 1x Buzzer
- 1x 4-Digit Display
Grove shield
The main shield consists of a connector to plug in any of the Particle Argon or Boron dev kit and a set of 8 grove ports for plugging in various grove accessories. The ports consist of:
- 3 Digital ports
- 2 Analog ports
- 2 I2C ports
- 1 UART port
The pins on the Grove connector are as follows:
| Pin | Color | Digital | Analog | I2C | UART |
|---|---|---|---|---|---|
| 1 | Yellow | Primary I/O | Primary Analog In | I2C Clock | Serial RX |
| 2 | White | Secondary I/O | Secondary Analog In | I2C Data | Serial TX |
| 3 | Red | Power | Power | Power | Power |
| 4 | Black | GND | GND | GND | GND |
For a short (~6 min) example of using the Grove Starter Kit, watch the video below.
Button
Button is a momentary push button. It contains one independent "momentary on/off" button. “Momentary” means that the button rebounds on its own after it is released. The button outputs a HIGH signal when pressed, and LOW when released. The Sig marked on silk layer stands for signal while NC is not connected to anything.
It can be used on either a digital or analog input port, and the button is read using the primary digital I/O using the digitalRead function. The digitalRead function can be used on both digital and analog pins.
Additional information available here.
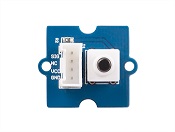
Rotary angle sensor
The rotary angle sensor produces analog output between 0 and Vcc (3.3VDC) on its D1 connector. The D2 connector is not used. The angular range is 300 degrees with a linear change in value. The resistance value is 10k ohms. This essentially is a potentiometer.
It must be used on an analog input port, and the value is read using the primary analog input using the analogRead function.
Additional information available here.
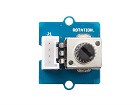
Ultrasonic ranger
Ultrasonic ranger is a non-contact distance measurement module which works at 40KHz. When we provide a pulse trigger signal with more than 10uS through signal pin, the sensor will issue 8 cycles of 40kHz cycle level and detect the echo. The pulse width of the echo signal is proportional to the measured distance. Here is the formula: Distance = echo signal high time * Sound speed (340M/S)/2. The sensor's trig and echo signal share 1 SIG pin.
The library is available in the Web IDE as Grove_Ultrasonic_Ranger.
Additional information available here.
Temperature and humidity sensor
This Temperature and Humidity sensor provides a pre-calibrated digital output. A unique capacitive sensor element measures relative humidity and the temperature is measured by a negative temperature coefficient (NTC) thermistor. It has excellent reliability and long term stability. Please note that this sensor will not work for temperatures below 0 degrees. It uses the DHT-11 sensor.
The library is available in the Web IDE as Grove_Temperature_And_Humidity_Sensor.
Additional information available here.
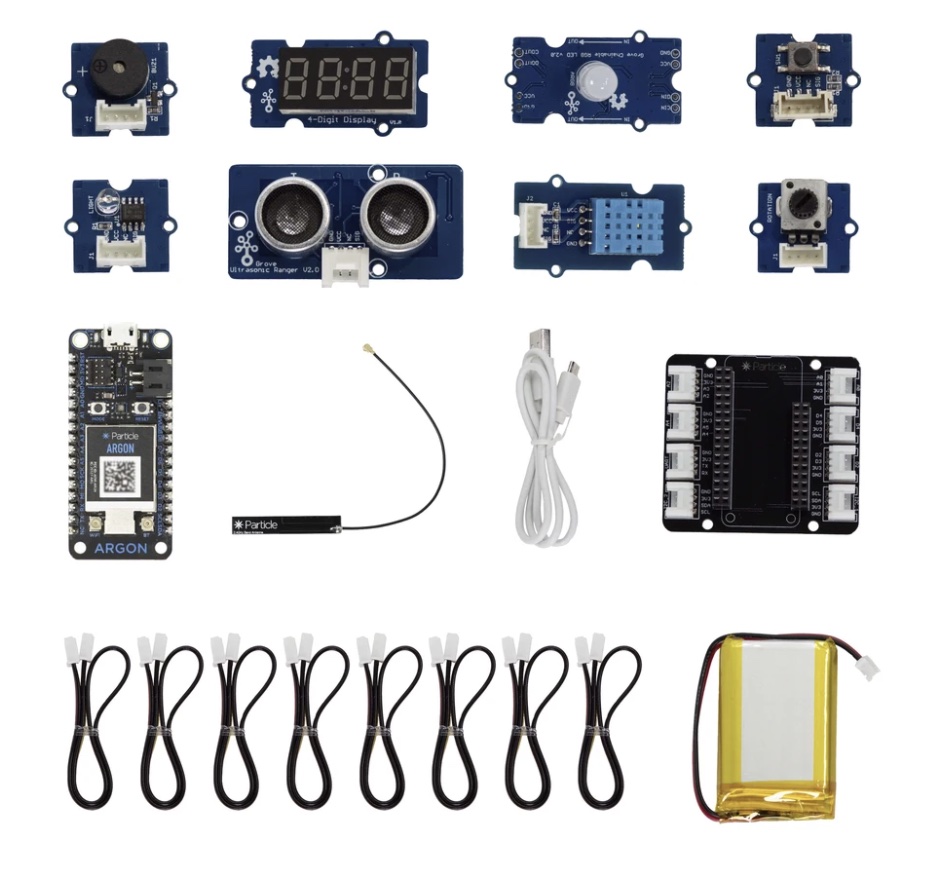
Light sensor v1.2
Light sensor integrates a photo-resistor (light dependent resistor) to detect the intensity of light. The resistance of photo-resistor decreases when the intensity of light increases. A dual OpAmp chip LM358 on board produces voltage corresponding to intensity of light(i.e. based on resistance value). The output signal is analog value, the brighter the light is, the larger the value.
It must be used on an analog input port, and the value is read using the primary analog input using the analogRead function.
This module can be used to build a light controlled switch i.e. switch off lights during day time and switch on lights during night time.
Additional information available here.
Chainable RGB LED
Chainable RGB LED is based on P9813 chip which is a full-color LED driver. It provides 3 constant-current drivers as well as modulated output of 256 shades of gray. It communicates with a MCU using 2-wire transmission (Data and Clock). This 2-wire transmission can be used to cascade additional Grove - Chainable RGB LED modules. The built-in clock regeneration enhances the transmission distance. This Grove module is suitable for any colorful LED based projects.
The library is available in the Web IDE as Grove_ChainableLED.
Additional information available here.
Buzzer
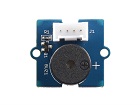
Buzzer module has a piezo buzzer as the main component. The piezo can be connected to digital outputs, and will emit a tone when the output is HIGH. Alternatively, it can be connected to an pulse-width modulation output to generate various tones and effects.
You can use the pinMode and digitalWrite functions to control the output.
pinMode(D2, OUTPUT);
digitalWrite(D2, HIGH);
delay(1000);
digitalWrite(D2, LOW);
It can be used on a digital or analog port, as the analog inputs can also be used as digital outputs.
An example using tone (PWM) to play a melody can be found here. Not every pin is PWM compatible, so make sure you use a port that supports PWM.
Additional information available here.
4-Digit Display
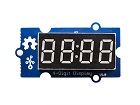
This is a 4 digit seven-segment display module that uses TM1637 driver chip. This driver is controlled with a two wire interface (CLK, DATA). This is perfect for displaying 4 digit numeric values.
The library is available in the Web IDE as Grove_4Digit_Display.
Additional information available here.
Adafruit FeatherWing OLED Display 128x32
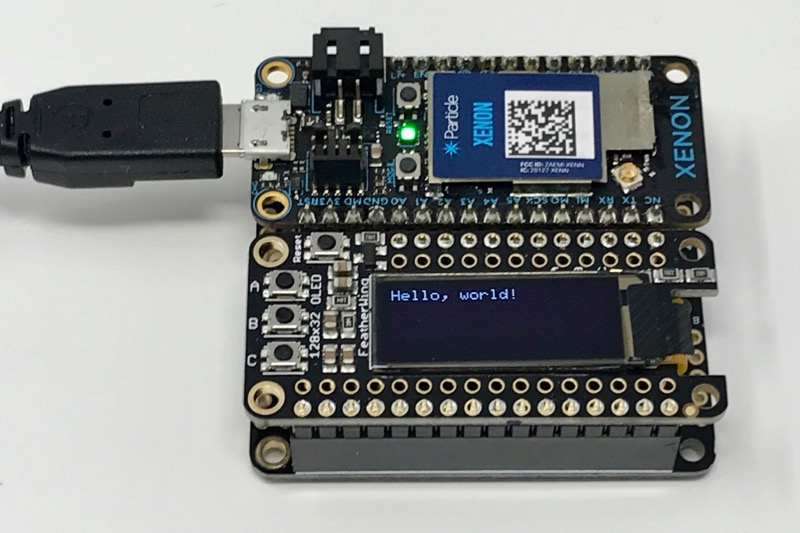
The Adafruit OLED display FeatherWing makes it easy to add a small text and graphics display to your project. Built in a FeatherWing form-factor, you can use a FeatherWing Doubler or FeatherWing Tripler to add a display to your Argon or Boron project with no loose wires. And it includes three handy momentary push-buttons.
You can purchase one from Adafruit. You can find more technical information at Adafruit.
The library is available in the Web IDE as oled-wing-adafruit. You can find additional documentation here.
The display is a SSD1306 and connects by I2C (pins D0 and D1).
The three buttons are:
| Button | Pin | Notes |
|---|---|---|
| A | D4 | No pull-up. Can't be used with Ethernet. |
| B | D3 | 100K pull-up. Can't be used with Ethernet. |
| C | D2 | No pull-up. |
The library takes care of setting the appropriate input modes and debouncing the buttons for you.
Note that if you are using the Adafruit OLED display and the Particle Ethernet FeatherWing, you cannot use buttons A or B as those pins are used by Ethernet.
Ethernet FeatherWing
The Ethernet Featherwing has been deprecated and is no longer available for sale. The Adafruit Ethernet Featherwing can be used instead by following the instructions here.
The Ethernet FeatherWing is the fastest way to add wired connectivity to your Argon or Boron and turns it into an Ethernet gateway. Based on the WIZnet W5500 chip, this side-by-side FeatherWing maintains great RF performance even while adding Ethernet connectivity to any Particle Gen 3 device.
The form-factor is based around the Adafruit FeatherWing Tripler. The two side connectors allow you to plug in one Particle Gen 3 device along with a Feather accessory.
- 10BaseT/100BaseTX Ethernet
- Support Auto Negotiation (Full and half duplex, for both 10BaseT and 100BaseTX)

Pin map
| Particle Pin | Ethernet FeatherWing Pin |
|---|---|
| MISO | SPI MISO |
| MOSI | SPI MOSI |
| SCK | SPI SCK |
| D3 | nRESET[1] |
| D4 | nINTERRUPT[1] |
| D5 | nCHIP SELECT[1] |
Notes:
[1] These pins are connected via jumper pads on the bottom. You can cut these jumper traces and rewire them to a different pin on the Gen 3 device if the need arises. However the Device OS does not allow use of other pins (at least through 1.1.0).
The hardware design for this wing is completely open source. All the files are available on our GitHub repository here.
If you are using the Adafruit Ethernet Feather Wing, be sure to connect the nRESET and nINTERRUPT pins (on the small header on the short side) to pins D3 and D4 with jumper wires. These are required for proper operation.
For more information about Ethernet, see the application note AN037 Ethernet.
PoE (Power over Ethernet)
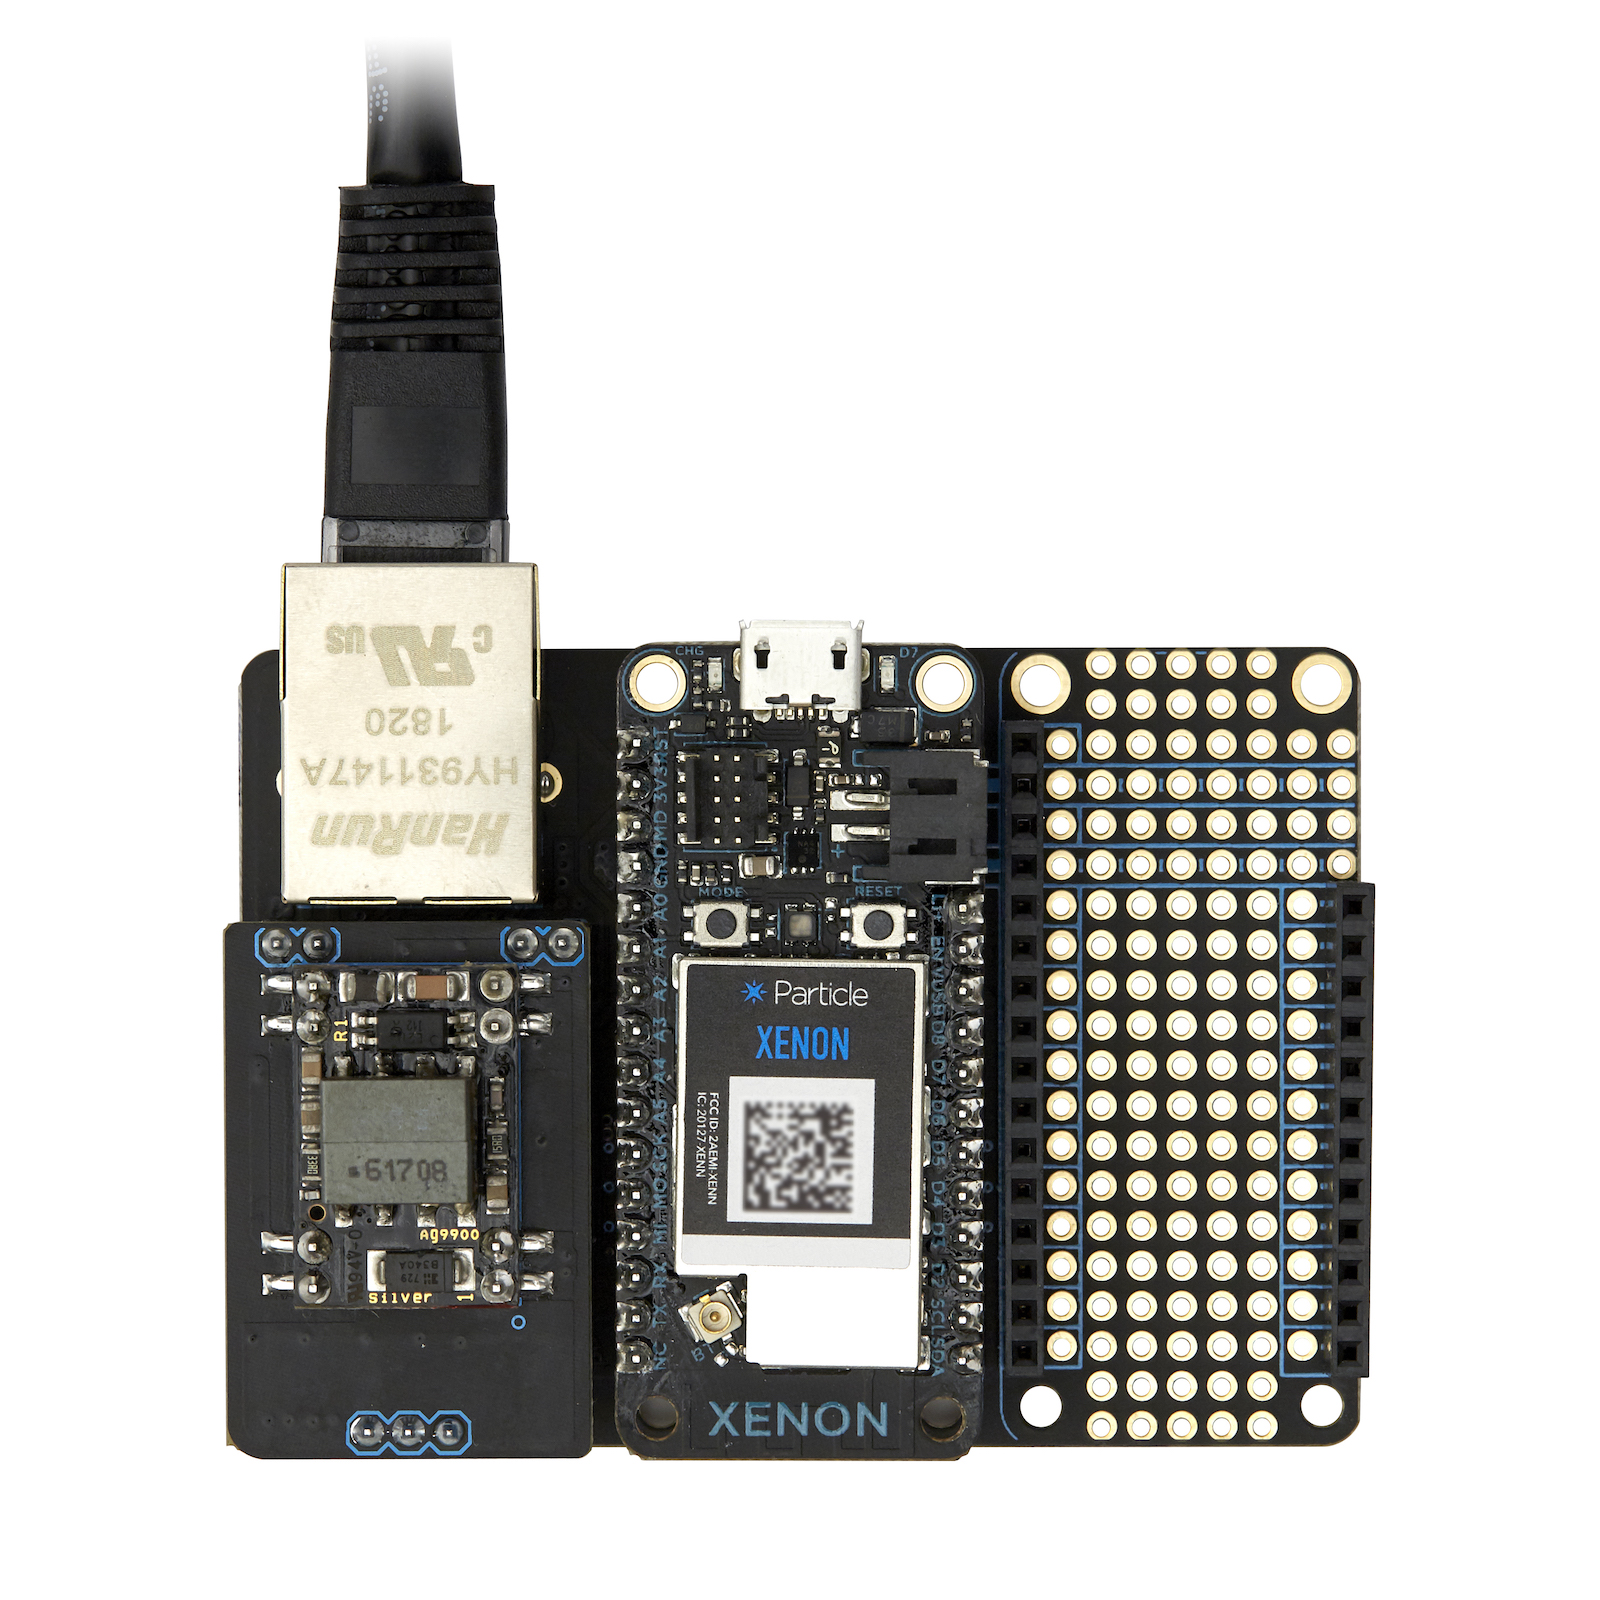
The PoE adapter is discontinued and no longer available for sale. Existing PoE adapters will continue to work.
The PoE (Power over Ethernet) adapter for the Ethernet FeatherWing plugs into the Ethernet side of the FeatherWing.
It uses the Silvertel Ag9905M and can supply 1800 mA to your device and any Feather accessories. It is a Class 0 IEEE 802.3af device. It supports Alternative A (power on data pair) and Alternative B (power on spare pair).
| Parameter | Minimum | Typical | Maximum | Units |
|---|---|---|---|---|
| Input Supply Voltage | 36 | 48 | 57 | Volts |
| Operating Temperature1 | -40 | 25 | 70 | °C |
| Output Voltage | 5 | V | ||
| Output Current | 1800 | mA |
1Operating temperature of the Ag9905M module only. The operating temperature range of Particle Gen 3 devices is smaller, -20 to +60°C.
Note that because the Ethernet FeatherWing with PoE supplies 5V to the device by the VUSB pin, you should not power it by both PoE and the USB serial port at the same time.

The recommended cable for PoE is Cat 6 twisted pair with a maximum length of 100 meters (328 feet).
The Eagle CAD design for the PoE adapter is open source. All the files are available on our GitHub repository.
Classic adapter
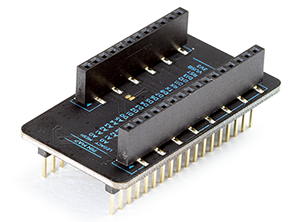
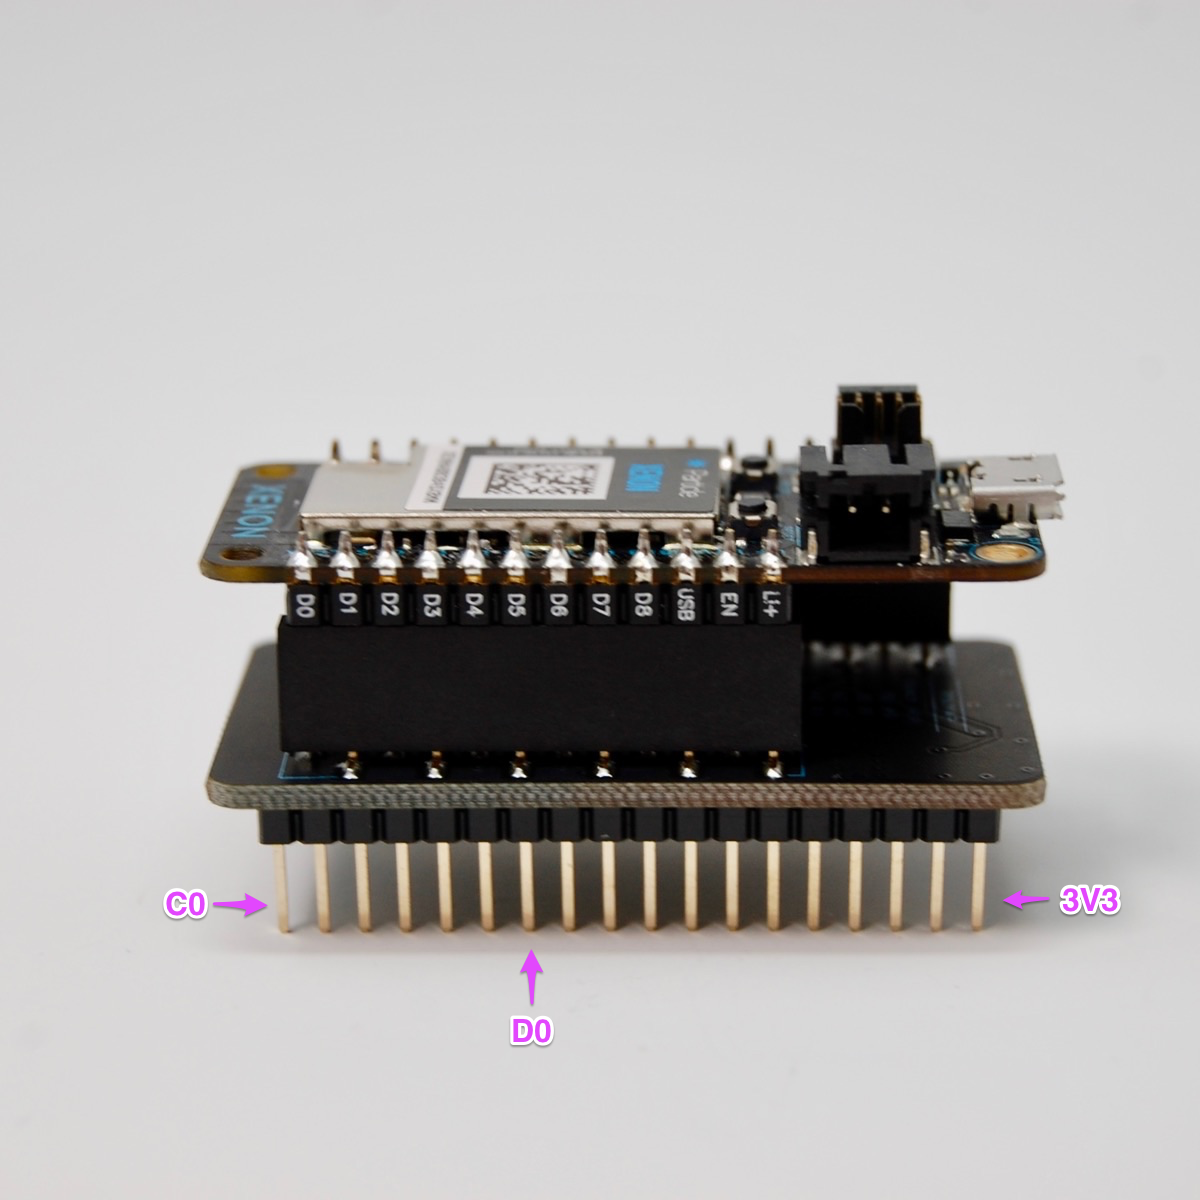
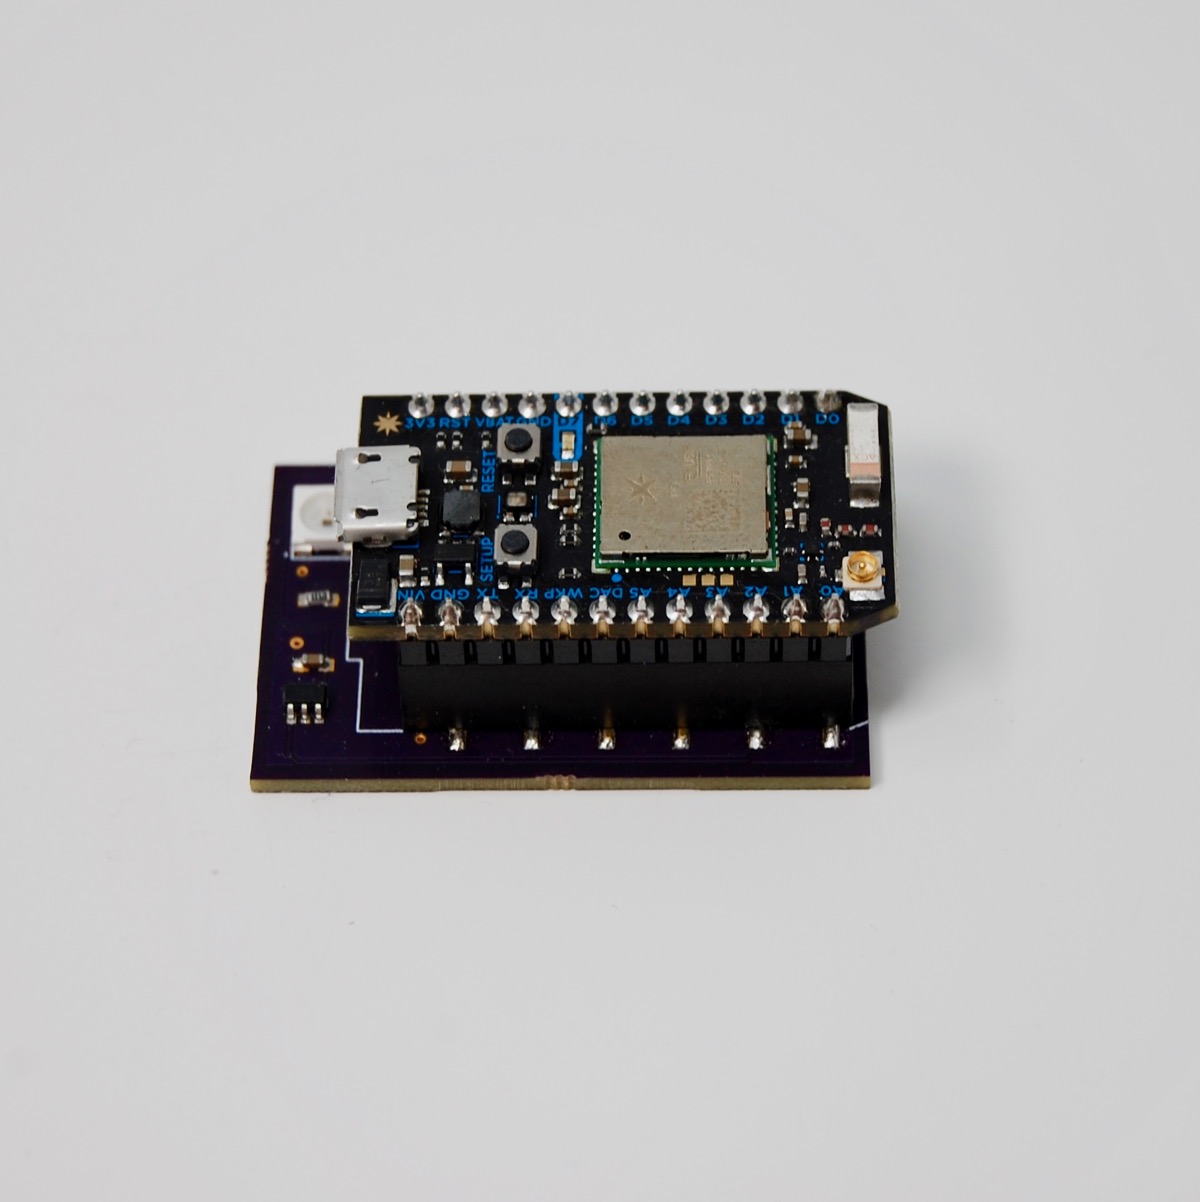
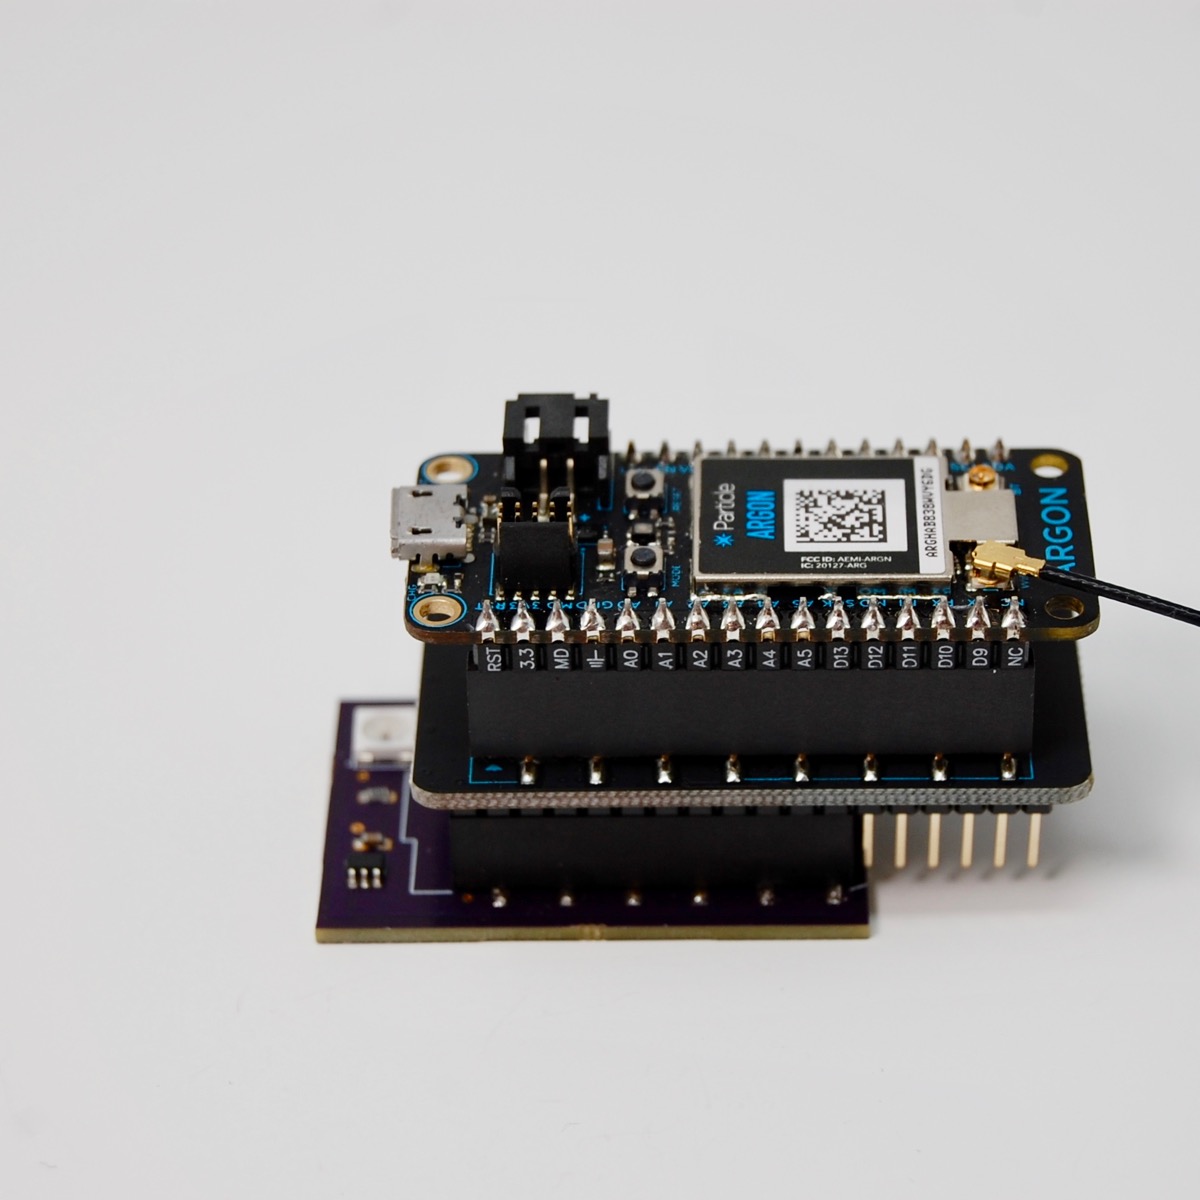
The Particle Classic Adapter lets you use your Electron Asset Tracker, Relay Shield, or other third-party shields with our third generation developer kits. Plug your Argon or Boron into this adapter and continue development as usual!
The top of the adapter has female connectors for you to plug in the Particle Gen 3 device. The bottom has male header pins in the Particle legacy form-factor for devices such as the Electron, Photon, or the Core.
The legacy side (male pins on the bottom) are designed to fit an Electron. So when plugging into a Photon socket please make sure the B/C pins side are hanging off the end, not plugged into anything.
You cannot supply more than 3.3V to any pin on the Argon or Boron (except VUSB and the USB connector).
Note: This product is a one-way adapter. That is, this product does not enable use of Adafruit FeatherWings with the Photon or Electron.
The design is open source and the design files are available here.


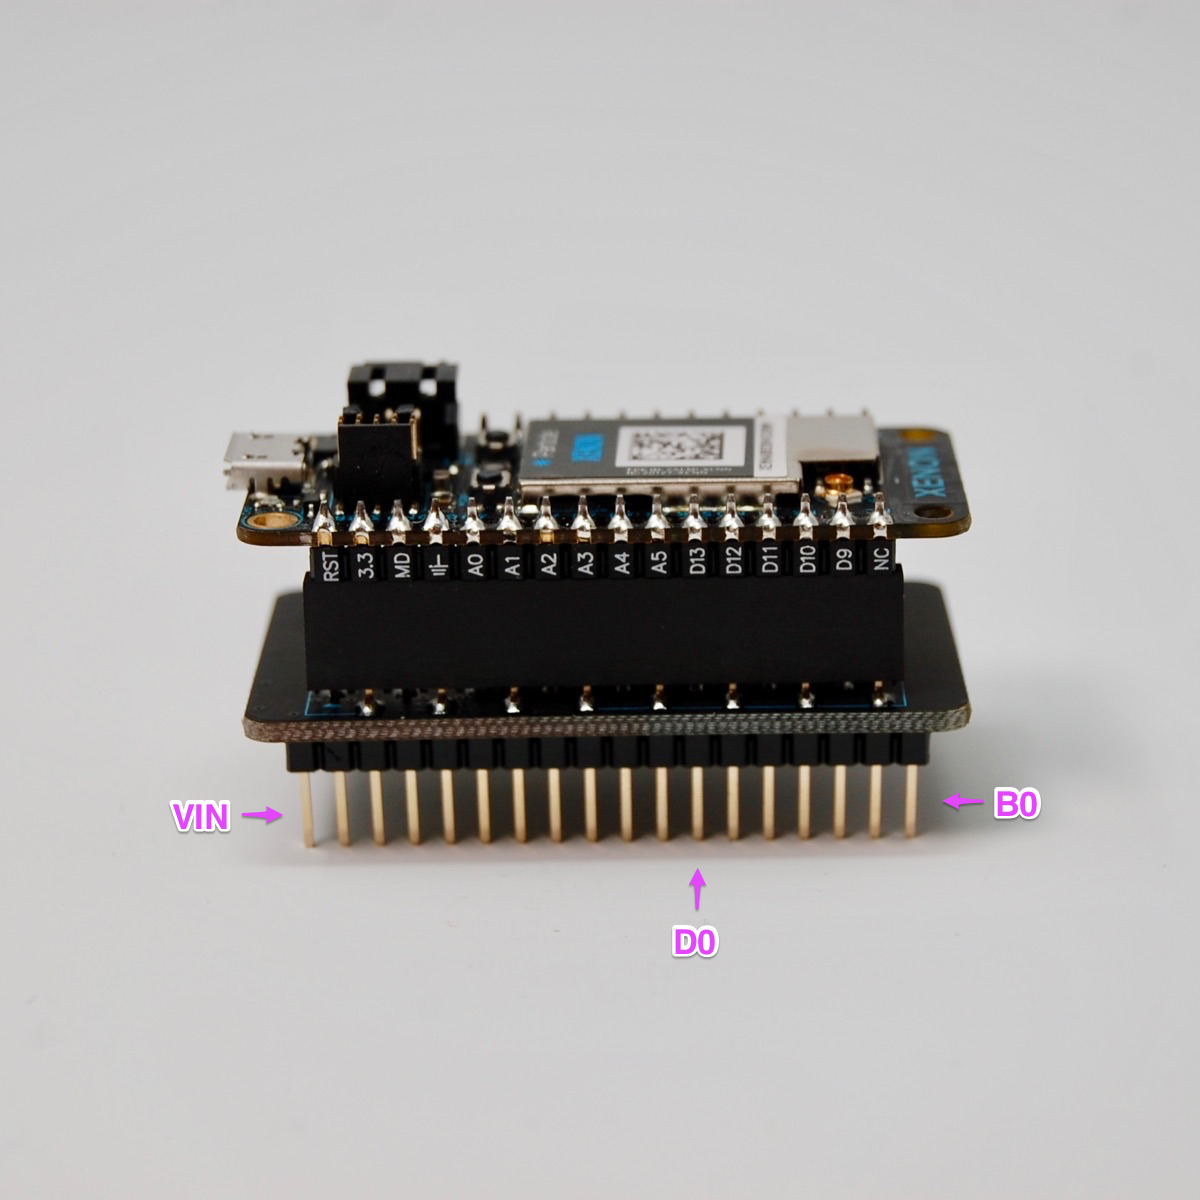
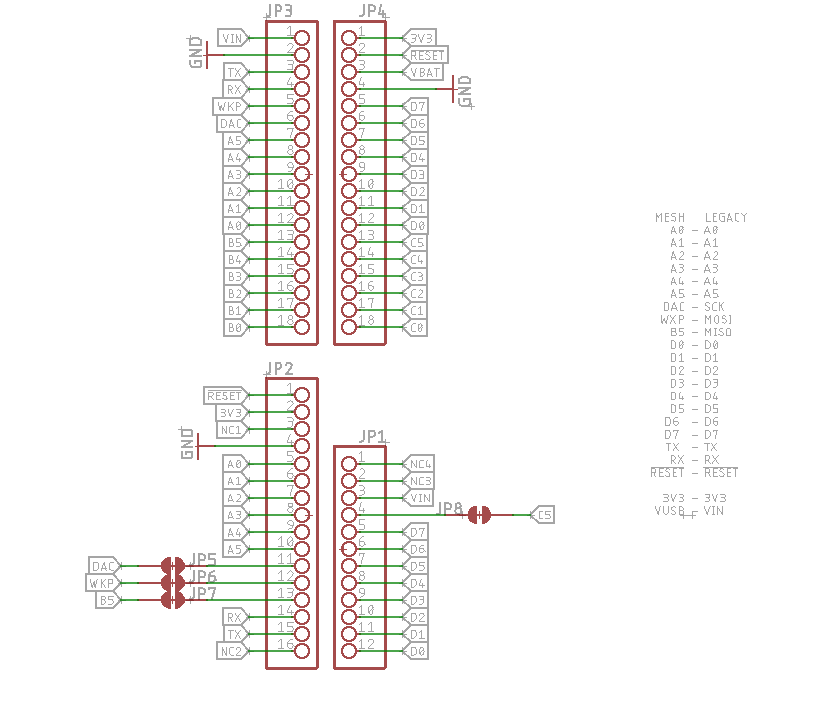
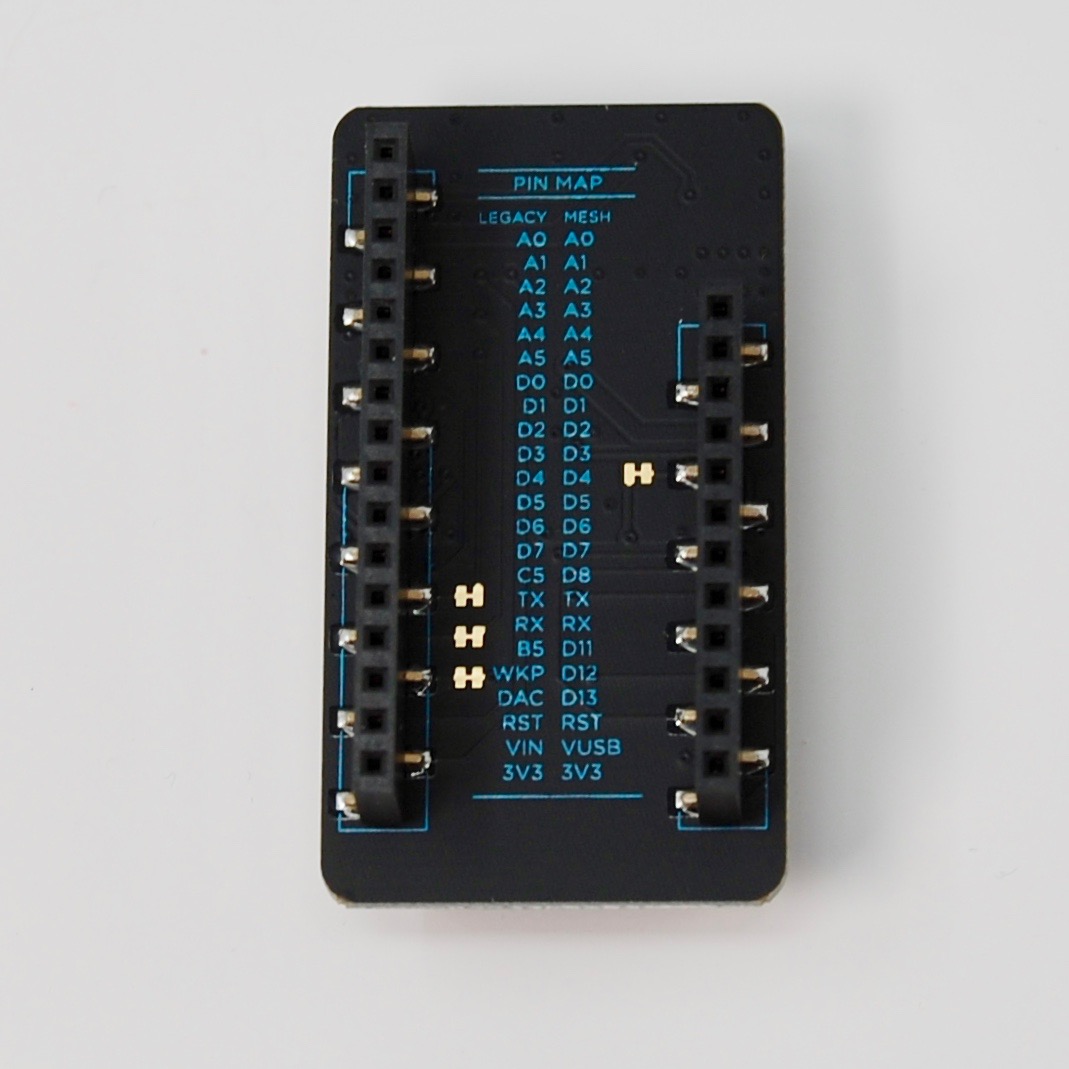
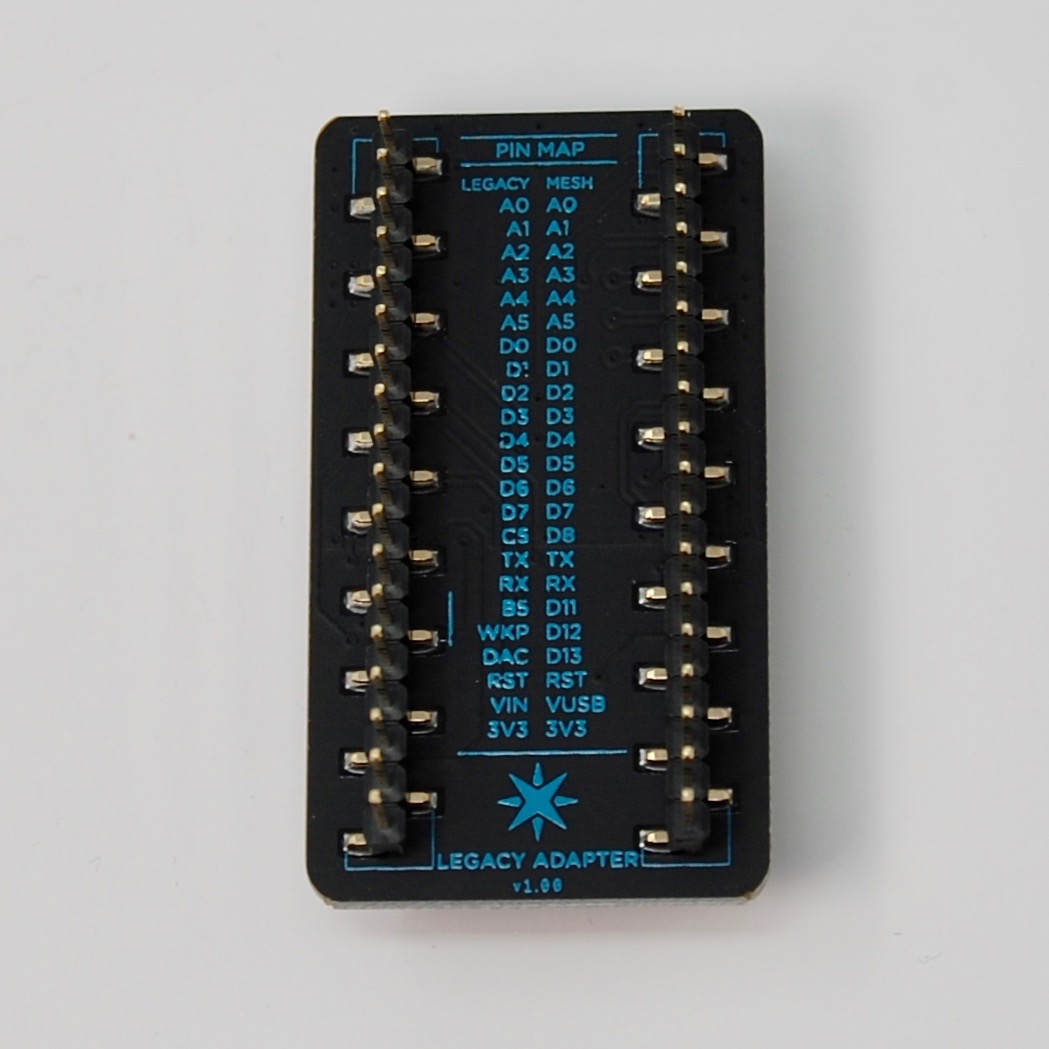
Pin map
| Legacy Device | Gen 3 Device |
|---|---|
| A0 | A0 |
| A1 | A1 |
| A2 | A2 |
| A3 | A3 |
| A4 | A4 |
| A5 | A5 |
| D0 | D0 (SDA) |
| D1 | D1 (SCL) |
| D2 | D2 |
| D3 | D3 |
| D4 | D4 |
| D5 | D5 |
| D6 | D6 |
| D7 | D7 |
| C5[1] | D8 |
| TX | TX |
| RX | RX |
| B5[1] | D11 (MISO) |
| WKP[1] | D12 (MOSI) |
| DAC[1] | D13 (SCK) |
| RST | RST |
| VIN | VUSB |
| 3V3 | 3V3 |
Notes:
[1] These pins are connected via jumper pads on the top. You can cut these jumper traces and rewire them to a different pin on the Gen 3 device if the need arises.
[2] Pins C0 to C4 and B0 to B4 on the Particle legacy device headers are not connected to anything.
[3] Pins MD, Li+, and EN on the Particle Gen 3 device are not connected to anything.
I2C
I2C (Wire) can be used on D0 and D1. However, pins on the Gen 3 devices are not 5V tolerant, so make sure you do not have pull-ups to 5V.
SPI
It's not possible to use SPI with the classic adapter. The Gen 3 SPI pins (MISO, MOSI, SCK) are not connected to pins that support SPI on the Electron or Photon (B5, WKP, DAC). The Gen 3 SPI1 pins overlap the Electron/Photon SPI1 pins, however they're different!
| SPI1 | Classic | Gen 3 |
|---|---|---|
| SCK | D4 | D2 |
| MOSI | D2 | D3 |
| MISO | D3 | D4 |
Other features
The Gen 3 devices do not support DAC or CAN, so those classic devices using those features won't work with the classic adapter.
Debugger
The Particle Debugger is now on its own page.
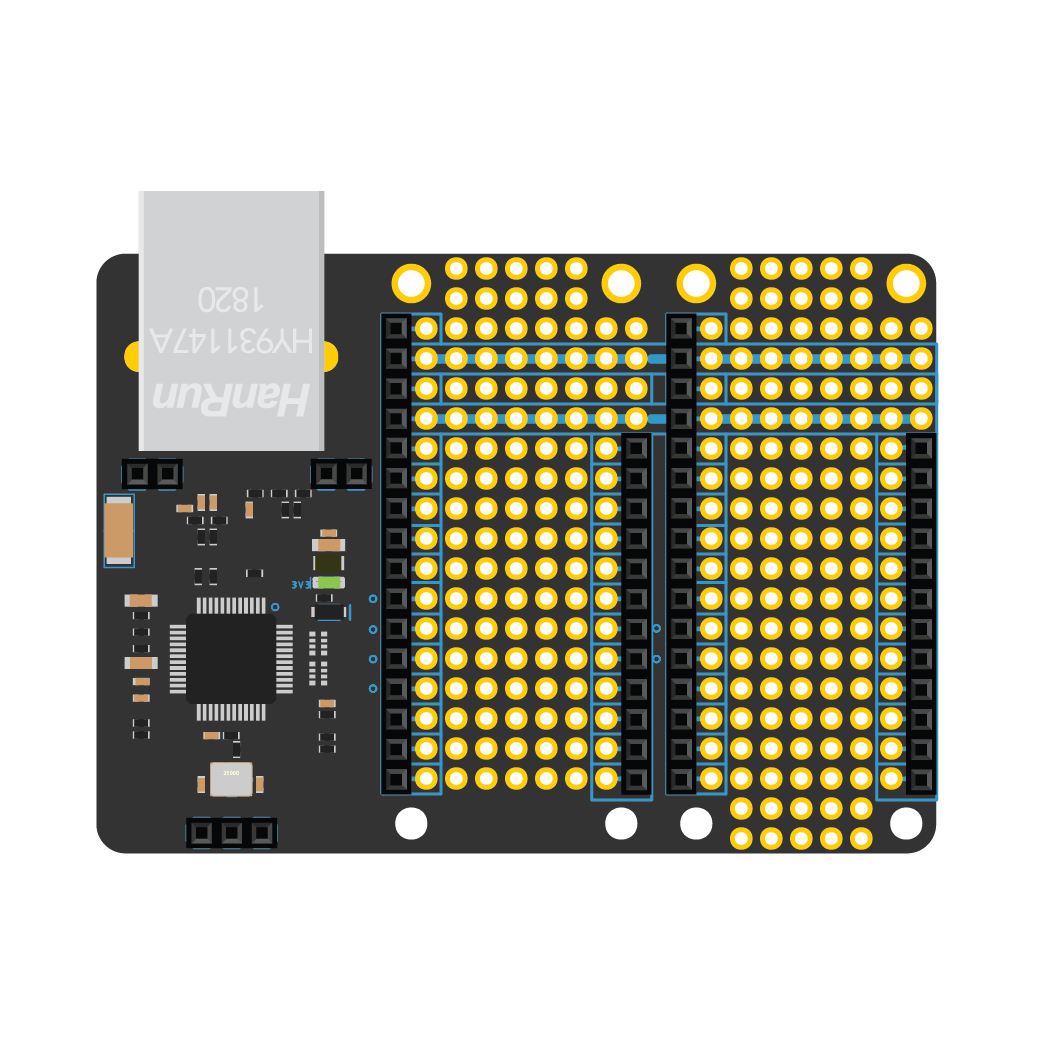
FeatherWing Tripler
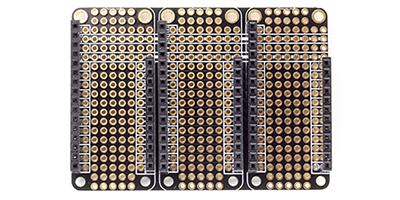
Perfect for any prototyping project, the Tripler provides space to add-on up to two FeatherWing accessories without any stacking header needs. Compatible Gen 3 Particle developer kits.
The Tripler has three breakouts for each pin on a Feather, as well as plain grid proto holes. In addition, three sets of pins are cross connected with a full strip of connected pads for GND and 3.3V.