Particle Xenon: Bluetooth + Mesh

The Xenon has been discontinued. See mesh deprecation for more information.
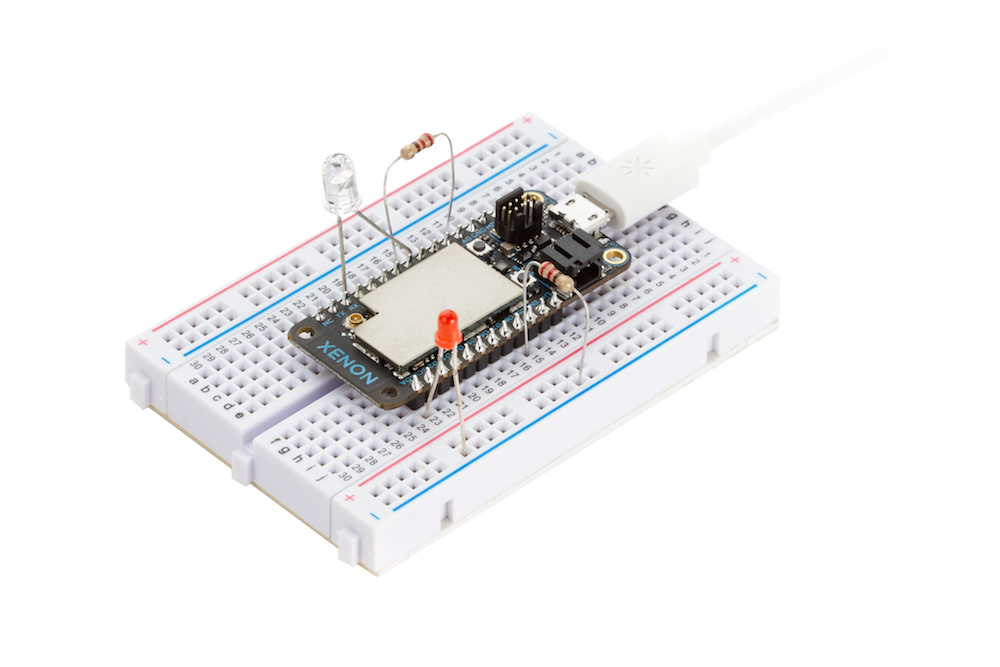
The Xenon is a low cost mesh-enabled development kit that can act as either an endpoint or repeater within a Particle Mesh network.
Equipped with the Nordic nRF52840, the Xenon has built-in battery charging circuitry which makes it easier to connect a Li-Po battery and 20 mixed signal GPIOs to interface with sensors, actuators, and other electronics.
The Xenon is best for connecting sensors, motors, pumps, valves, and points of data-interest. Pair it with an Argon or Boron gateway to get all that great data into the Device Cloud.
Hardware specifications:
Main processor:
Nordic Semiconductor nRF52840 SoC
- ARM Cortex-M4F 32-bit processor @ 64MHz
- 1MB flash, 256KB RAM
- Bluetooth 5: 2 Mbps, 1 Mbps, 500 Kbps, 125 Kbps
- 20 mixed signal GPIO (6 x Analog, 8 x PWM), UART, I2C, SPI
- Supports DSP instructions, HW accelerated Floating Point Unit (FPU) and encryption functions
- Up to +8 dBm TX power (down to -20 dBm in 4 dB steps)
- NFC-A radio
Xenon general specifications:
- On-board additional 4MB SPI flash
- Micro USB 2.0 full speed (12 Mbps)
- Integrated Li-Po charging and battery connector
- JTAG (SWD) Connector
- RGB status LED
- Reset and Mode buttons
- On-board 2.4GHz PCB antenna for Thread/BLE
- Meets the Feather specification in dimensions and pinout
- FCC (United States), CE (European Union), and ISED (Canada) certified
RoHS compliant (lead-free)
The Xenon kit comes with the following things:
- Xenon development kit
- Starter Project
- One micro-USB cable
- One mini breadboard
- Electronic components
- Two resistors (220 ohm)
- One light-emitting diode (LED)
- One phototransistor
1. Set up your Xenon
The Xenon is no longer supported by the mobile apps and if you choose to use the Xenon you will need to set it up using USB, and can only use Device OS up to 1.5.2. Later versions of Device OS do not support the Xenon.
2. Using the Web IDE
Now that your Xenon is connected to Device Cloud, you can write some code in the online Web IDE and send new code to your device to run.
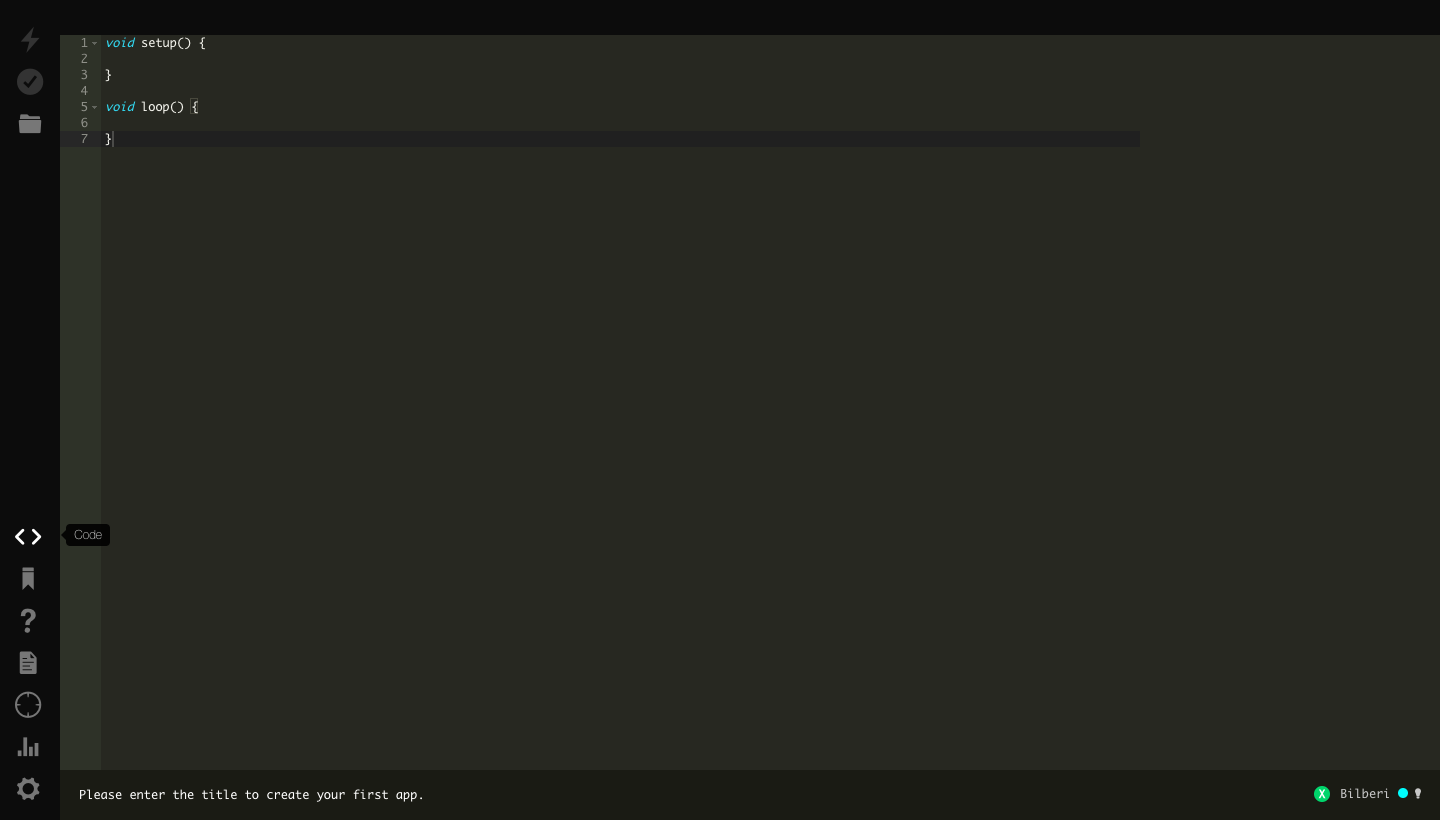
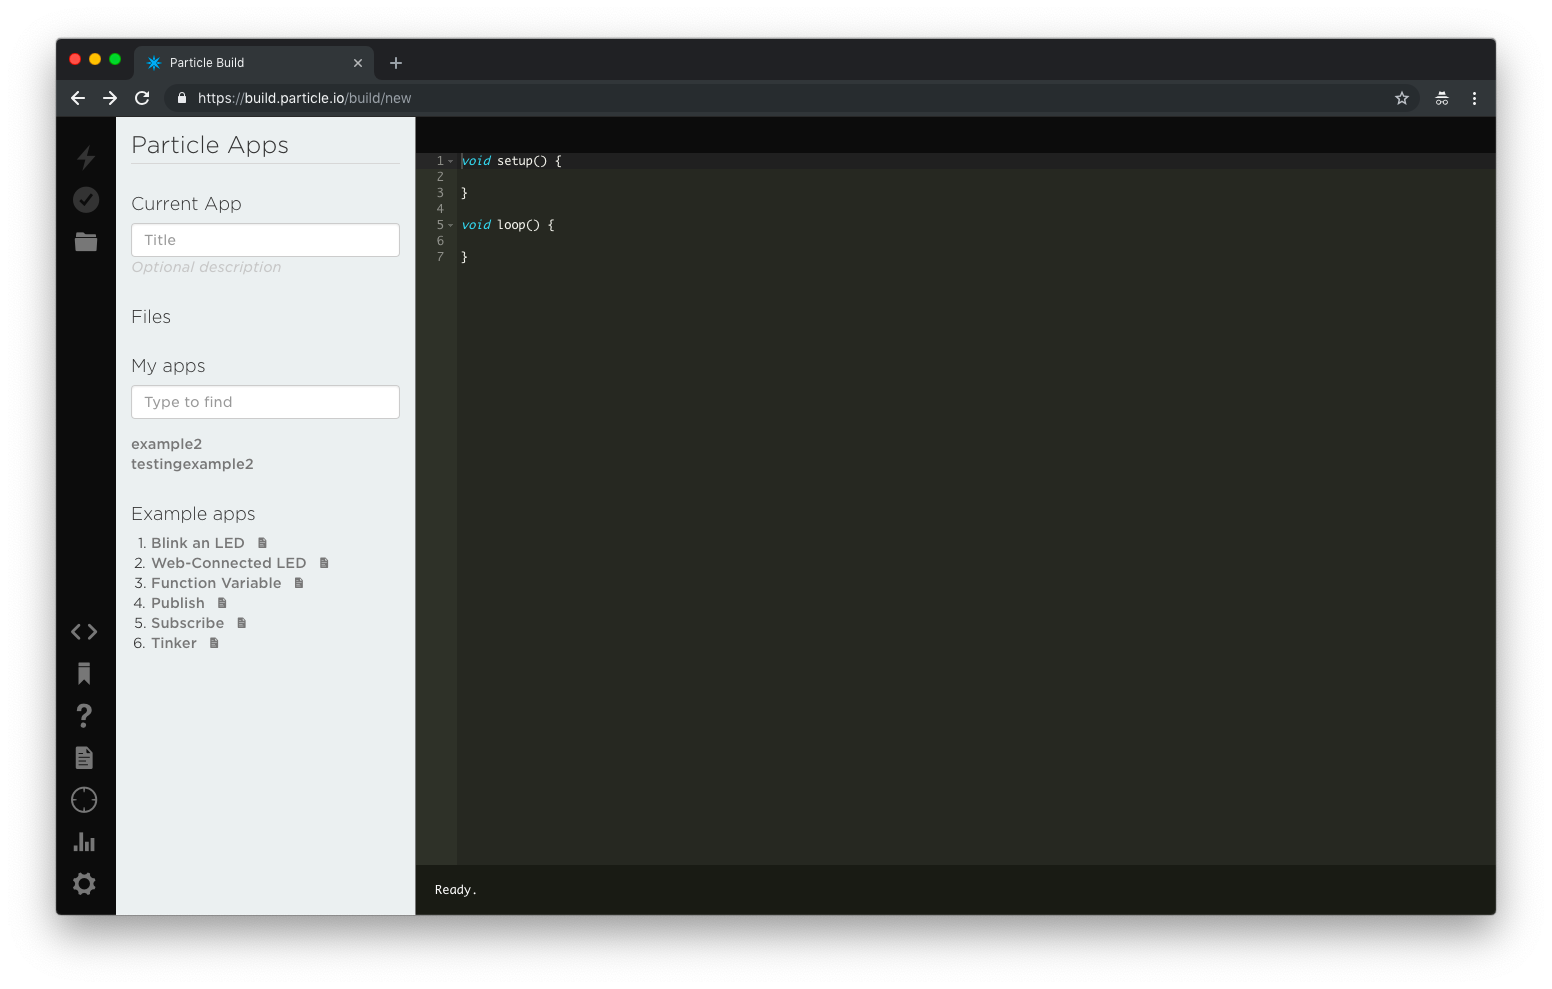
To program your Xenon, open a new browser tab and go to the Web IDE. You will see a layout like the image below.

NOTE:
The Web IDE is one of the ways you can write, compile, and deploy code to your Particle devices.
Be sure to select Device OS 1.5.2. Later versions cannot be used with the Xenon.
If you're looking for a more traditional embedded development experience, be sure to learn about Particle Workbench, a full toolchain integration with Microsoft Visual Studio Code.
3. Load the Blink example

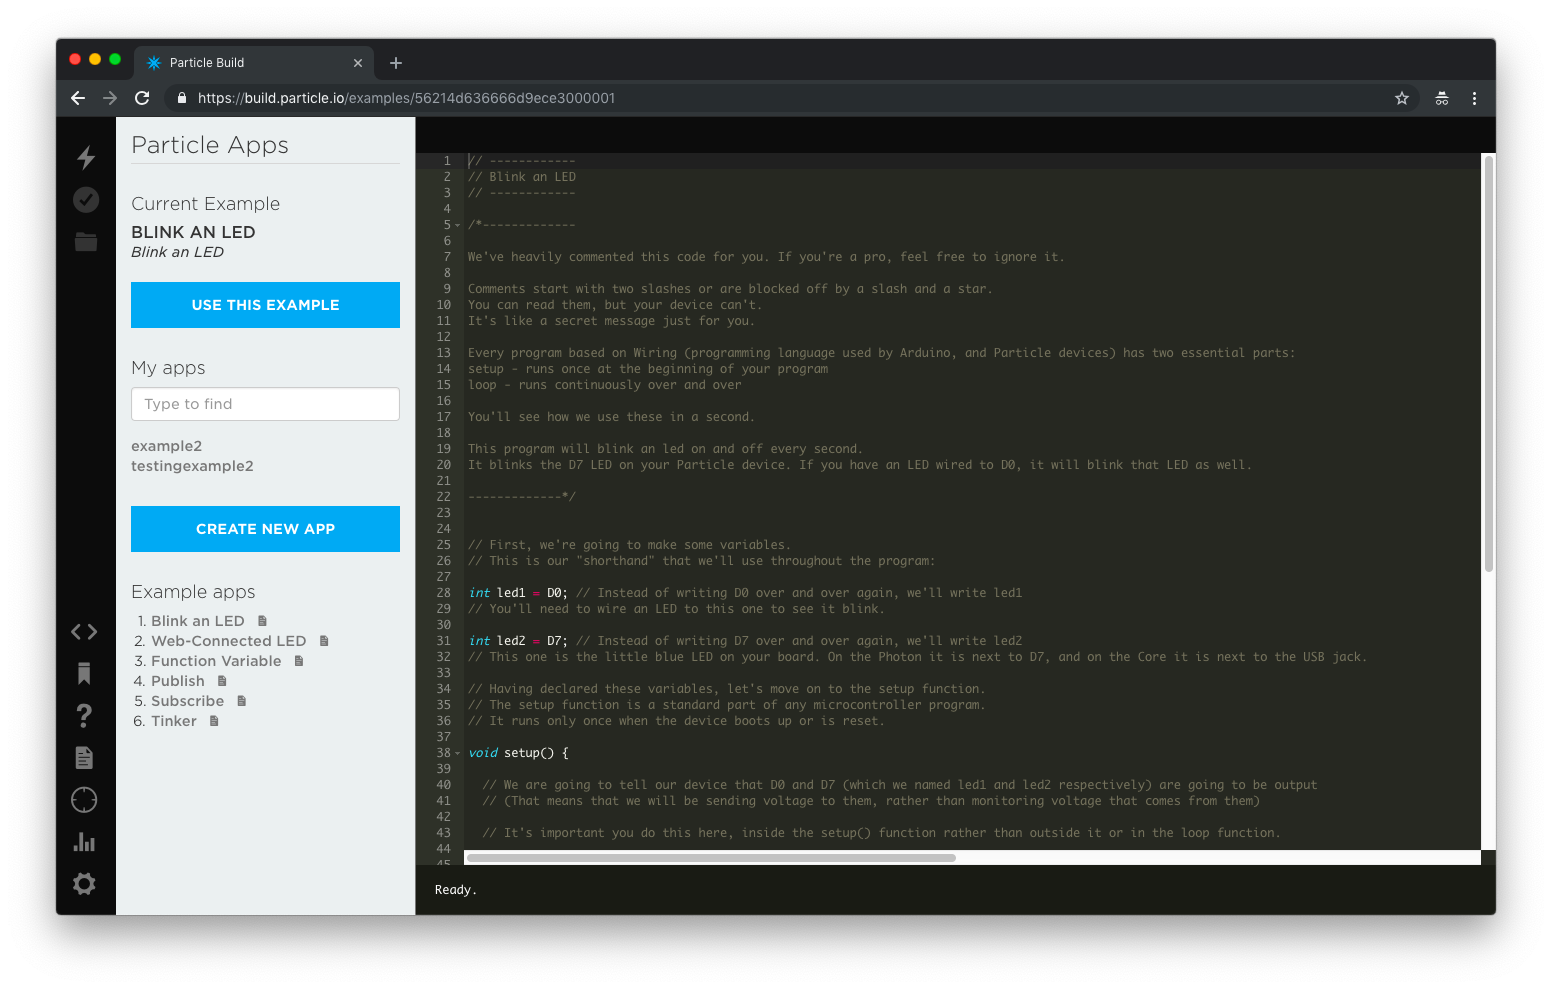
Click on Blink an LED on the left side of the page. As soon as you click the Blink and LED code will load and fill the screen as shown below.

The code is heavily commented to help you understand the general structure of the sketch: the first part of the code declares two variables, the setup() function configures two pins as outputs, and finally the loop() which turns the onboard LED on, then off, then loops continuously.
4. Target your device
The Web IDE can be used with multiple devices. As such, when you go to compile source code, it's a good idea to verify that the device you are intending to program has a gold star to the left of its name in the Devices tab (circle with 4 lines).
5. Compile your code & flash
Click the lightning bolt icon on the top left of your screen to flash your code to your device.
As soon as you click, the Particle Device cloud will compile the program source code to a binary file and send it over-the-air (OTA) to your Argon.
For more hardware examples to try, visit the hardware examples.
