

 Go to console

 Change theme


 Edit Account
 Logout
Physical button
This section creates new firmware that sends a Particle event when you press a physical button (momentary switch).
You can skip over this section if you wish, because the topics that are discussed in this section that are unrelated to the switch hardware will be repeated again later.
Firmware
As in the previous section, you can either:
- Particle: Create New Project, create PhysicalButton, and paste the contents of the PhysicalButton.cpp file into your file.
- Download the zip file, extract, then Particle: Import Project.
As in the previous section, also do:
- Particle: Configure project for device
- Particle: Flash application (local)
Connecting the switch
This section uses a physical momentary switch instead of the MODE button, which is probably more like what you'd do in a real project.
In most cases, you connect a pin, D2 in this case, to GND using the momentary switch.
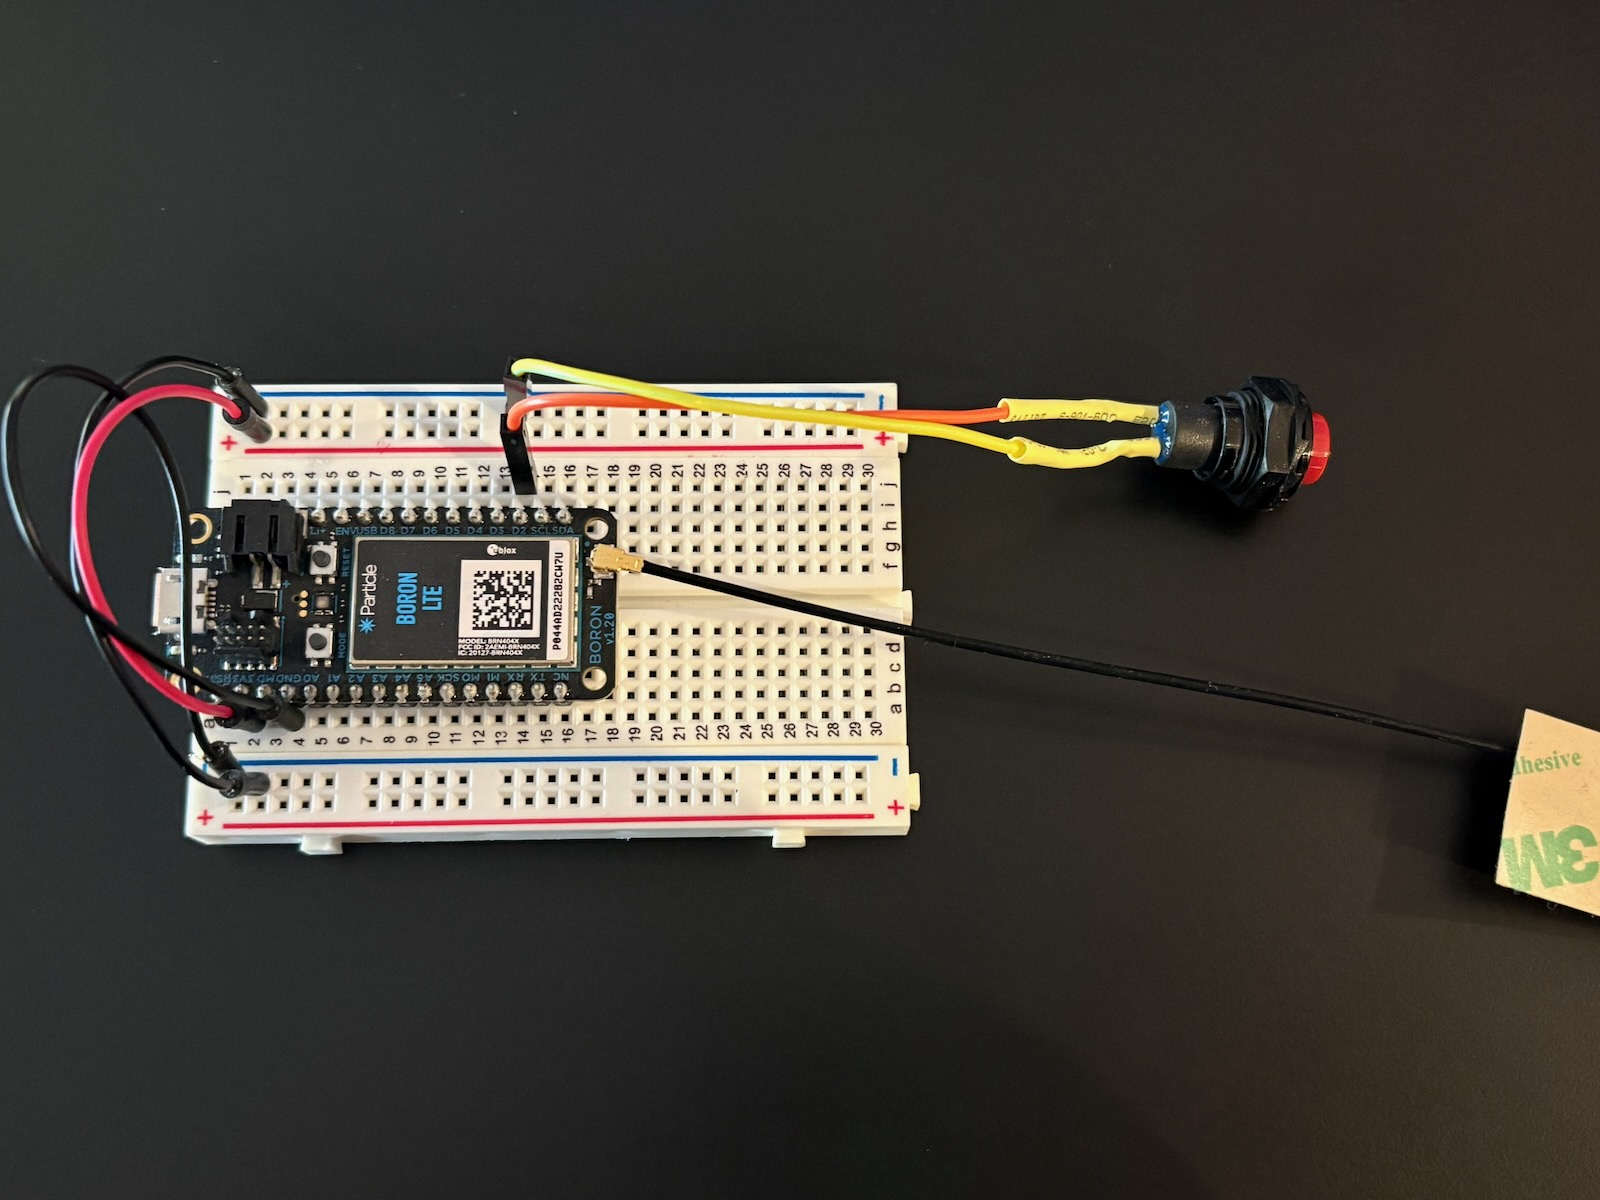
Of course there are many kinds of switches, like toggle switches, and specialty sensors like door open sensors, but the basic techniques for sending to the cloud are similar.
Using a library
This code uses a firmware library to implement debouncing of the switch. When a switch opens or closes, sometimes the contacts toggle between open and closed a few times faster than you can see with the naked eye. The processor can see this, however, and it may interpret it incorrectly.
Use Particle: Install library to install the DebounceSwitchRK library.

You can find libraries using Library search. There are a large number of community libraries available. These were written or ported by community members and may vary in quality and support, however they will typically be a good starting point. Many of the popular libraries are high-quality and suitable even for use in commercial projects.
After installing the library you can navigate into the lib directory, then into the library itself. Most libraries include a README file that explains how to use the library. Most will also have examples in the examples directory in the library source.
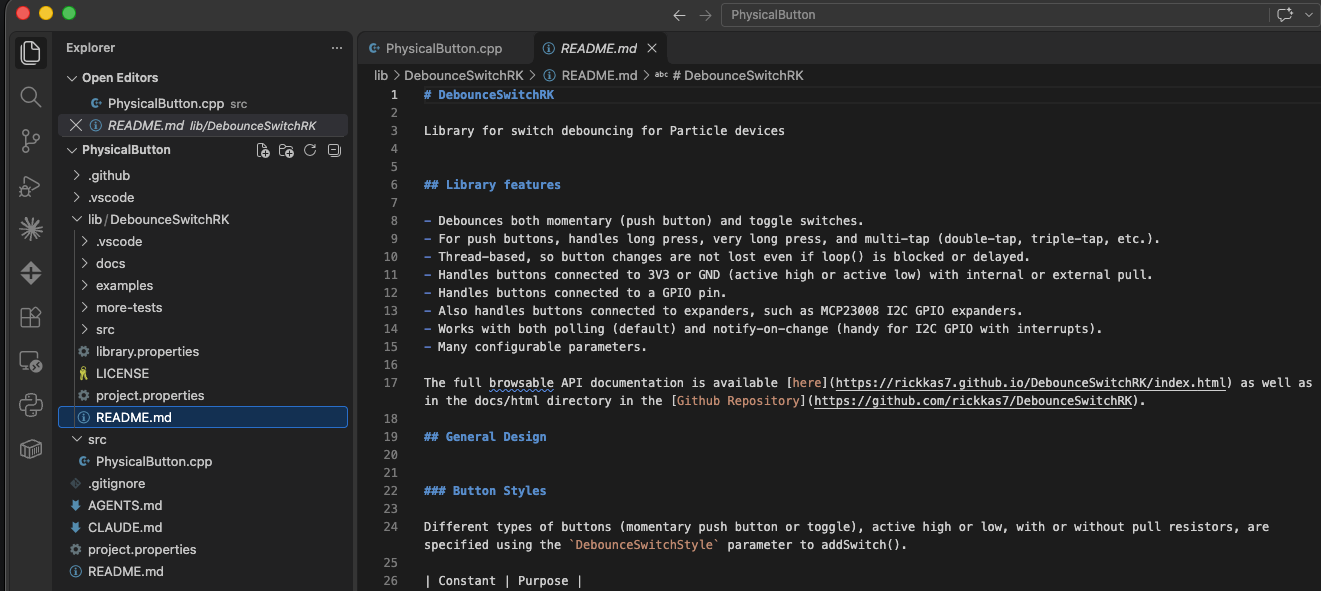
You can find more information about libraries in firmware libraries.
Explaining the code
When using a library, you typically #include the library. The include filename is usually the same as the library name.
Note that on Linux and also cloud compiles (which run on Linux) filenames including header file names are case-sensitive.
#include "DebounceSwitchRK.h"
This defines the pin the button is connected to.
const pin_t buttonPin = D2;
This is the function that gets called when the button is pressed. It's similar to the button handler in the previous section and sets the sendEvent flag when the button is tapped. The library supports tap, double-tap, triple-tap, long press, very long press, and other functions.
void switchCallback(DebounceSwitchState *switchState, void *context) {
    // This function is called from a worker thread with a small (1K) stack.
    // You should avoid any large, lengthy operations here.
    Log.info("pin=%d state=%s", switchState->getPin(), switchState->getPressStateName());
    if (switchState->getPressState() == DebouncePressState::TAP) {
        sendEvent = true;
    }
}
Finally, the code sets up the switch, which is specific to this library. When using a momentary switch connected to GND, the PRESS_LOW_PULLUP configuration is used.
void setup()
{
    DebounceSwitch::getInstance()->setup();

    DebounceSwitch::getInstance()->addSwitch(buttonPin, DebounceSwitchStyle::PRESS_LOW_PULLUP, switchCallback);
}
Examining the events
In the USB serial debug log:
0000015142 [app] INFO: pin=2 state=PRESS_START
0000015327 [app] INFO: pin=2 state=SHORT
0000015327 [app] INFO: pin=2 state=RELEASED
0000015828 [app] INFO: pin=2 state=TAP
0000015830 [comm.coap] TRACE: Sending CoAP message
0000015830 [comm.coap] TRACE: CON POST /E/cloudButtonTest size=23 token= id=12
0000015832 [app] INFO: published event cloudButtonTest, result=1
In the console:

Next steps
Once the event goes to the cloud you can use integrations (webhooks) to do the same things as the previous section.
- Control things in the real world using Zapier or IFTTT.
- Send push notifications to a mobile device using Pushover.
- Send a message via Slack.
- Integrate with a home automation system.
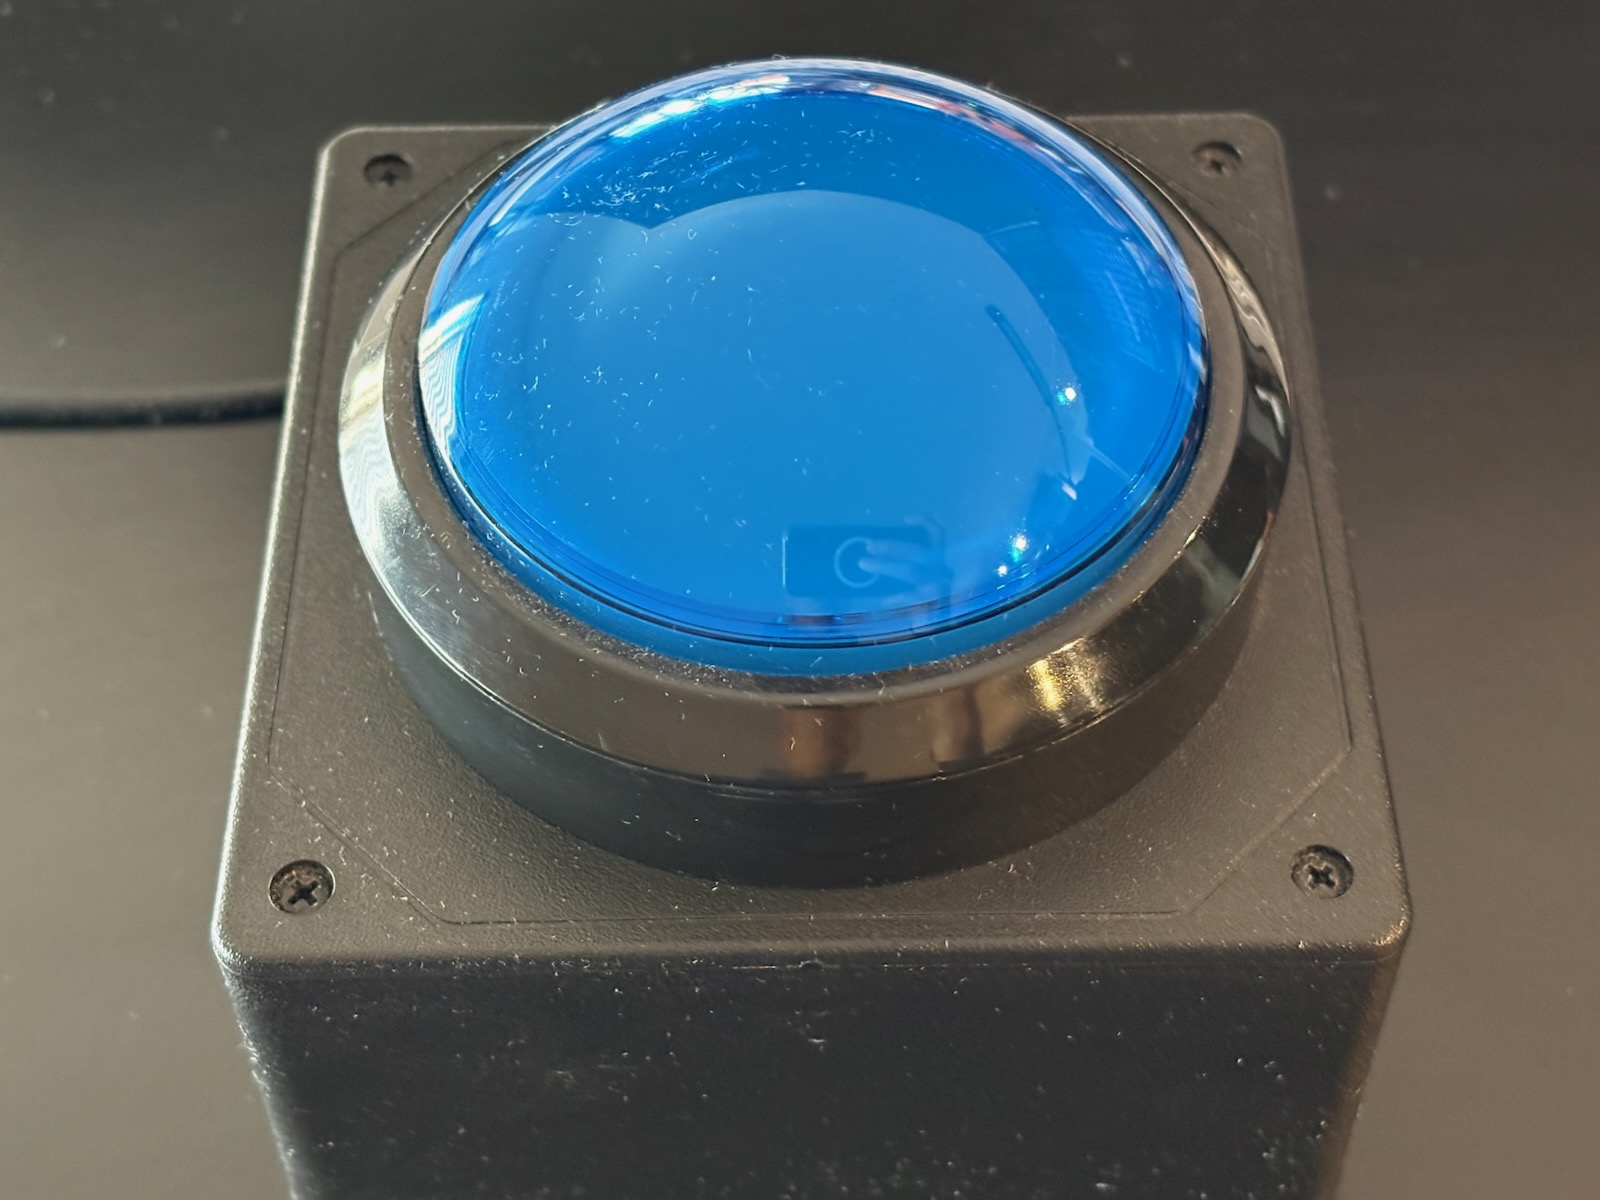
You don't have to use a small button like the one above, you could implement a project with a giant button! This one is about 3 inches in diameter.