
Quick start: Workbench
Installation
Particle Workbench is an integrated development and debugging environment for Windows, Linux, and Mac, based on Visual Studio Code (VSCode).
VSCode installation
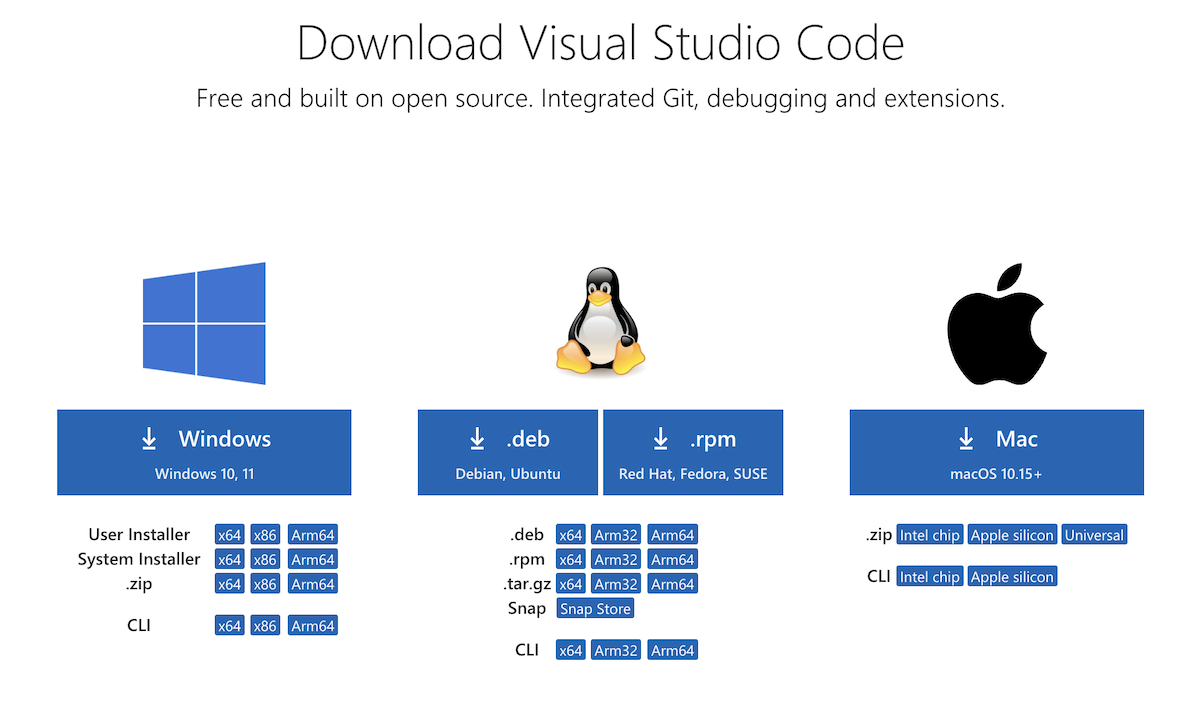
Go to the VisualStudio Code download page and download the appropriate installer.
- We recommend using the standard build. While the Insiders build will generally work, there can be incompatibilities at at times.
- The online vscode.dev is not supported for Particle development at this time.
- If you already have VSCode installed, you can skip to Workbench extension installation, below, to install the Particle Workbench extension on your existing installation.
Windows - VSCode installation
- The User Installer is generally the recommended version. For most Windows computers, the x64 version is appropriate.
- The System Installer can be used, but the Particle Workbench extension can only be installed per-user. Installing VSCode in the system and having each user install the Particle Workbench extension is supported, however.
- The VSCode CLI is not generally required; it's used to manage VSCode extensions and is not necessary to use the Particle CLI to work with your devices.
- To install on older versions of Windows, you will need to use an older version of VSCode:
- Windows 7: Version 1.70.3 (July 2022)
- Windows 8 and 8.1: Version 1.71 (August 2022)
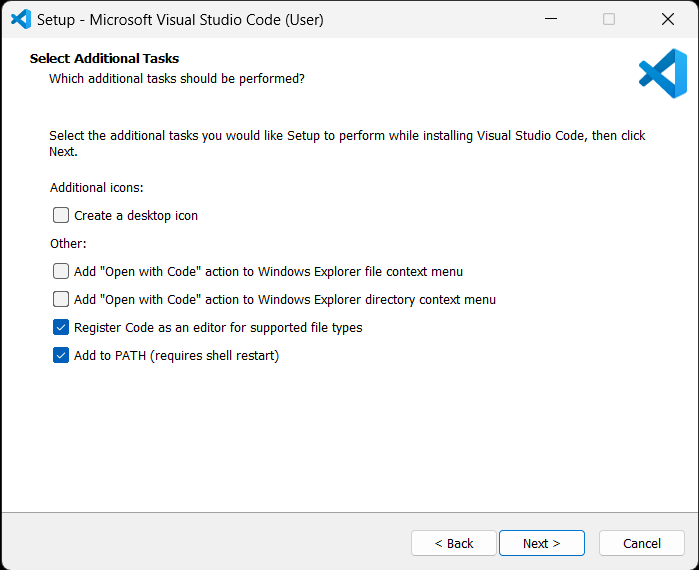
- Run the installer and follow the instructions
- In the Select Additional Tasks page select the values as desired; there are no specific settings changes required for Particle Workbench.
NOTE: due to limitations with the local compiler's build system, usernames (or paths) with spaces will be converted to short paths like C:\Users\EXAMPL~1
Linux - VSCode installation
- Download and run the appropriate installer script for your version of Linux. Generally:
- Ubutu and Debian: .deb
- Red Hat: .rpm
- The VSCode CLI is not generally required; it's used to manage VSCode extensions and is not necessary to use the Particle CLI to work with your devices.
NOTE: due to limitations with the local compiler's build system, paths with spaces cannot be supported at on Linux this time
Mac - VSCode installation
- Download the appropriate Mac zip file (Intel chip, Apple Silicon, or Universal).
- Open the
VSCode-darwin.zipfile in your Downloads folder to extract it. - The
Visual Studio Codeapplication can be dragged into your Applications folder. - The VSCode CLI is not generally required; it's used to manage VSCode extensions and is not necessary to use the Particle CLI to work with your devices.
NOTE: due to limitations with the local compiler's build system, paths with spaces cannot be supported at on Mac this time
Workbench extension installation
Once you have VS Code installed, you can add in the Particle workbench extension.
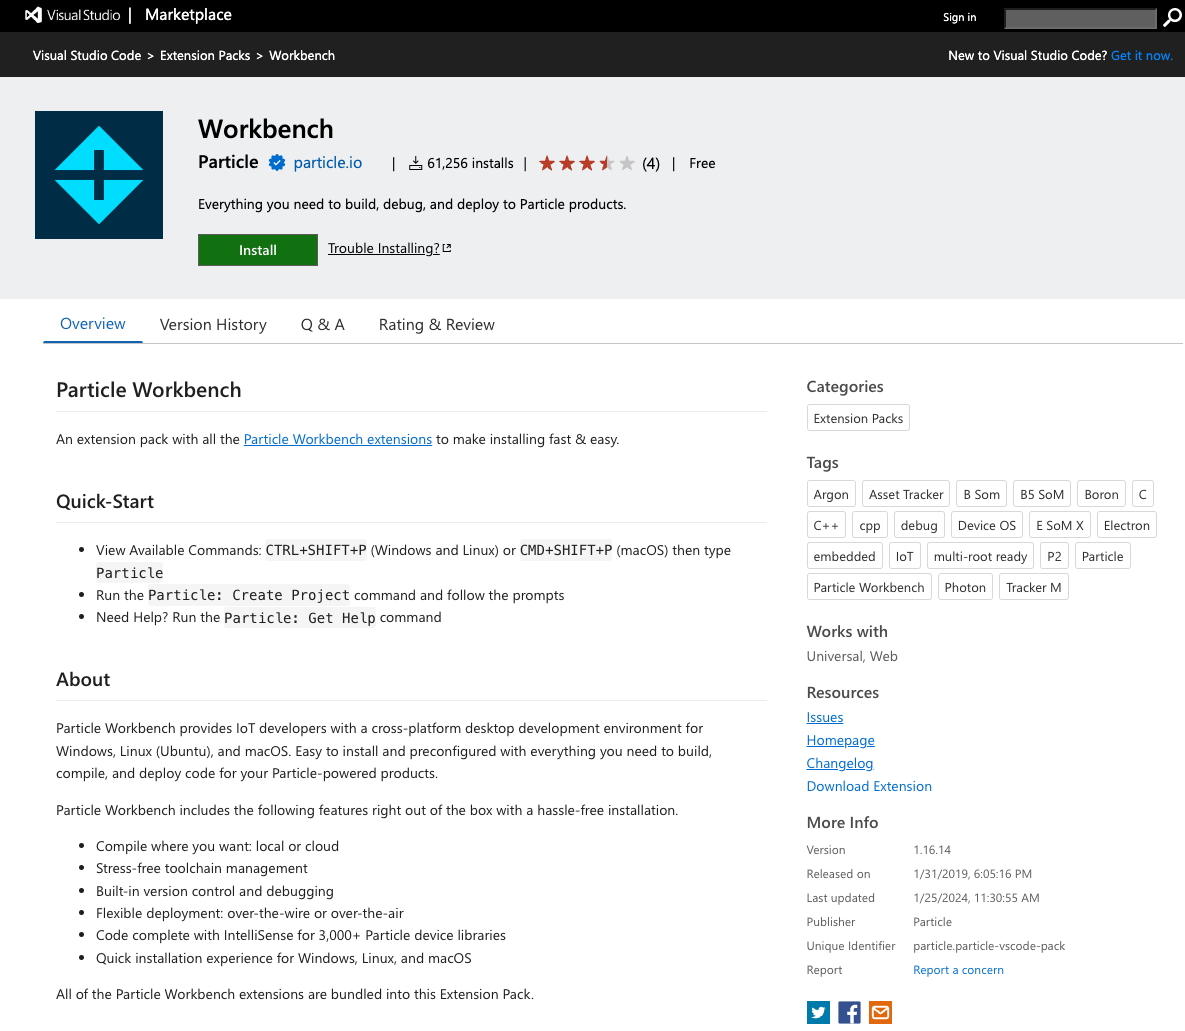
Open the VisualStudio Marketplace in your web browser.
Click the green Install button and allow it to be opened in Visual Studio Code.
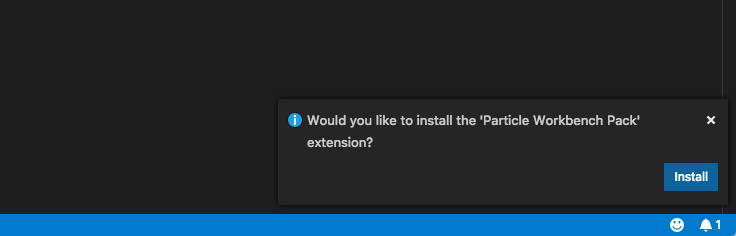
Within Visual Studio code, click the green Install button to confirm the installation.
Note that there will be a small confirmation window that pops up in the lower right corner of the window. Make sure you confirm the installation there.
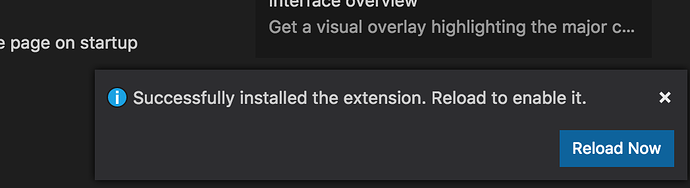
The core installation will take a few minutes. There's an indicator at the top of the extensions panel that shows the install is still in progress. When complete, you'll be prompted to reload. Click the Reload Now button.
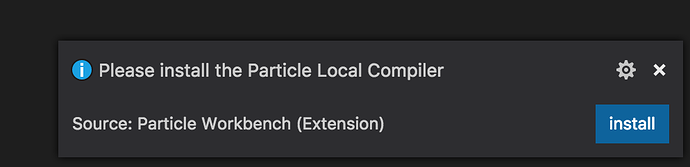
After reload, some more components will be installed and you will be prompted to install the Particle Local Compiler. This is recommended.
Create a project
To create your first project, you'll start with the Command Palette.
The Command Palette provides access to many commands such as open files, search for symbols, and see a quick outline of a file, all using the same interactive window. It can be invoked via cmd+shift+p on Mac OS or ctrl+shift+p on Linux and Windows.
In the Command Palette select Particle: Create New Project. The matching is very flexible - you don't have to type that whole thing in or scroll through the list. You could just type project and that would typically be the first match.
A small popup window will appear in the lower right corner of the window. It's easy to miss if you're not expecting it. Use the Open button to select the parent directory.
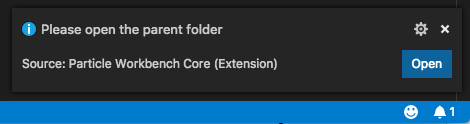
For example, if you had a directory named "Projects" in your "Documents" directory where you kept your Workbench projects, you'd select Projects.
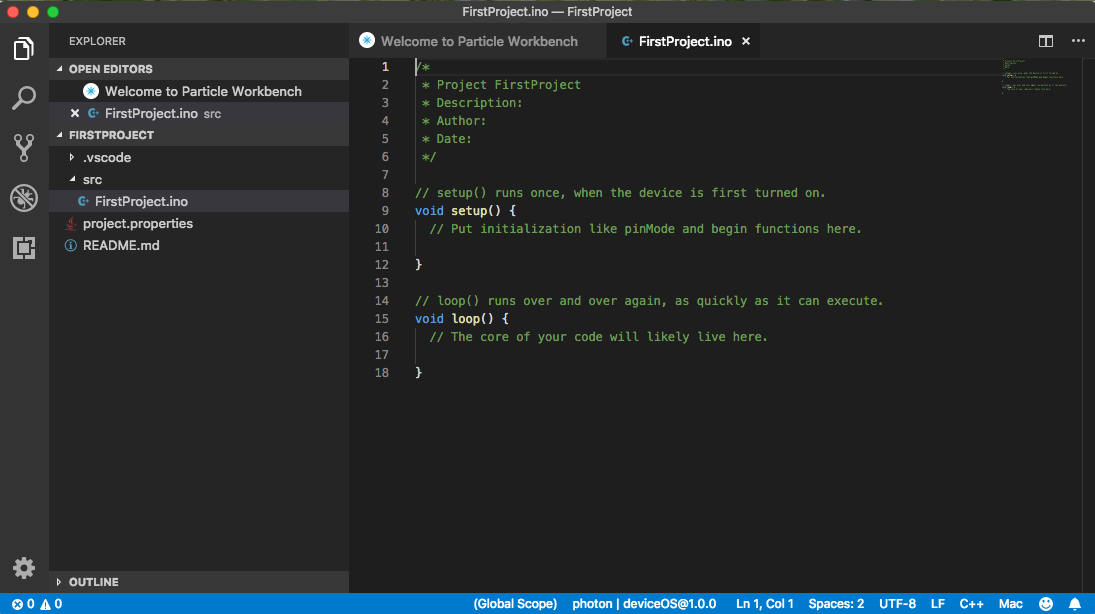
Then you'll be prompted for the name of your project. This will create a new directory within the directory you just selected. Your project files will be in that directory.

Your first project workspace should look something like this:
Compile a project
Before you can build in the cloud (the way Particle Web IDE and Particle CLI normally build), you need to select the device you wish to build for.
From the Command Palette select Particle: Configure Project for Device.

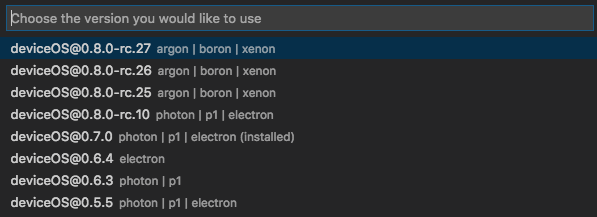
Then the device OS version you'd like to build for:
Then the type of device to you'd like to build for:

And finally the name or device ID of the device you want to flash to. You can leave this blank if you're going to flash by USB, or just want to test building.

To compile your program and download the binary, open the Command Palette and select Particle: Cloud Compile. To compile your program in the cloud and flash it to the selected device over-the-air, select Particle: Cloud Flash.

Migrate from the Web IDE
For larger projects, development teams, and products, we recommend Particle Workbench instead of the Web IDE. If you are currently using the Web IDE and want to migrate to using Workbench, you can use the Web IDE Export Tool to export your projects for use with Workbench.
Learn more
You can learn more about Workbench features in the Particle Workbench Tutorial.