
The Particle Web IDE makes it easy to write code, compile, and flash devices over-the-air (OTA) right from a web browser!
We recommend Particle Workbench instead of the Web IDE. If you are currently using the Web IDE and want to migrate to using Workbench, you can use the Web IDE Export Tool to export your projects for use with Workbench.
If you are interested in using Particle Workbench with the Tracker One or Tracker SoM, you must use Particle Workbench as it's not possible to use the Web IDE. See Tracker Edge Firmware for additional information.
Flash Apps with the Particle Web IDE
Logging In
When you're ready to reprogram your device, head over to our IDE:
Creating an account is a simple one-step process. When presented with the login screen, click the "create account" text and fill out the form including your email address (careful!) and desired account password. That's it!
If you haven't logged into the Particle Web IDE before, click the "create account" text beneath the Log In button, and you'll be presented with a signup for existing users.
Web IDE
The Particle Web IDE is an Integrated Development Environment, or IDE; that means that you can do software development in an easy-to-use application, which just so happens to run in your web browser.
The Particle Web IDE starts with the navigation bar on the left. On the top, there are three buttons, which serve important functions:
- Flash: Flashes the current code to the device. This initiates an over-the-air firmware update and loads the new software onto your device. Note: Flashing OTA for the cellular devices uses data and should consider using flash over USB instead.
- Verify: This compiles your code without actually flashing it to the device; if there are any errors in your code, they will be shown in the debug console on the bottom of the screen.
- Save: Saves any changes you've made to your code.
At the bottom, there are four more buttons to navigate through the IDE:
- Code: Shows a list of your firmware applications and lets you select which one to edit/flash.
- Library: Explore libraries submitted by other users, and develop your own.
- Docs: Brings you to the documentation for Particle.
- Devices: Shows a list of your devices, so you can choose which to flash, and get more information on each device.
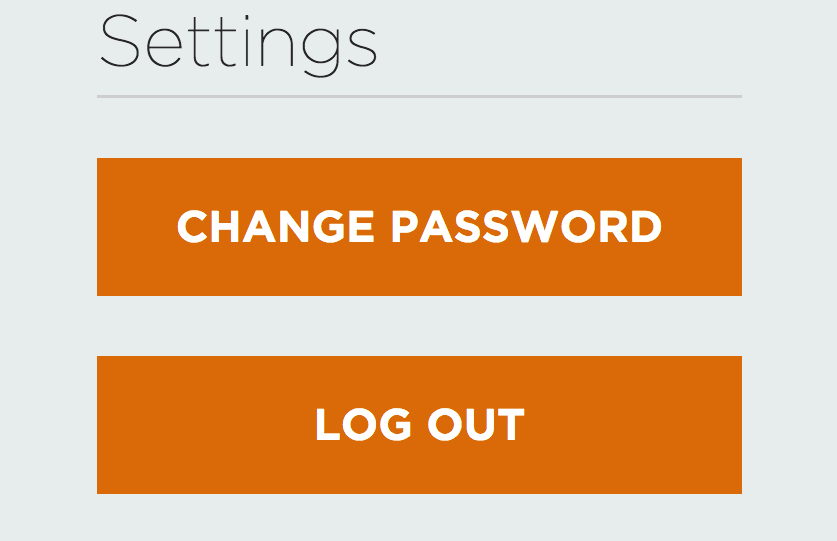
- Settings: Change your password or log out.
Keyboard Shortcuts
Here are the most useful keyboard shortcuts for the Web IDE.
| Windows/Linux | Mac | Action |
|---|---|---|
| Ctrl-F | Command-F | Find |
| Ctrl-K | Command-G | Find next |
| Ctrl-L | Command-L | Go to line |
| Ctrl-Z | Command-Z | Undo |
| Ctrl-Shift-Z | Command-Shift-Z | Redo |
| Ctrl-/ | Command-/ | Comment/uncomment selected lines |
Want to know all the keyboard shortcuts? This cheatsheet will help.
Particle Apps and Libraries
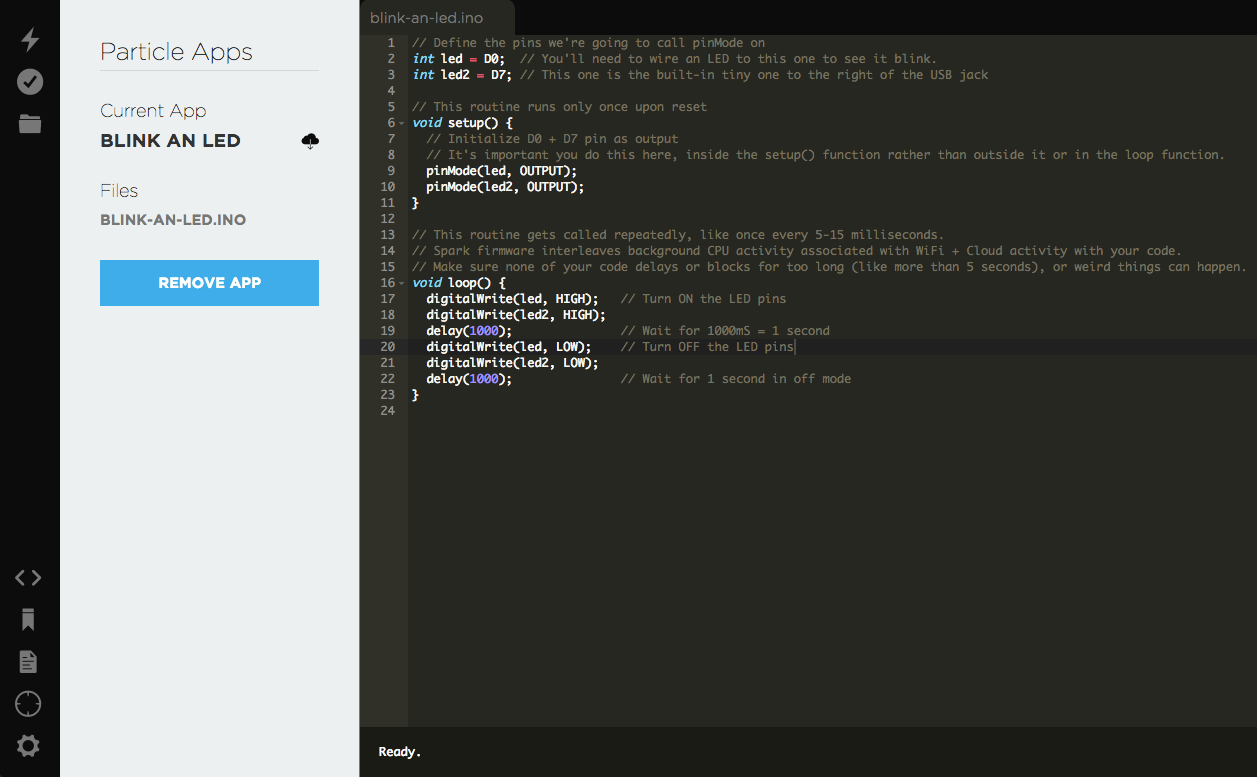
The heart of the Particle Web IDE is the "Particle Apps" section, which displays the name of the current app in your editor, as well as a list of your other applications and community-supported example apps.
The application you've got open in the editor is displayed under the "Current App" header. You'll notice that this empty application has only one file, but firmware with associated libraries/multiple files are fully supported.
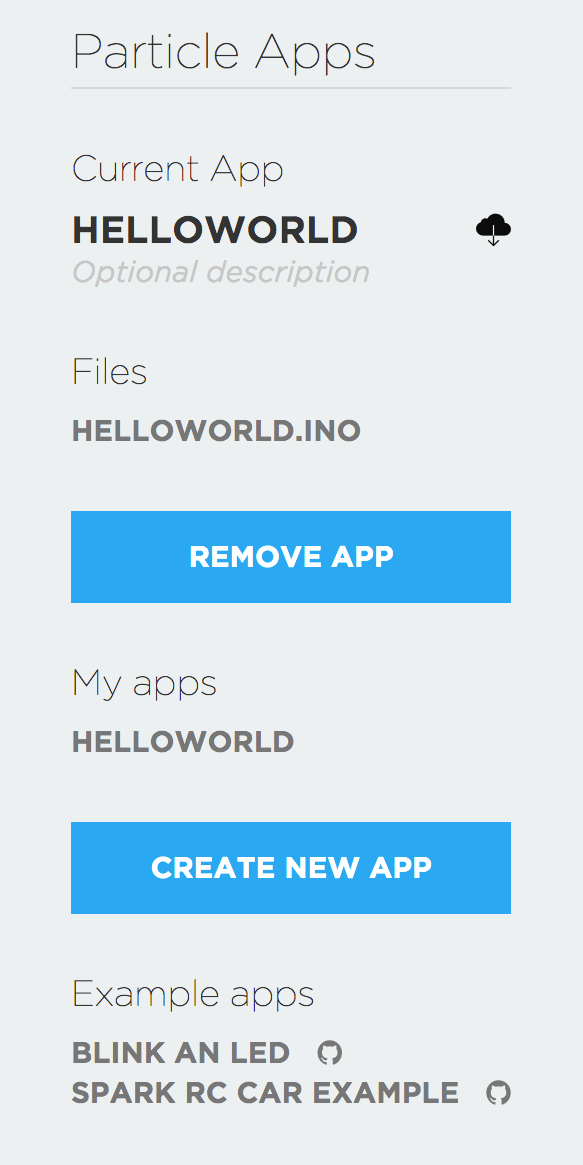
From this pane, you've got a lot of buttons and actions available to you that can help you grow and manage your library of applications:
Create: You can create a new application by clicking the "Create New App" button. Give it a descriptive name and press enter! Your app is now saved to your account and ready for editing.
Delete: Click the "Remove App" button to remove it forever from your Particle library.
Rename: You can rename your Particle App by simply double-clicking on the title of your app under the "Current App" header. You can modify the "Optional description" field in the same way.
My Apps: Tired of working on your current project? Select the name of another app under the "My apps" header to open it in a tab of the Particle Web IDE editor.
Files: This header lists all known files associated with the open application. Click on a supporting file in your application to open it as an active tab in the editor.
Examples: The "Example apps" header lists a continuously growing number of community-supported example apps. Use these apps as references for developing your own, or fork them outright to extend their functionality.
Flashing Your First App
The best way to get started with the IDE is to start writing code:
- Get Code: Try clicking on the "Blink an LED" example under the "Example apps" header. The Particle Web IDE editor should display the code for the example application in an active tab. Alternatively, you can copy and paste this snippet of code into a new application in the Web IDE.
NOTE: Each over over-the-air firmware update on cellular devices counts towards your data allowance. You can also flash the devices locally using our CLI over USB.
//D7 LED Flash Example
int LED = D7;

void setup() {
    pinMode(LED, OUTPUT);
}

void loop() {
    digitalWrite(LED, HIGH);
    delay(1000);
    digitalWrite(LED, LOW);
    delay(1000);
}
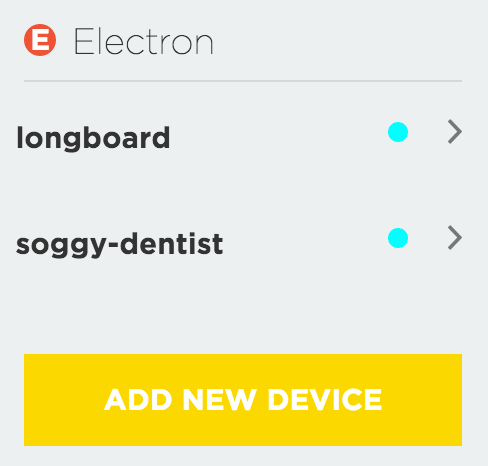
- Select Your Device: If you have more than one device you have to make sure that you've selected which of your devices to flash code to. Click on the "Devices" icon at the bottom left side of the navigation pane, then when you hover over device name the star will appear on the left. Click on it to set the device you'd like to update (it won't be visible if you have only one device). Once you've selected a device, the star associated with it will turn yellow. (If you only have one device, there is no need to select it, you can continue on to the next step).
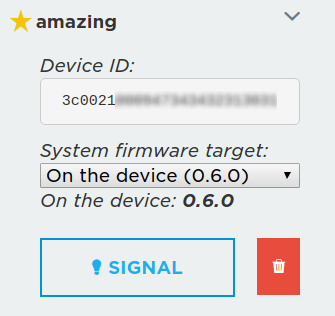
- Device details: To identify a device in the "Devices" list, click the chevron then click Signal to make the device LED shout rainbows. Click Signal again to stop. You can also use the firmware selector to opt-in to the latest cutting edge features!
NOTE: Devices are grouped by their platform. You can see the platform icon (circle with an letter) on the left of its name.
- Status bar: You can see more information about your currently selected device in the bottom right corner of the Web IDE. It contains the following: Last Event Name, Last Event Data, Device Type, Device Name, Device Status, Device Version. Clicking on the lightbulb will signal the device.

- Flash: Click the "Flash" button, and your code will be sent wirelessly to your device. If the flash was successful, the LED on your device will begin flashing magenta.
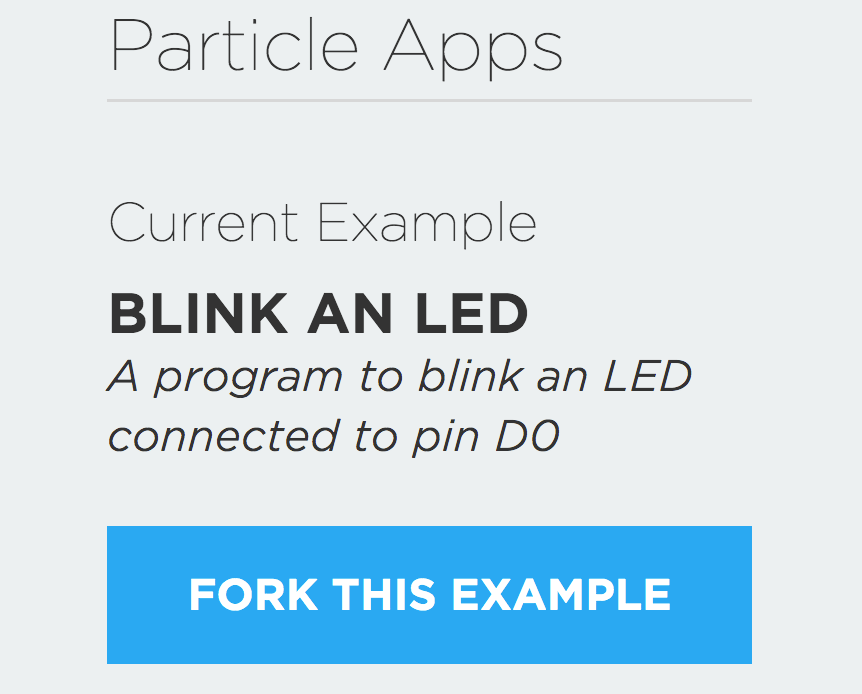
Fork: Wish the timing of that LED flash was a little bit faster? Try clicking on the "Fork This Example" button after selecting the "Blink An LED" example application. You've now got a personal copy of that application that you can modify, save, and flash to all of your devices.
Edit: Try changing the values in the delay() function from 1000 to 250, which changes the timing interval from 1000 milliseconds to only 250 milliseconds. Click the Verify button, then the Flash button. Is your device's LED blinking faster? Well done :)
Adding files to your app
As your code base grows, you will naturally create libraries to better manage your firmware development. To add a file to your app, simply hit the "+" button located at the top right hand corner.
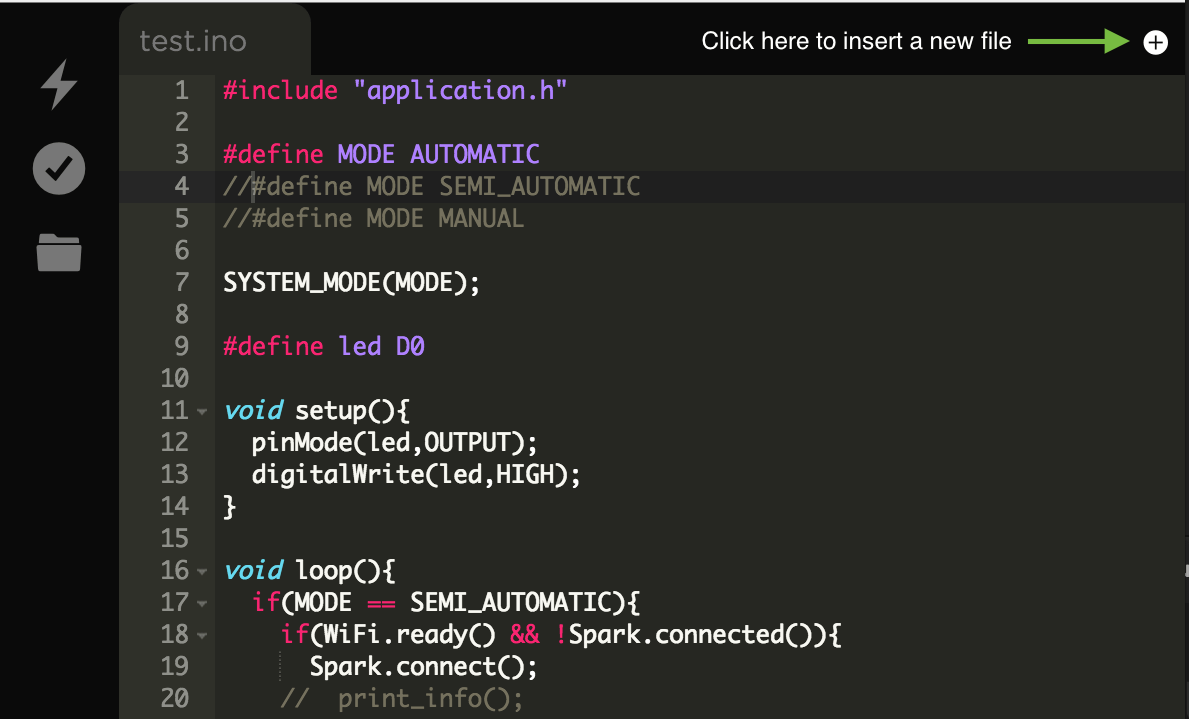
This will create two new tabs, one with .h and one with .cpp extension. You can read more about why we need both in this C++ tutorial.
Sharing your app
When you want to share the app you created with someone, you can create a "snapshot" of it by clicking Share this revision: button.
Once you make the revision public anyone with the link can see a read-only version of your app.
Note: you can't revert a revision to being private. Be careful about what you're making public.
Any changes you make to the app after this won't be reflected under this link. To share newer version of your app, you need to generate a new link for the latest revision.
When viewing a shared app you can either flash it to any of your devices or copy it to your apps so you can modify it:
Account Information
There are a couple of other neat bells and whistles in the Particle Web IDE. The Particle Web IDE the best tool for viewing important information about your device, managing devices associated with your Particle account, and "unclaiming" them so they can be transferred to your friend.
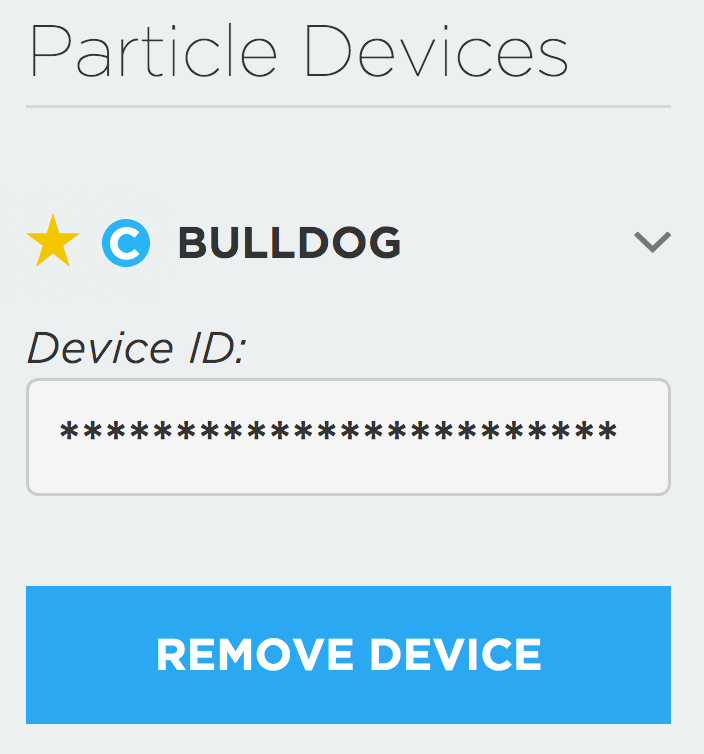
Device ID: You can view your device's ID by clicking on the "Device" icon at the bottom of the navigation pane, then clicking the dropdown arrow next to the device of interest.
Unclaim: You can "Unclaim" a device by pressing the "Remove Device" button that is revealed by clicking the dropdown arrow. Once a device has been unclaimed, it is available to be associated with any Particle users' account.
Unclaiming a cellular device removes it from your account, but does not stop billing. As the claiming status and SIM are separate, you must also pause or release ownership of your SIM from the console to stop billing.
Using Libraries
Firmware libraries are an important part of how you connect your Photon or Electron to sensors and actuators. They make it easy to reuse code across multiple Particle projects, or to leverage code written by other people in the Particle community. As an example, firmware libraries make it easy to get data out of your DS18B20 temperature sensor without writing any of the code yourself.
Particle libraries are hosted on GitHub, and can be easily accessed through through all of Particle's development tools including the Web IDE.
To include a firmware library in your Particle project, open the library drawer, search for the corresponding library for your sensor or actuator, and click the Include in Project button. Including a library in your project will add the library dependency to the project.properties file that will be compiled with your project when it is verified or flashed to your target device.
Read on for detailed instructions to include a firmware library in your Particle application with the Web IDE.
We have a detailed reference guide about libraries but for now here's a step by step guide on how to include a library in the Web IDE.
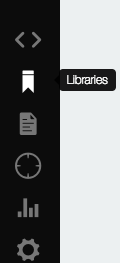
Step 1 - Go to the Libraries tab
Click on the libraries bookmark icon on the left hand side of the Web IDE interface.
Step 2 - Find the library you need
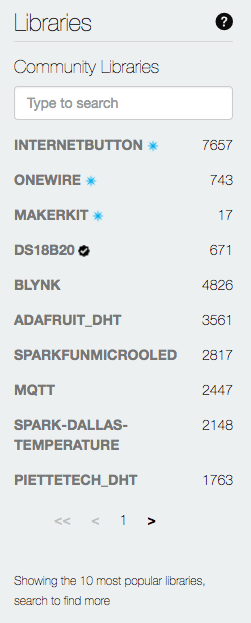
Once you open the libraries tab, you'll be presented with a list of libraries. Libraries with the Particle logo next to them are Official libraries created by the Particle team for Particle hardware. Libraries that have a check mark next to them are Verified libraries. Verified libraries are popular community libraries that have been validated by the Particle team to ensure that they work and are well documented. Click here To learn more about the different kinds of Particle libraries.
To find the right library for your project, you can either search for it directly or browse through popular firmware libraries using the browsing arrows at the bottom of the library list.
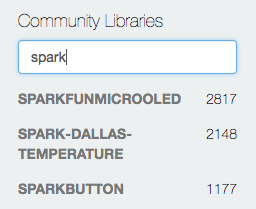
Search. To search for a library, begin typing in the search bar. Search results are ranked by match with the search term with a preference for official and verified libraries.
For additional search and browsing options, you can also use the web-based library search tool in the documentation.
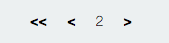
Browsing arrows. Not sure what library you're looking for? Use the browsing arrows beneath the library list to view additional Particle libraries in our firmware library manager. Pagination also works with search results.
Step 3 - Inspect a library
Clicking on a library from the library list shows you more detailed information about the library.
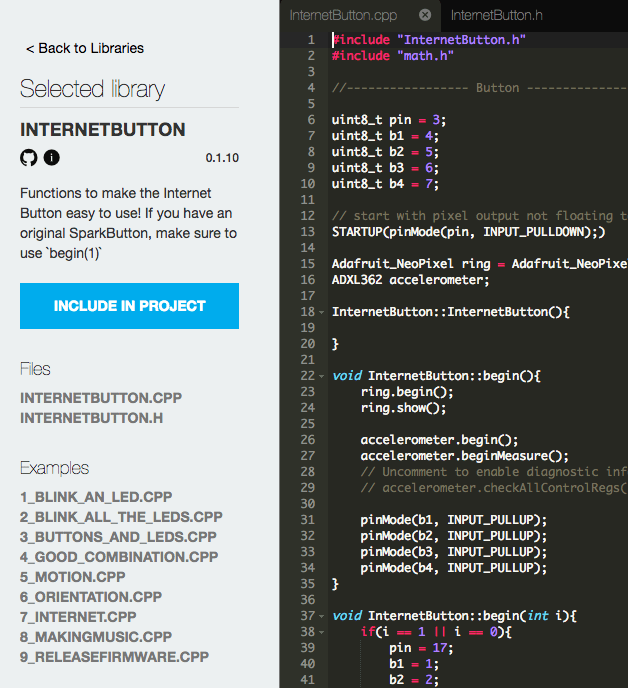
The detailed view for a library includes the following:
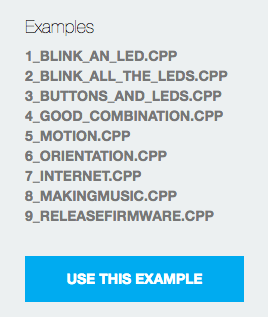
Library name: The name of the library. The name must be unique, so there aren't two libraries with the same name.Library version: The version of the library. This follows the semver convention.GitHub link: Where the library is hosted. The code for public libraries must be open-sourced. See how to Contribute a library.Library description: Detailed information about the libraryLibrary files: What files come with the library. This follows the new library file structure.Library examples: Those are examples of usage. If you click on one of them, you will be shown the source code. To use it as one of your projects, click on 'Use this example'.
Library source: In the editor you will see all the code of the library.
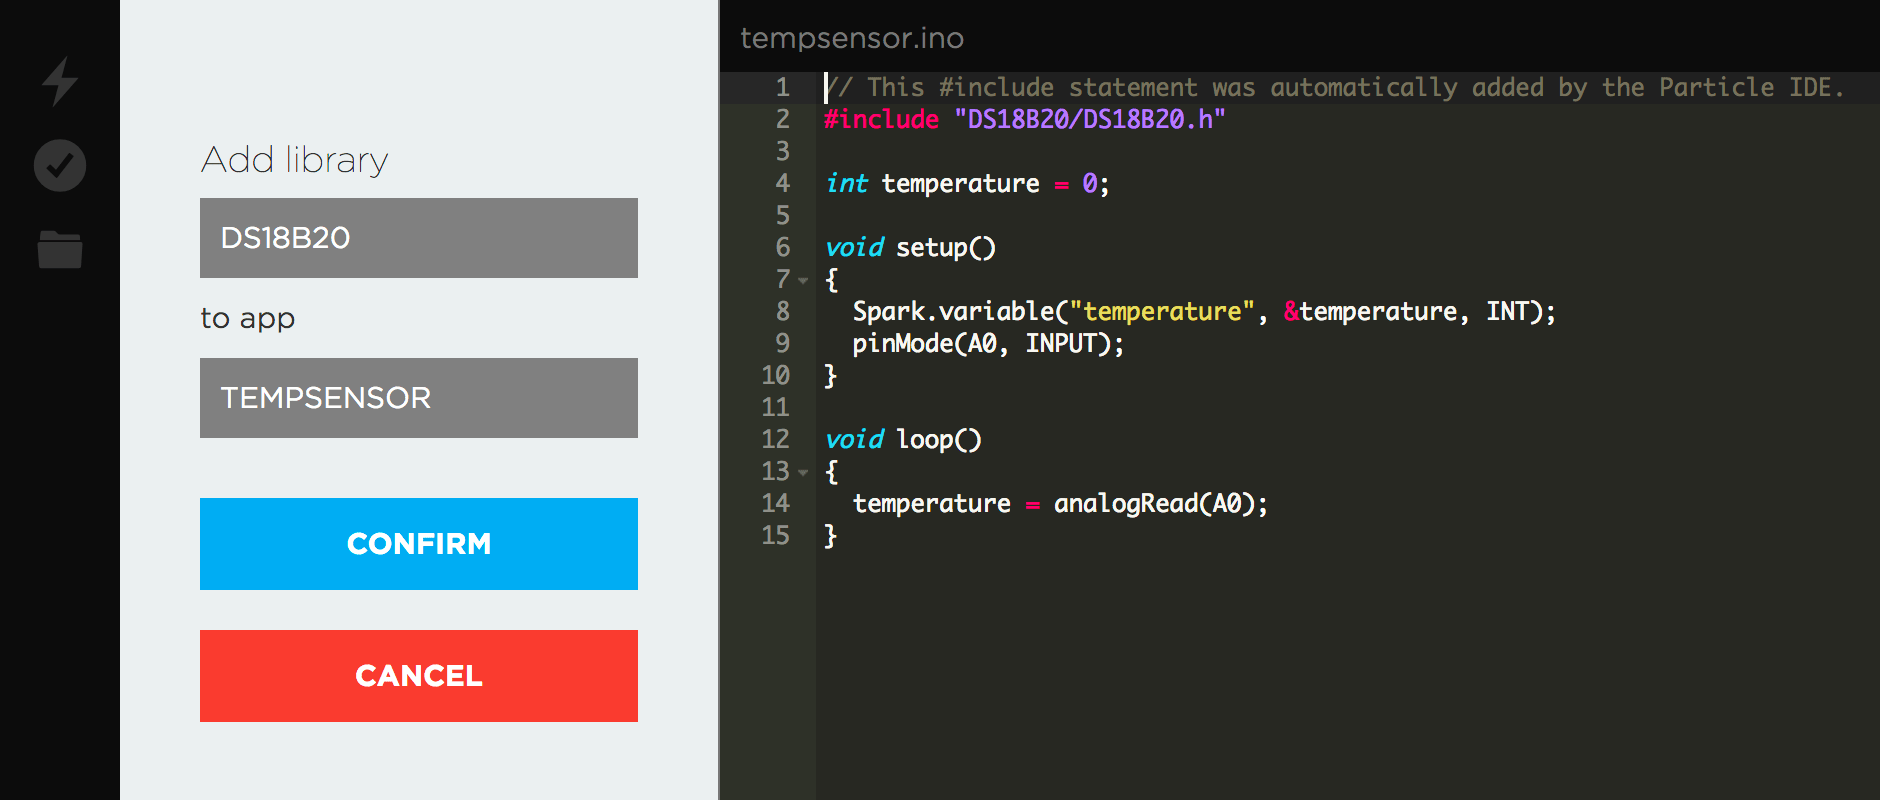
Step 4 - Click on 'Include in Project'

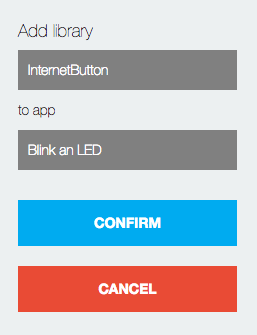
To add a firmware library to a project, click the Include in Project button. You will be presented with a list of your Particle projects that the library can be added to. After you select your target project from the list, you'll be presented with a confirmation page.
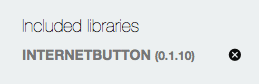
Clicking the Confirm button will bring you back to your Particle project. The library include should appear at the top of your project source file. It should also be listed in the Included libraries section of the project.

Congrats! You have now added a firmware library to your Particle project!
Contribute a library
This functionality was moved to the Command Line Interface (CLI). You can follow this link to find more about contributing a library.
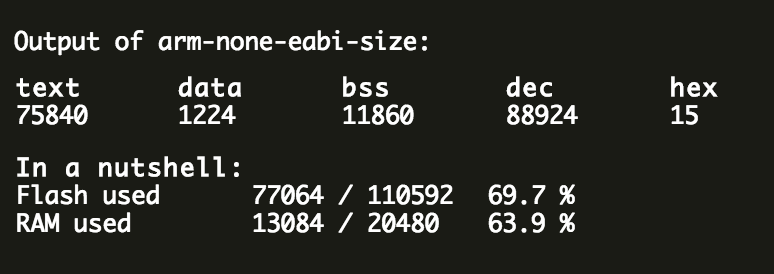
Checking code memory usage
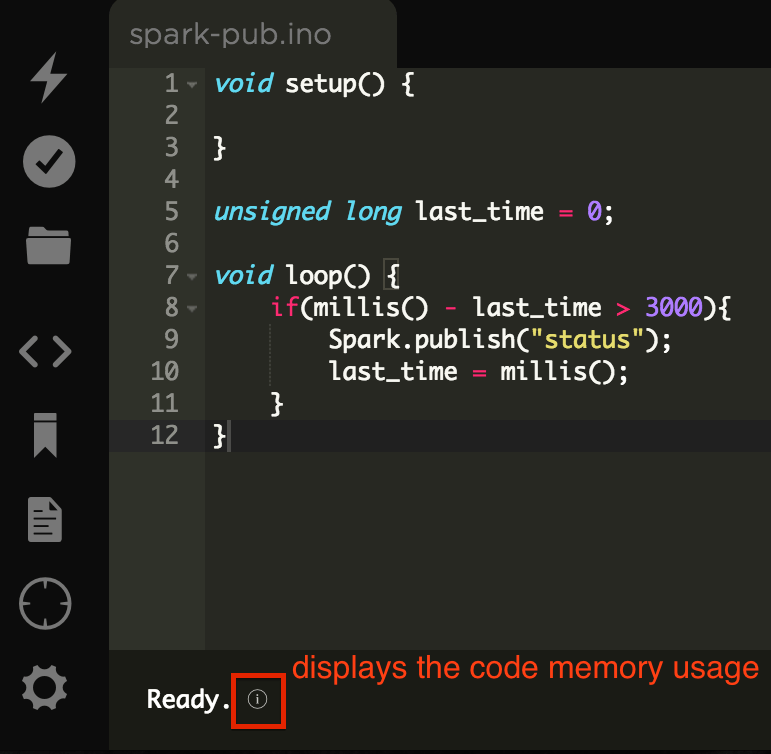
Whenever you verify your code and it compiles successfully, an "i" button will be displayed at the console output window.
This allows you to view the amount of FLASH and RAM used by this particular code/app that is currently being worked on.
If there are no code changes and you verify code for the second time, the "i" button will not be available. You can simply add an extra blank space or new line before you verify and the "i" button will now appear.
Wait, what is firmware?
An embedded system like the Core, Photon or Electron doesn't have an Operating System like a traditional computer. Instead, it runs a single application, often called firmware, which runs whenever the system is powered.

Firmware is so-called because it's harder than software and softer than hardware. Hardware is fixed during manufacturing, and doesn't change. Software can be updated anytime, so it's very flexible. Firmware is somewhere in between; hardware companies do issue firmware updates, but they tend to be very infrequent, because upgrading firmware can be difficult.
In our case, because the Cores, Photons and Electrons are connected to the internet, updating firmware is quite trivial; we send it over the network, and we have put in place safeguards to keep you from "bricking" your device.
When you flash code onto your device, you are doing an over-the-air firmware update. This firmware update overwrites almost all of the software on the device; the only piece that is untouched is the bootloader, which manages the process of loading new firmware and ensures you can always update the firmware over USB or through a factory reset.
For every device which version of our firmware you want to build against. In most cases you want to build with the latest firmware (which is used by default). If you need to target an older version (i.e. when newer version has some breaking changes) you can select it in dropdown located in device details.
Troubleshooting

The Particle Web IDE uses a local cache to improve its performance. In some cases this may cause errors or outdated information about libraries. If you encounter similar symptoms try clearing the cache by going to Settings and clicking Clear cache button.
Also, check out and join our community forums for advanced help, tutorials, and troubleshooting.