


 Go to console

 Change theme


 Edit Account
 Logout
Monitor One setup
This page walks you through unboxing and powering up a Monitor One. By the end, the Monitor One will be powered up and ready to add to your Particle account.
Note:
This page is for the Monitor One. For the Tracker One, see Tracker One setup.
Unboxing
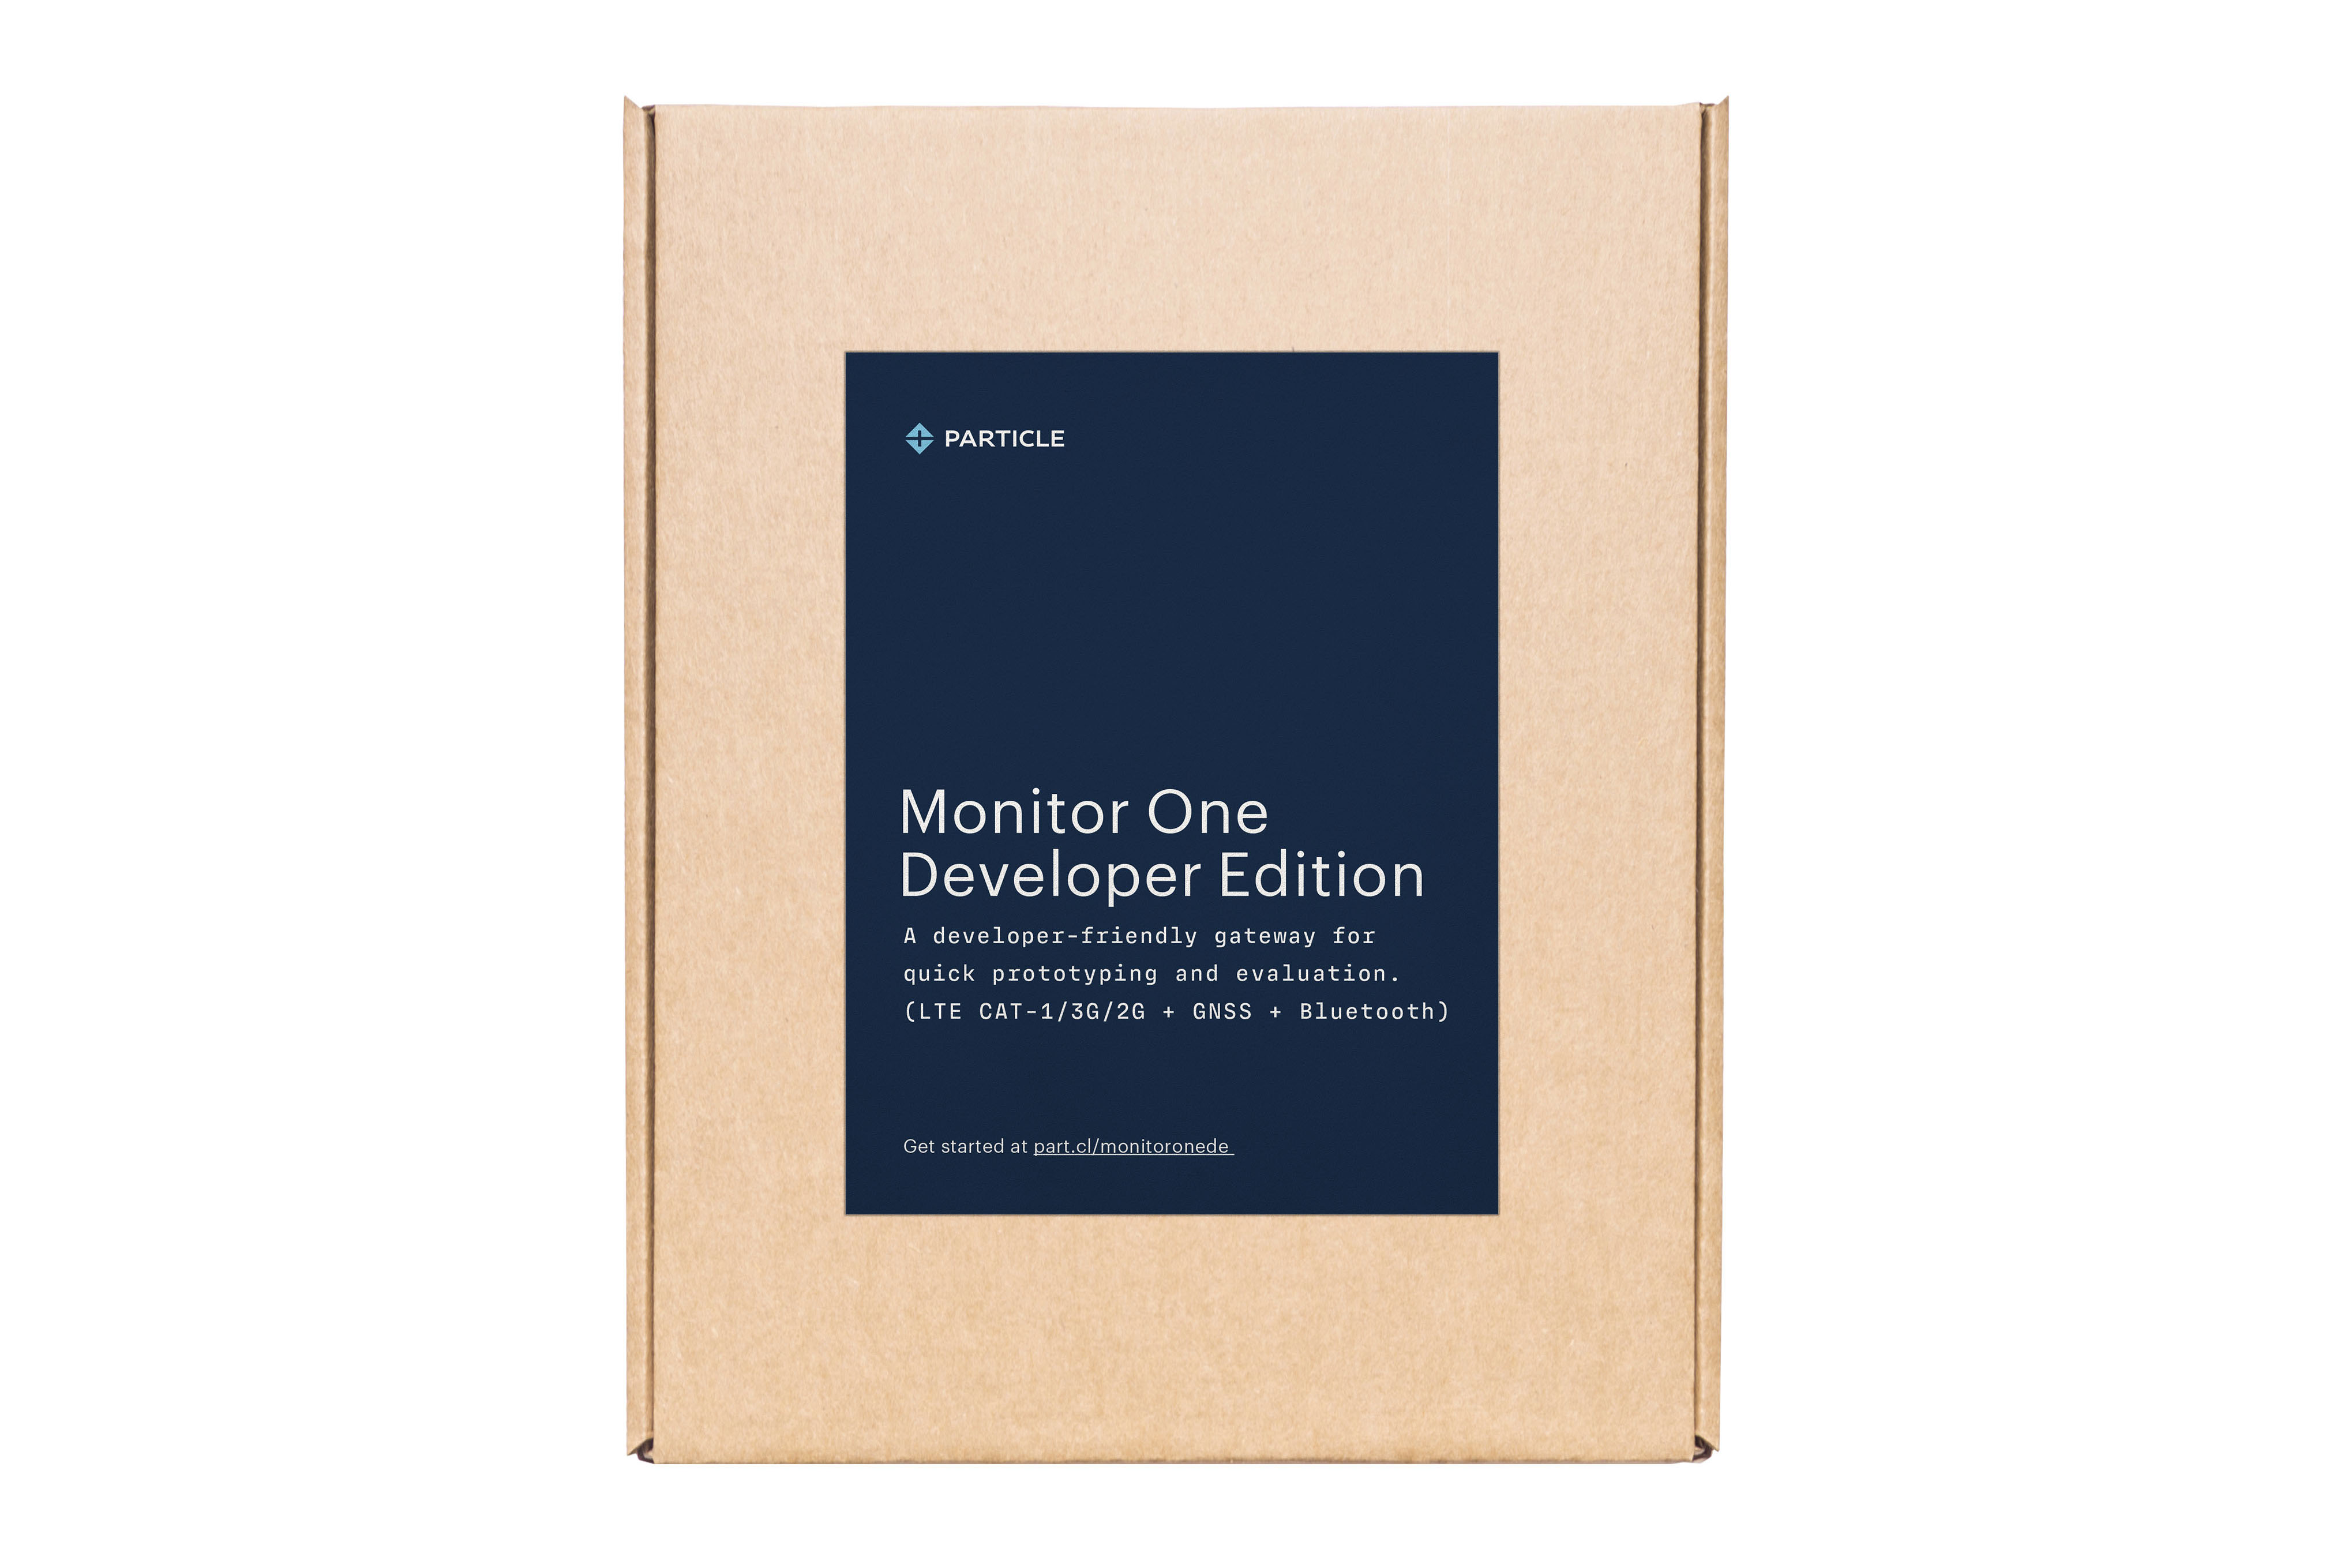
The Monitor One box contains:
- The Monitor One base model, in an IP67-rated, waterproof enclosure with a flexible mounting plate for walls, rails, poles, and more
- Two expansion cards for customizing I/O:
- The I/O card, an all-in-one expansion card with CAN, Modbus, RS-485, 4-20mA and 0-10V inputs, 24V I/O, and a dry contact relay output
- The prototype card, a perf board for hardware integration and validation
- 4-pin M12 cable
- 8-pin M12 cable
- USB cable
- 24V power supply
What you'll need
- The Monitor One Developer Edition kit
- The power supply (24 VDC, 1 A), which is in the box
- The two M12 cables: the 8-pin cable for power, and the 4-pin cable for I/O and expansion
- Optionally, a micro-USB cable and hex wrenches, for opening the case or installing extras
Powering on the device
Using the M12 cable
- Take the M12 8-pin cable. There are two cables in the box, and this is the one used for power.
- Connect the 5.5 x 2.1 mm barrel jack from the power supply to the barrel socket on the adapter.
- Plug the M12 8-pin connector into the Monitor One, with the label up and toward the cellular SMA connector.
- If you disconnect and reconnect the wires, check the polarity. The + terminal should be red and the - terminal black.
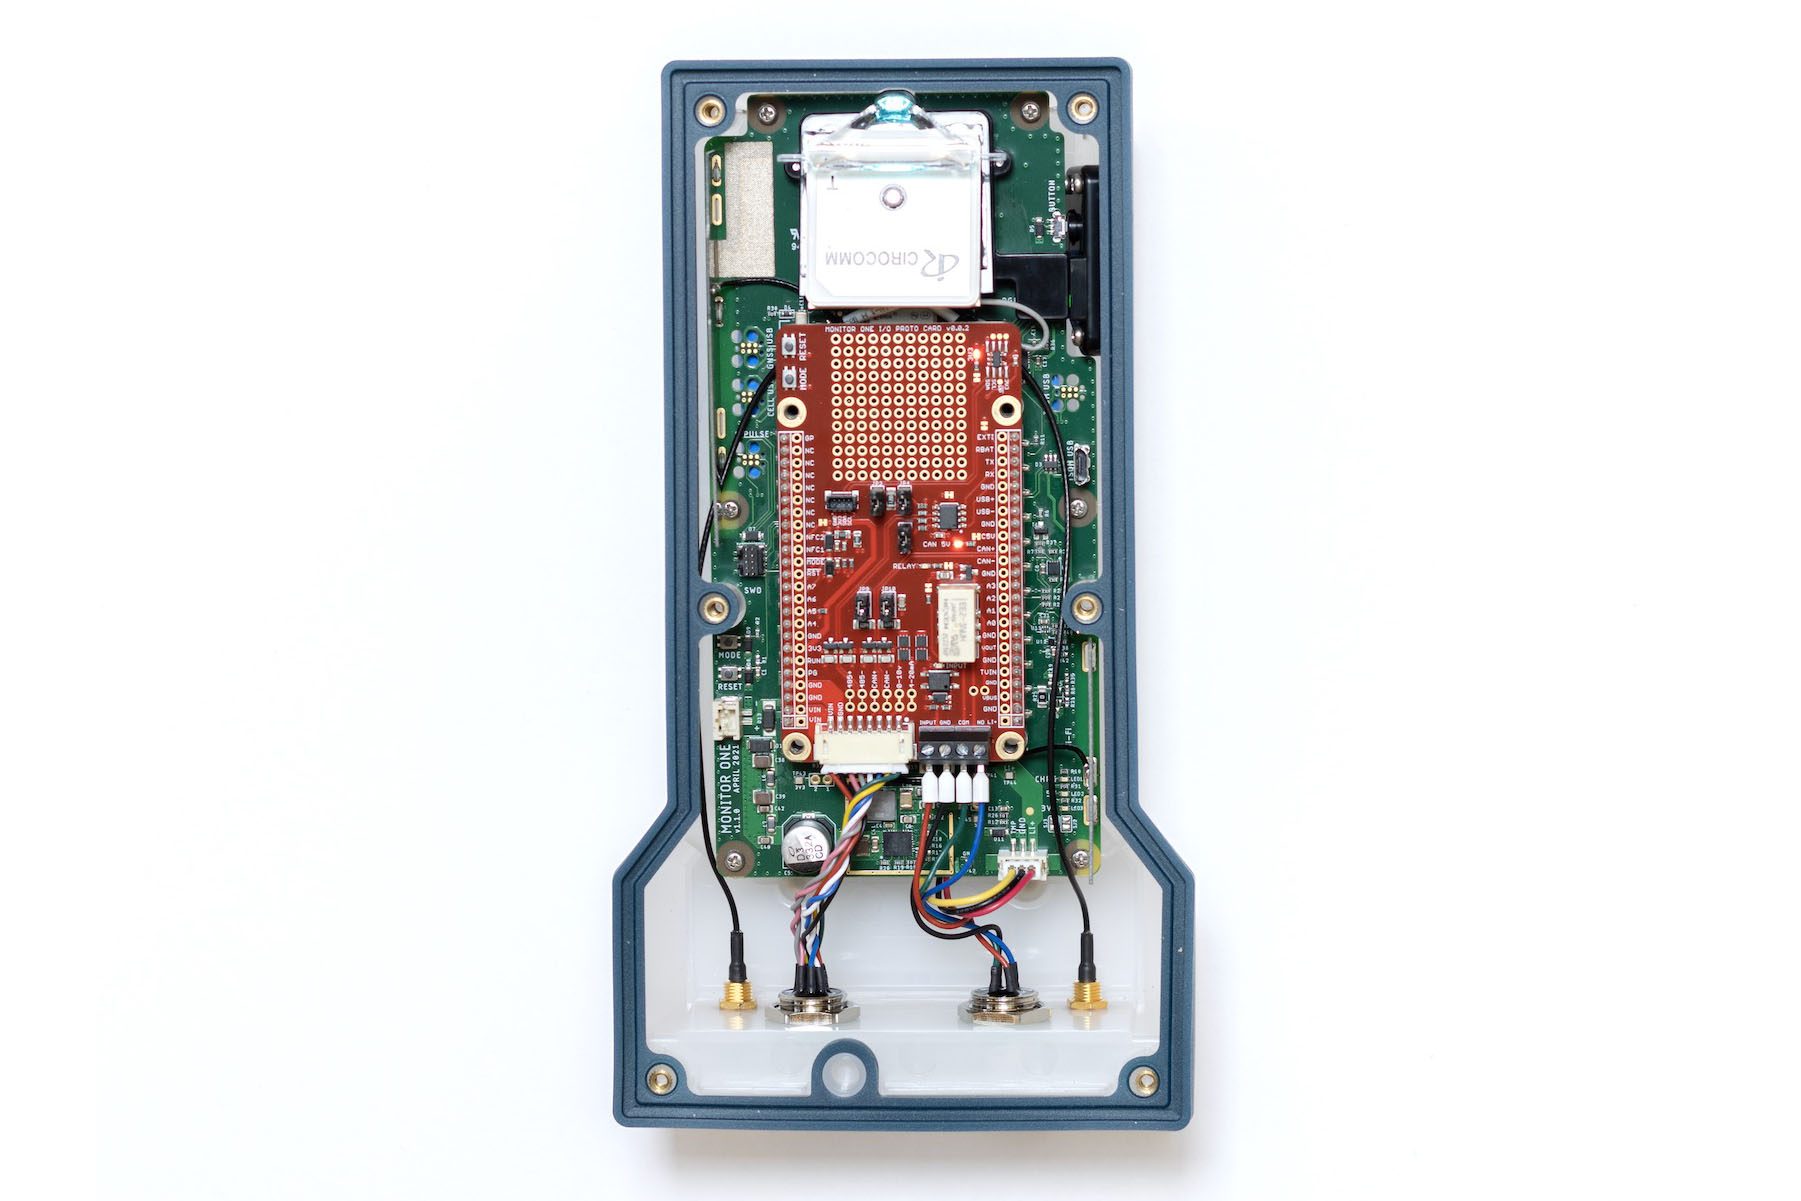
If you want to use your own power supply, any 6 - 30 VDC, 2 A adapter with a 5.5 x 2.1 mm center-positive barrel plug will work.
For more details on the Monitor One hardware, see the Monitor One datasheet.
Setup
For device and computer setup, see the Monitor One guide.